Introduction
Installing a 240 Volt outlet for your dryer is essential for efficient and safe drying. Dryers require a higher voltage to run properly, which a standard 120 Volt outlet cannot provide. This comprehensive guide will walk you through understanding the need for a 240 Volt outlet, preparing for its installation, executing the installation step-by-step, and ensuring everything functions as it should. By following these guidelines, you can avoid common pitfalls and ensure your dryer operates smoothly.
Understanding 240 Volt Outlets for Dryers
What is a 240 Volt Outlet?
A 240 Volt outlet is a specialized electrical outlet designed to handle higher voltage loads than the standard 120 Volt outlet. These outlets are essential for appliances that require more power, such as dryers, stoves, and air conditioners.
Why Dryers Need 240 Volt Outlets
Dryers need 240 Volt outlets because they have motors and heating elements that require a substantial amount of energy to operate efficiently. A 240 Volt outlet provides twice the voltage of a standard outlet, ensuring that the dryer can run its cycles without overloading the electrical system.
Electrical Requirements for 240 Volts
To install a 240 Volt outlet, your home must have a compatible electrical service that can handle the increased load. This includes having a circuit breaker that supports 240 Volts and wiring that can safely carry the higher current.
Understanding these requirements sets the foundation for a successful installation. Next, we dive into the benefits of switching to a 240 Volt outlet for your dryer.
Benefits of Using a 240 Volt Outlet for Your Dryer
Improved Efficiency
Using a 240 Volt outlet improves the efficiency of your dryer by providing consistent and adequate power. This allows the dryer to heat up quickly and maintain the right temperatures needed for effective drying.
Faster Drying Times
A correctly installed 240 Volt outlet reduces drying times significantly. With more power, the dryer can run more powerful cycles that dry clothes faster, saving time and energy.
Enhanced Safety
Installing a 240 Volt outlet reduces the risk of electrical fires associated with overloading standard outlets. It ensures that the dryer operates within safe voltage levels, reducing wear on the appliance and the electrical system.
With a clear understanding of the benefits, it's time to prepare for the installation process.
Preparing for Installation
Checking Local Electrical Codes
Before starting, check local electrical codes to ensure compliance. Local regulations may dictate specific requirements for installing a 240 Volt outlet, and failing to comply can result in fines or unsafe installations.
Gathering Necessary Tools and Materials
You will need several tools and materials for the installation:- A new 240 Volt outlet- Electrical box- Circuit breaker compatible with 240 Volts- Screwdrivers, wire strippers, and a drill- Voltage tester or multimeter
Understanding Your Home’s Electrical Layout
Identify where your electrical panel is located and ensure you have enough space to add the new circuit breaker. Understanding the layout will help plan the installation path and avoid unnecessary complications.
With preparation complete, we can now move on to the actual installation process.
Step-by-Step Guide to Installing a 240 Volt Outlet for Your Dryer
Turning Off the Power
First, turn off the power at the main breaker box to prevent any electrical hazards. Confirm that the power is off by using a voltage tester.
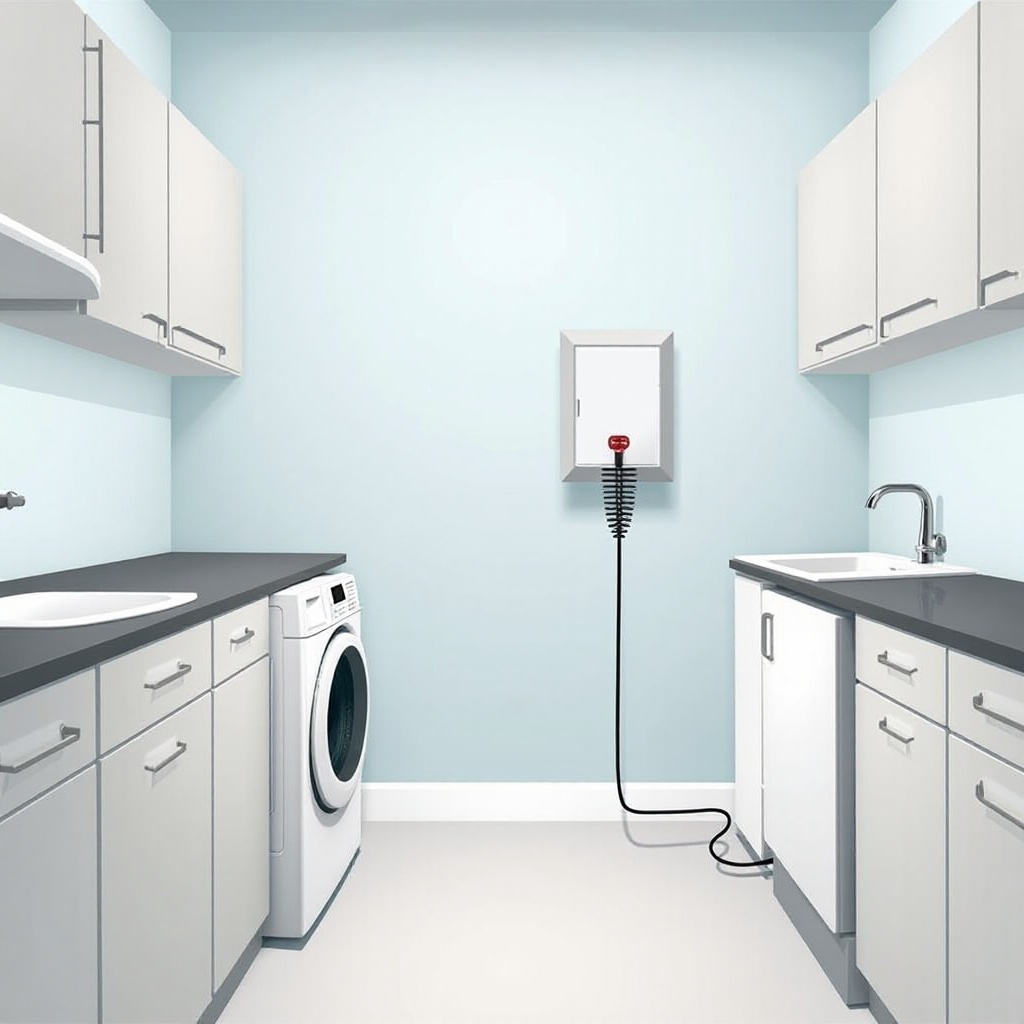
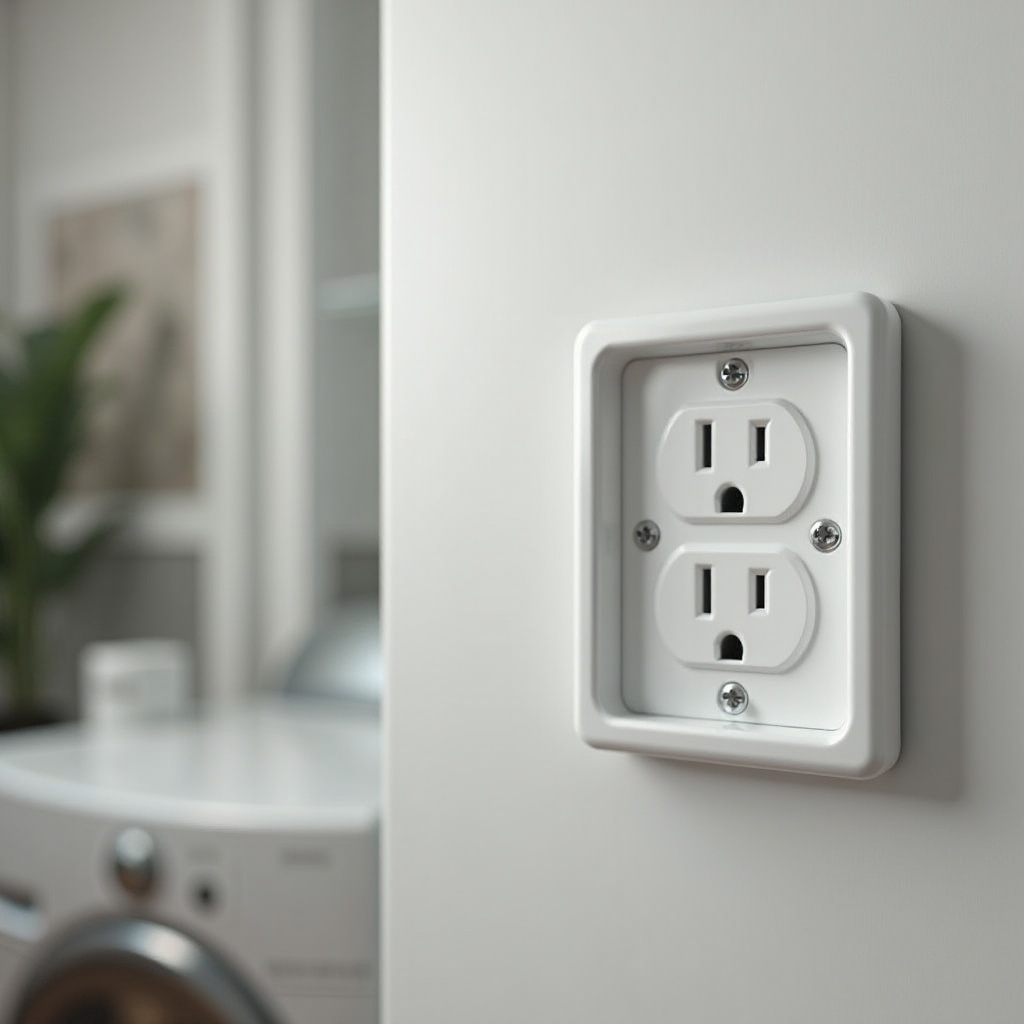
Installing the Electrical Box
Decide on the location for the new outlet. Install the electrical box securely in the wall where the dryer will be plugged in. Ensure it is at a convenient height and position.
Running the Wires
Run the necessary wiring from the electrical panel to the new outlet location. Use wire rated for 240 Volts and the correct gauge to handle the dryer’s load. Secure the wires along their path to avoid damage or loose connections.
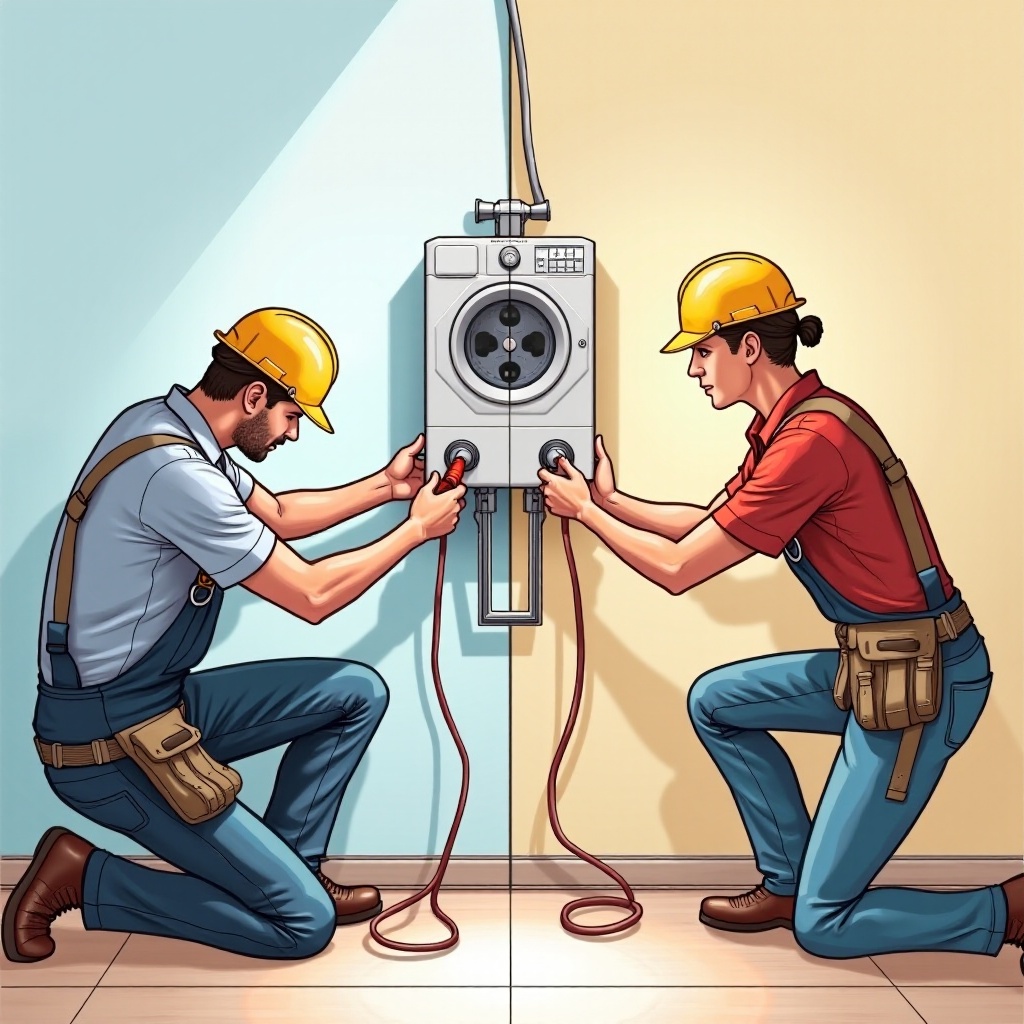
Connecting the Wires
- Connect the wires to the new circuit breaker in the electrical panel.
- Run the wires to the outlet box and strip the ends to make solid connections at the outlet.
- Attach the wires to the outlet terminal screws: typically, the white wire goes to the neutral terminal, the black and red wires to the hot terminals, and the ground wire to the ground terminal.
Installing the Outlet
Secure the outlet in place by screwing it into the electrical box. Make sure all connections are tight and check that the outlet is properly mounted.
Securing the Outlet and Finishing Up
Once the outlet is installed, secure the faceplate and tidy up any remaining wires. Re-check all connections to ensure safety.
After installation, testing and troubleshooting are crucial to ensure everything works correctly.
Testing and Troubleshooting
Turning the Power Back On
Switch the power back on at the main breaker. Carefully watch and listen for any signs of electrical issues, such as sparks or unusual noises.
Using a Multimeter for Voltage Testing
Use a multimeter to check the voltage at the new outlet. It should read around 240 Volts. If the reading is incorrect, turn off the power and recheck your connections.
Common Issues and Solutions
- No power at the outlet: Double-check the breaker and all connections.
- Incorrect voltage: Ensure the wiring and breaker are correct for 240 Volts.
- Dryer not functioning: Verify the dryer plug matches the outlet and all connections are secure.
Next, let’s discuss whether to hire a professional or proceed with a DIY installation.
Professional vs. DIY Installation
Pros and Cons of Hiring a Professional
Hiring a professional electrician ensures the job is done correctly and safely. Electricians have the expertise to handle complex installations and troubleshooting. However, professional services can be costly.
Considerations for DIY Installation
DIY installation can save money but requires a good understanding of electrical systems and strict adherence to safety protocols. If you feel confident in your skills and have checked local regulations, a DIY approach can be rewarding and educational.
We’ve covered the essential aspects of installing a 240 Volt outlet for your dryer. Let’s summarize the key points.
Conclusion
Installing a 240 Volt outlet for your dryer enhances efficiency, safety, and drying times. By carefully following the steps outlined, preparing adequately, and testing thoroughly, you can complete the installation successfully. If in doubt, hiring a professional can offer peace of mind.
Frequently Asked Questions
Can I Install a 240 Volt Outlet Myself?
Yes, you can install a 240 Volt outlet yourself if you have a good understanding of electrical systems and follow safety guidelines. However, always check local regulations and consider hiring a professional if unsure.
How Do I Know If My Dryer Requires a 240 Volt Outlet?
Check the dryer’s manual or specifications label. Most standard dryers require a 240 Volt outlet, while compact or portable models may use a 120 Volt outlet.
What Should I Do If My Dryer Isn't Working Properly After Installation?
First, recheck all electrical connections and ensure the circuit breaker is properly installed. Use a multimeter to verify the voltage. If issues persist, consult a professional electrician to diagnose and resolve the problem.