Introduction
A dehumidifier plays a crucial role in managing indoor humidity, ensuring a comfortable and healthy environment. However, like any appliance, dehumidifiers can experience issues that require your attention. Fortunately, understanding basic repair techniques can save you time and money, ensuring your unit remains reliable. This guide covers common dehumidifier problems and provides practical solutions to get your appliance back to optimal performance.
Understanding Common Dehumidifier Issues
While dehumidifiers are designed for durability, they can encounter a few problems. Key issues include the device not powering on, failing to decrease humidity, leaking, and generating unusual noises. Recognizing these problems early can facilitate timely repairs and prevent more serious damage. Knowing what to look for is the first step toward effective repairs.
Preparing for the Repair
Before beginning any repair tasks, proper preparation is essential to ensure safety and efficiency. You need to organize both your tools and your approach.
Safety Precautions: Always unplug the dehumidifier before starting repairs to avoid electrical hazards. Use safety gear like gloves to protect yourself from accidental cuts or shocks.
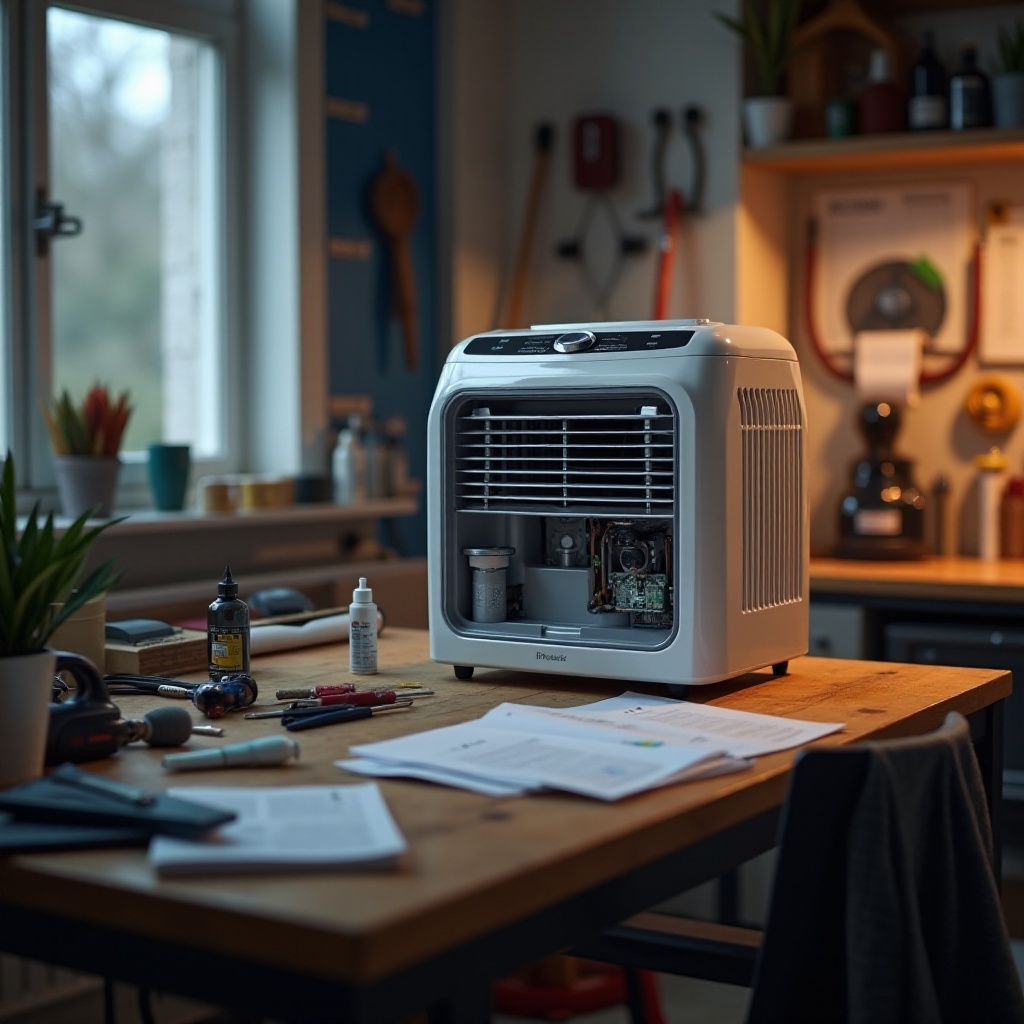
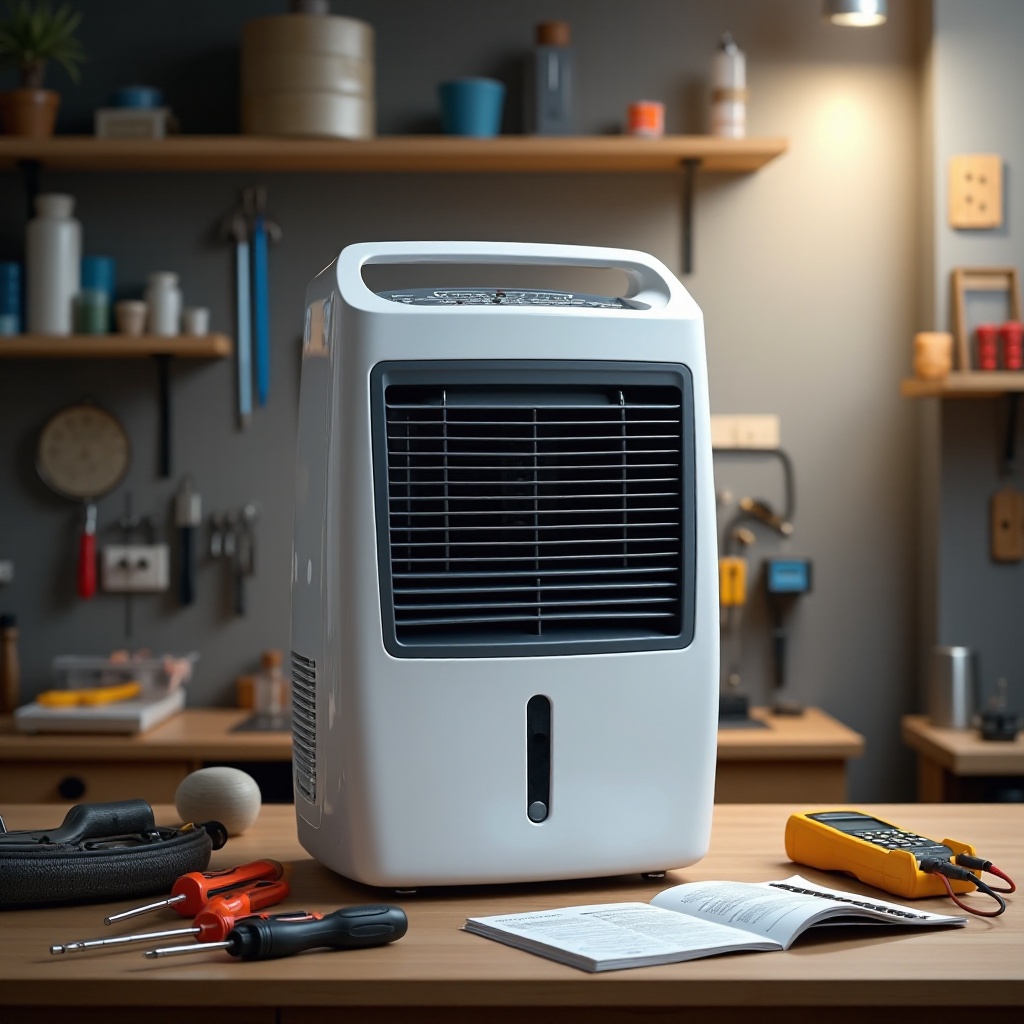
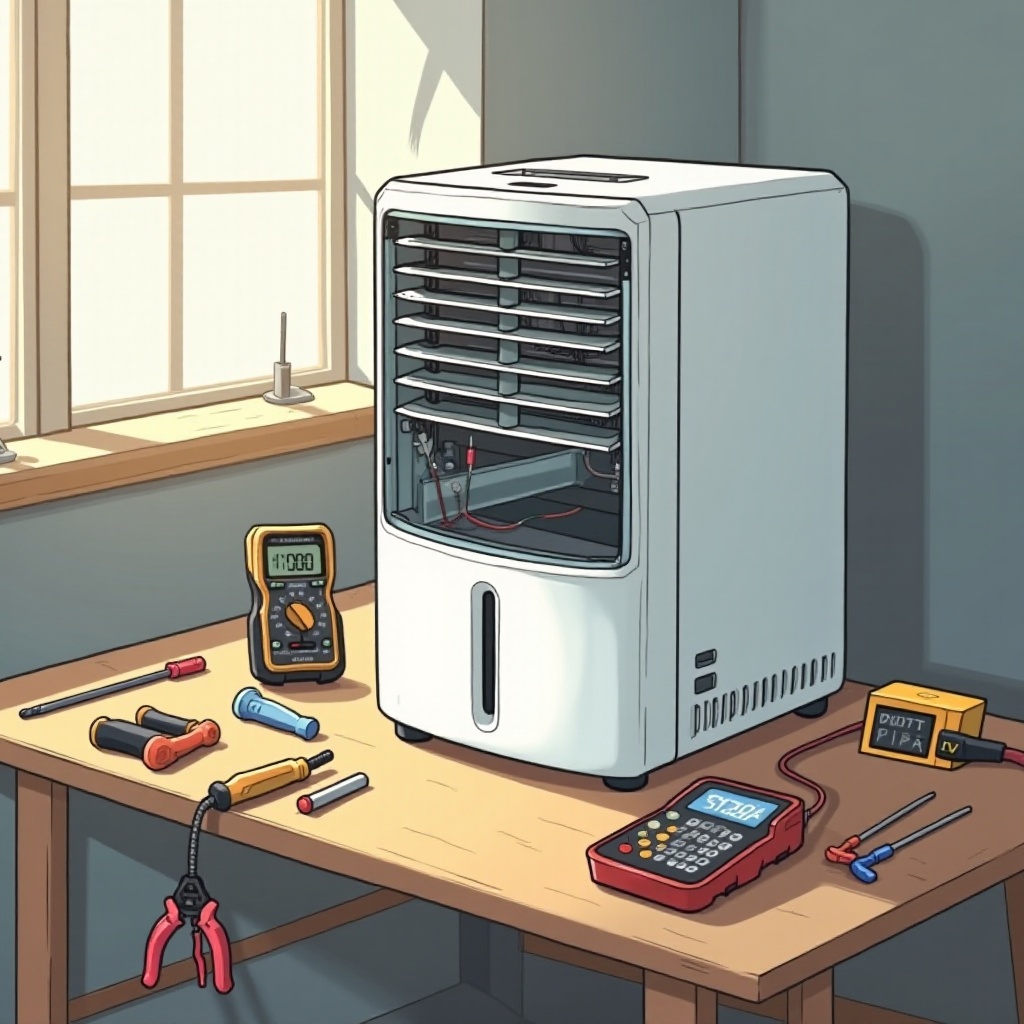
Tools and Materials Needed: Basic tools such as screwdrivers, a multimeter for electrical diagnostics, cleaning materials, and replacement parts like filters will be necessary. Having these items ready will streamline the repair process.
Successful preparation sets the stage for a smooth and effective repair experience, paving the way for the actual repair work.
Step-by-Step Guide to Repairing Your Dehumidifier
With the right preparations, you are now ready to fix your dehumidifier. This guide will take you through each crucial step:
- Ensuring Power Source and Proper Settings:
- Confirm the dehumidifier is plugged in properly and that the outlet is functioning. Try connecting other devices to ensure it's a power issue.
Check and adjust the unit's humidistat and fan settings to ensure they align with your desired humidity levels.
Cleaning and Replacing Filters:
- Locate and remove the air filter from its compartment, usually at the back or side of the unit. Wash it gently under running water and allow it to dry before reinsertion.
If the filter appears damaged, replace it with a new one to maintain efficiency.
Addressing Water Leakage Problems:
- Empty any collected water in the tank and inspect it for signs of damage or improper alignment. A properly secured tank can prevent leaks.
Check the drainage hose for cracks or loose fittings and replace or tighten as needed.
Fixing Unusual Noises and Vibrations:
- Investigate noise sources, paying attention to the fan and compressor. Look for and remove any blockages and tighten loose components.
- Clean fan blades and lubricate moving parts to reduce vibrations and noise.
By systematically addressing each component, you can resolve many function-related problems with your dehumidifier and restore its performance.
When to Seek Professional Help
Despite thorough DIY efforts, some issues may persist or become apparent only after attempting basic repairs. If your dehumidifier continues to malfunction or you suspect a refrigerant issue, it is wise to consult a skilled technician. Professionals possess the expertise and tools needed to handle complex repairs safely. Addressing severe problems early with professional help can prevent costly future repairs or even the need to purchase a new unit.
Maintenance Tips to Prevent Future Issues
Routine maintenance not only prolongs the life of your dehumidifier but also ensures uninterrupted operation. Consider the following tips for regular upkeep:
- Clean the filters monthly and replace them bi-annually to prevent buildup and ensure air quality.
- Place your dehumidifier on a stable, level surface to avoid leaks and mechanical strain.
- Regularly inspect electrical cords for damage and replace them if necessary.
- Keep the area around the unit free from dust and debris to ensure proper airflow and efficiency.
These simple but effective practices can minimize the likelihood of issues, maintaining smooth operation.
Conclusion
By addressing common dehumidifier issues promptly and efficiently, you can ensure optimal performance and a comfortable home environment. Applying the steps outlined in this guide empowers you to handle repairs and routine maintenance independently, preventing potential disruptions. A well-functioning dehumidifier is an investment in your home's comfort and health.
Frequently Asked Questions
How often should I clean my dehumidifier filters?
Clean your dehumidifier filters at least once a month to ensure effective performance and prevent strain on the unit.
What are the signs that my dehumidifier needs a refrigerant refill?
Signs include the unit failing to dehumidify effectively, running continuously without lowering humidity, or frost buildup on the coils.
Can I repair a refrigerant leak by myself?
No, repairing a refrigerant leak requires specialized skills and equipment. It's best to contact a certified technician to handle such repairs safely.