Introduction
Disassembling a dryer can be a straightforward task if you have the right instructions and tools at your disposal. Whether you need to remove a blockage, replace a faulty component, or conduct regular maintenance, knowing how to take apart your dryer safely and efficiently can save you time, hassle, and money. This guide is designed to walk you through the necessary steps and precautions, ensuring a smooth process from start to finish.
Safety Precautions
Before embarking on the disassembly of your dryer, make safety your top priority. This section outlines essential safety measures:
- Disconnect Power and Gas:
- Ensure the dryer is unplugged from any electrical source.
For gas dryers, shut off the gas supply to avoid potential leaks.
Use Safety Gear:
- Wear protective gloves to guard against sharp edges.
Equip yourself with safety goggles to protect your eyes from dust and debris.
Ensure Good Ventilation:
- Work in a well-ventilated space to prevent inhaling dust and other airborne particles.
Following these precautions safeguards you from unnecessary risks, allowing you to focus on the task at hand.
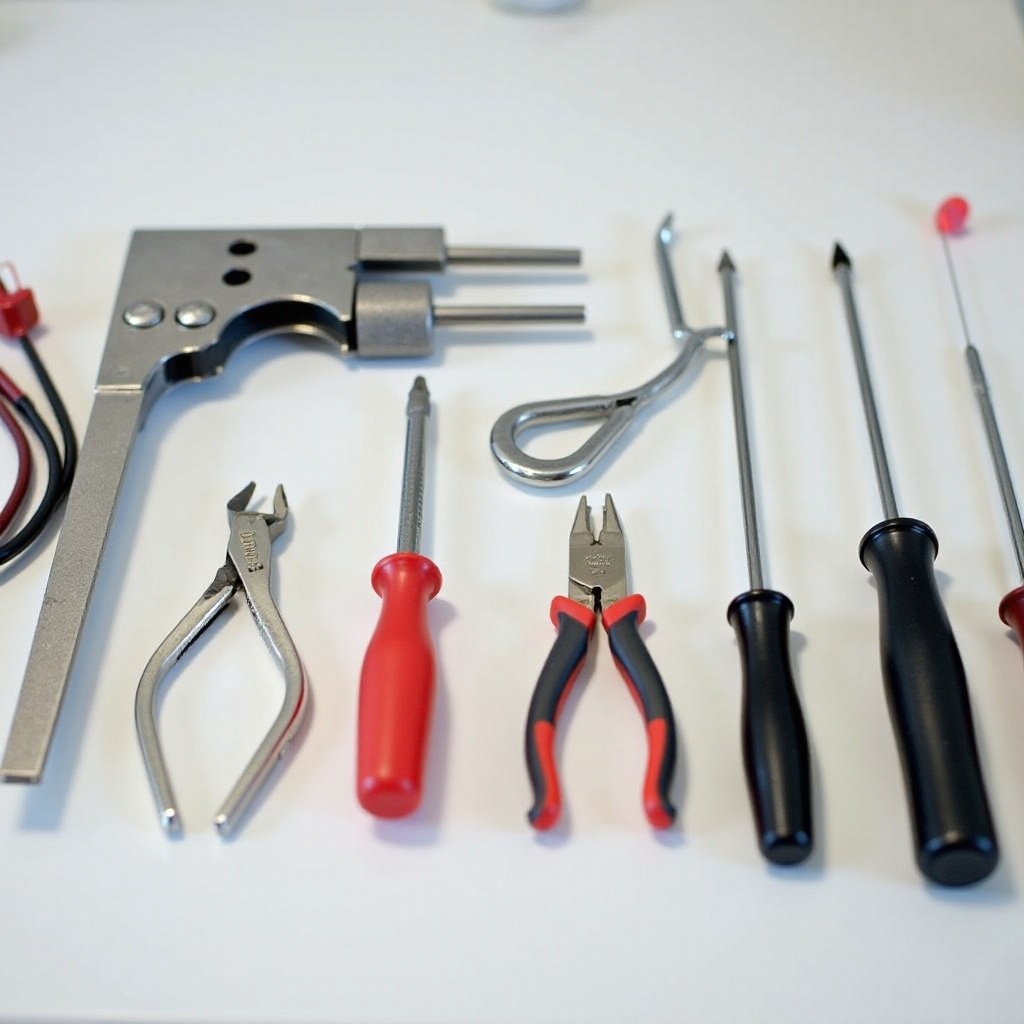
Tools Required for Dryer Disassembly
Having the proper tools on hand will make the disassembly process efficient and prevent unnecessary interruptions. Essential tools include:
- A full screwdriver set, including Phillips and flathead variants for different screw types.
- A nut driver for loosening nuts and bolts.
- Pliers for gripping and manipulating components.
- A multimeter for checking electrical components.
- Towels or cloths to place parts on, protecting work surfaces and organizing removed components.
Being prepared with these tools ensures a smooth workflow as you tackle the disassembly.
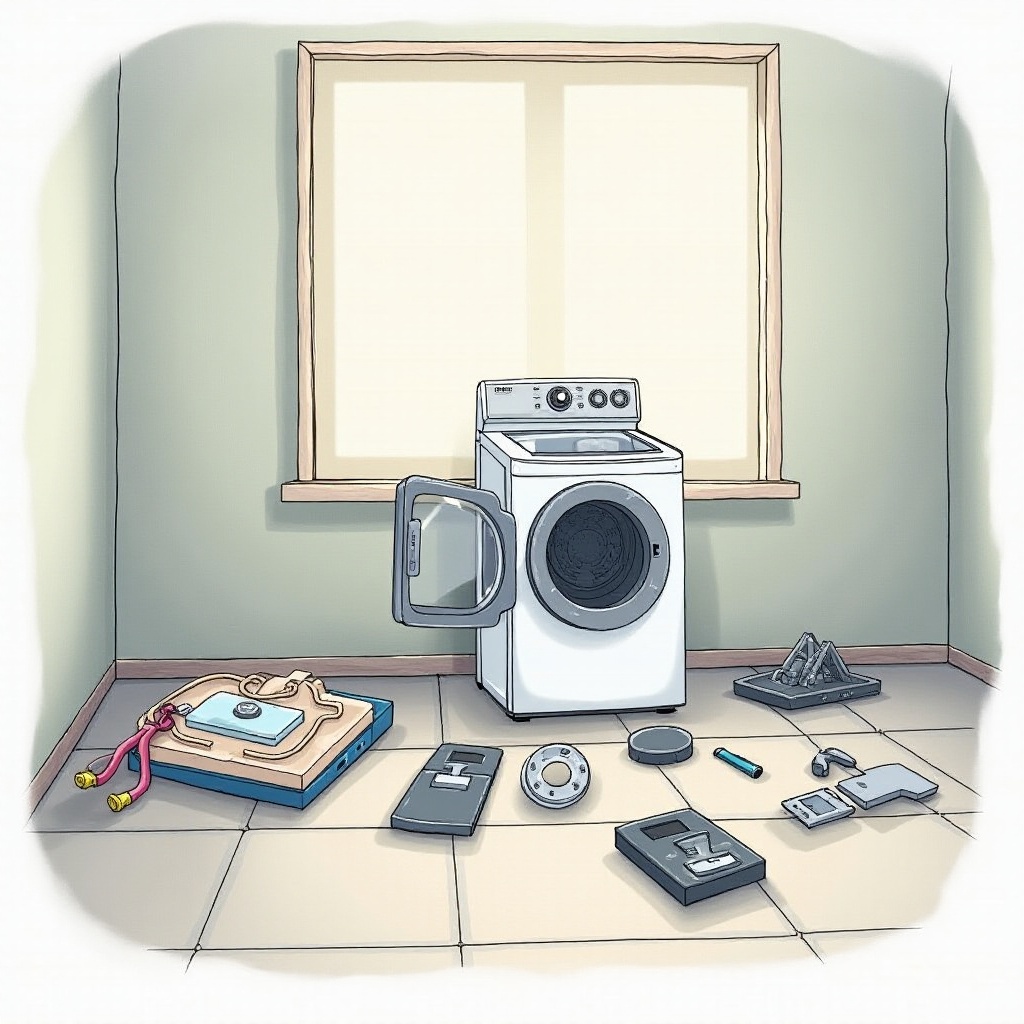
Preparing Your Dryer for Disassembly
Before you begin taking apart your dryer, proper preparation is key:
- Clear the surrounding area of any obstacles, providing ample space to work and be able to lay out parts.
- Set up a container for small screws and components to prevent losing them.
- Take detailed photos of your dryer's current setup to aid in reassembly.
Double-check that the power and gas are completely disconnected to ensure complete safety before proceeding.
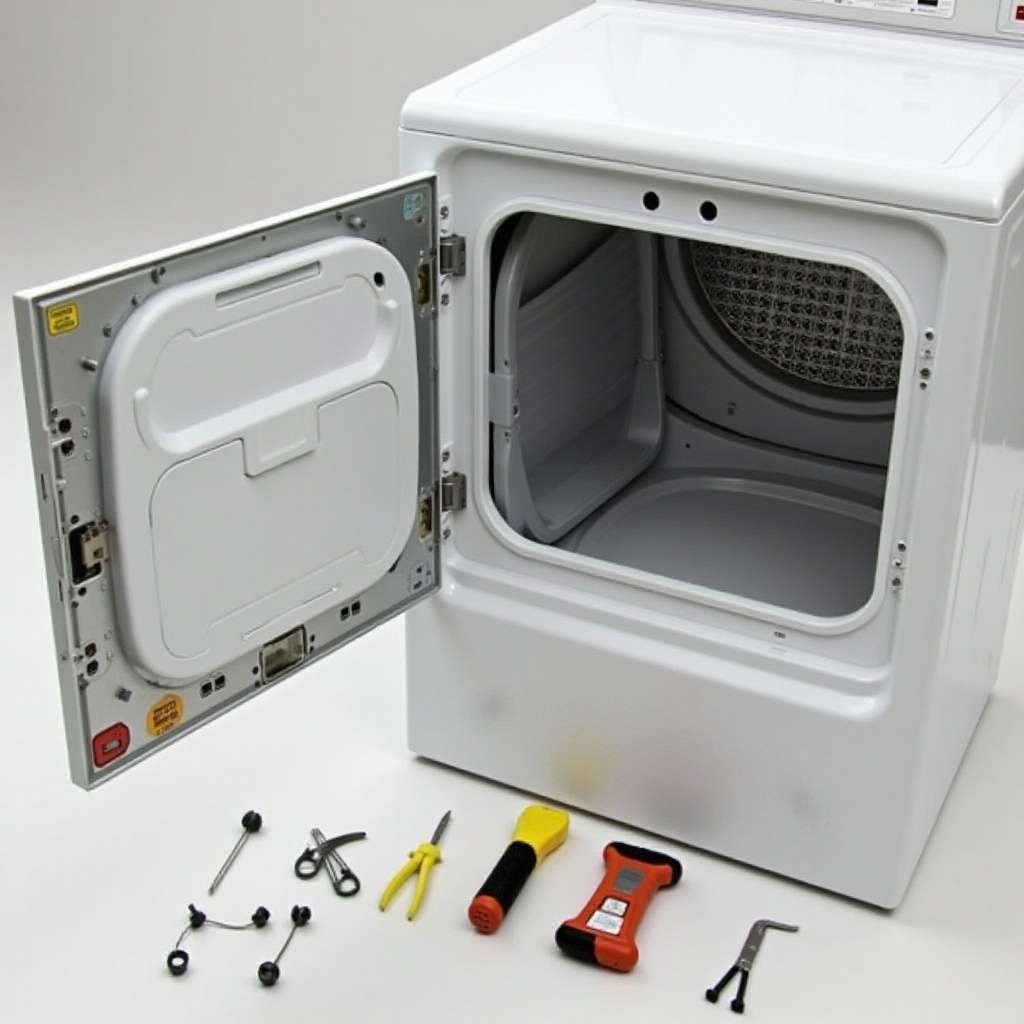
Step-by-Step Guide to Take Apart Your Dryer
Having completed safety and preparation checks, you're now ready to disassemble your dryer. Follow these detailed steps:
- Removing the Top Panel:
- Locate and remove screws or clips securing the top panel.
Carefully lift and remove the top, ensuring you don't damage any connected wires.
Detaching the Control Panel:
- Unscrew and gently unclip the control panel from its housing.
Disconnect wiring connections cautiously, noting their arrangement for later.
Taking Off the Front Panel:
- Unscrew panels located along the door's inner edge.
Carefully lift the front panel, detaching it from holding clips or supports.
Accessing and Removing the Drum:
- Use pliers to detach the drum's belt, loosening it from the motor pulley.
- Gently slide the drum out from the dryer's framework, ensuring all connected parts are free.
These steps will give you full access to the dryer’s internal parts for inspection or maintenance.
Identifying and Inspecting Key Components
Once the drum is removed, access to main components allows for thorough inspection:
- Belt and Motor:
- Examine the belt for any signs of excessive wear or damage and replace it if needed.
Verify that the motor is clear from obstructions and that it spins freely.
Drum Support and Bearings:
- Check for wear or damage in the drum support and bearings, replacing any worn-out parts.
- Lubricate bearings as needed to ensure smooth functionality.
This inspection might reveal components that need replacement, thus preventing bigger issues down the line.
Reassembling Your Dryer
Following the inspection, careful reassembly ensures the dryer will function correctly:
- Reverse the disassembly steps, starting by positioning the drum back into place.
- Reattach the belt around both the drum and motor pulley securely.
- Carefully reconnect the front panel, ensuring all hooks and clips are in place.
- Replace the control panel and ensure all wires are connected as they were.
- Secure the top panel, making sure everything is tightened and aligned.
Use the reference photos taken earlier to ensure accuracy during reassembly.
Troubleshooting Common Issues During Disassembly
Even with careful planning, challenges can arise:
- Stuck Panels:
Double-check for hidden screws or clips if panels don't come off easily.
Misplaced Screws:
Use the container to keep screws organized.
Electrical Issues:
- Use the multimeter to ensure electrical connections are intact before you begin reassembly.
Addressing these issues promptly assures a smoother disassembly and reassembly process.
Conclusion
Properly disassembling your dryer allows you to maintain and repair your appliance efficiently. By following this guide, you can address issues promptly, saving costs and extending your dryer's lifespan. However, for complex repairs beyond your ability, it is advisable to seek professional assistance to ensure safety and integrity of the machine's components.
Frequently Asked Questions
What are the common reasons to disassemble a dryer?
Disassembling a dryer can help you remove blockages, replace faulty parts, or conduct essential maintenance, thus ensuring better performance and safety.
How often should I clean and maintain my dryer?
It's advised to clean and maintain your dryer every six months to ensure optimal performance. Inspect key components annually or as needed.
When should I call a professional for dryer repair?
If you encounter electrical issues or require critical component replacements like the motor, consult a professional to ensure proper and safe repairs.