Introduction
Maintaining your washer is essential for its longevity and efficiency. One important maintenance task is removing the washer agitator periodically. This guide will provide you with easy-to-follow steps to remove your washer agitator, ensuring your appliance continues to operate smoothly.
Understanding Washer Agitators
What is a Washer Agitator?
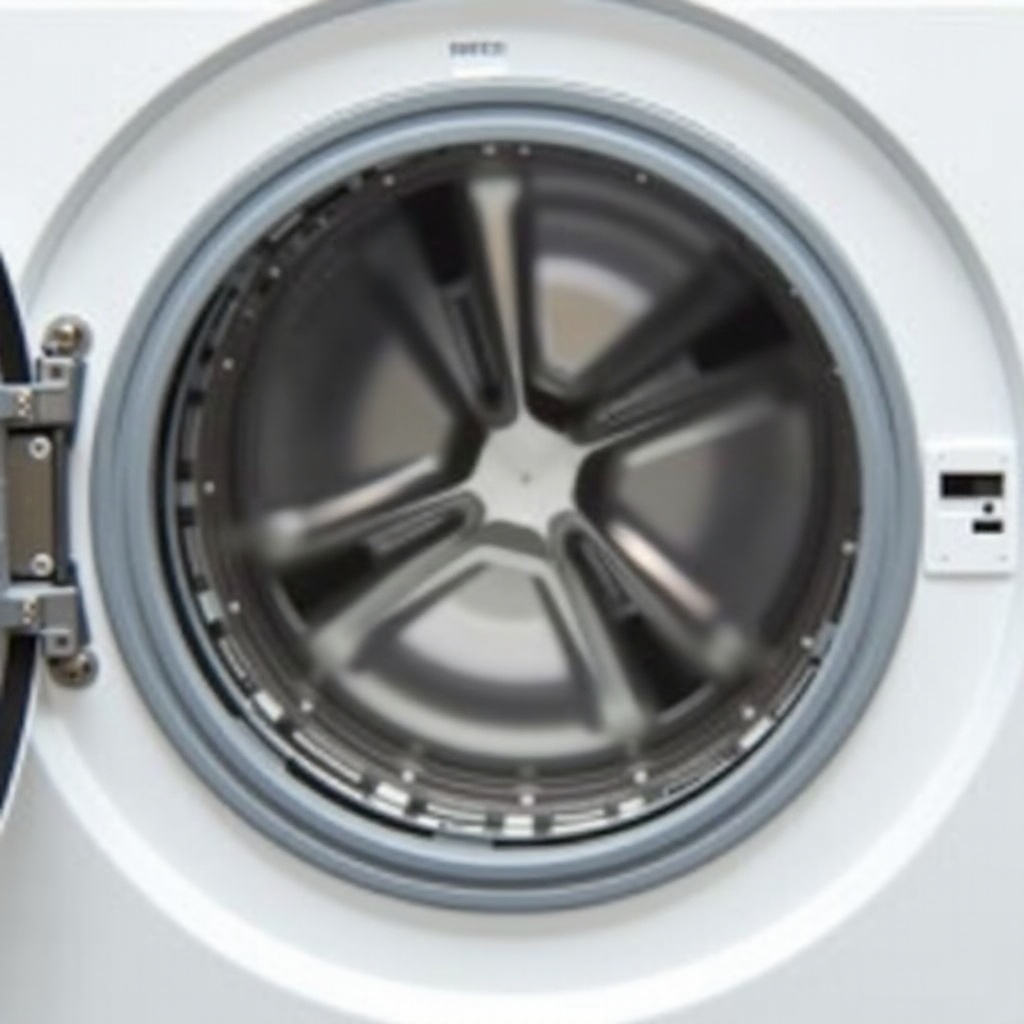
A washer agitator is the central post in a washing machine that moves back and forth to churn the laundry. This motion is crucial for effectively cleaning clothes as it helps to dislodge dirt and grime.
Types of Washer Agitators
Washer agitators come in various types, including:
- Traditional agitators with fins
- High-efficiency agitators designed for modern washers
Each type functions differently but serves the same primary purpose of improving wash performance.
Signs Your Agitator Needs Removal
You may need to remove your washer agitator if you notice:
- Reduced cleaning efficiency
- Unusual noises during the wash cycle
- Visible dirt and residue buildup
Regular inspection and maintenance can prevent these issues from escalating.
Preparation Before Removal
Safety Precautions
Before starting the removal process, ensure you take the following safety steps:
- Unplug the washer from the power source.
- Turn off the water supply to avoid any leaks.
- Wear gloves to protect your hands during the process.
Tools You Will Need
Gather the necessary tools to simplify the removal process:
- A socket wrench
- A flathead screwdriver
- A bucket or cloth to catch any water spills
Pre-Removal Checklist
Before you begin, make sure to:
- Clear the washer drum of any clothing or items.
- Dry the drum to prevent slipping.
- Have all the tools within easy reach for convenience.
Step-by-Step Guide to Removing Your Washer Agitator
Accessing the Agitator
- Remove the top cover or fabric softener dispenser from the agitator.
- Use the flathead screwdriver to pry off any clips or lids securing the agitator.
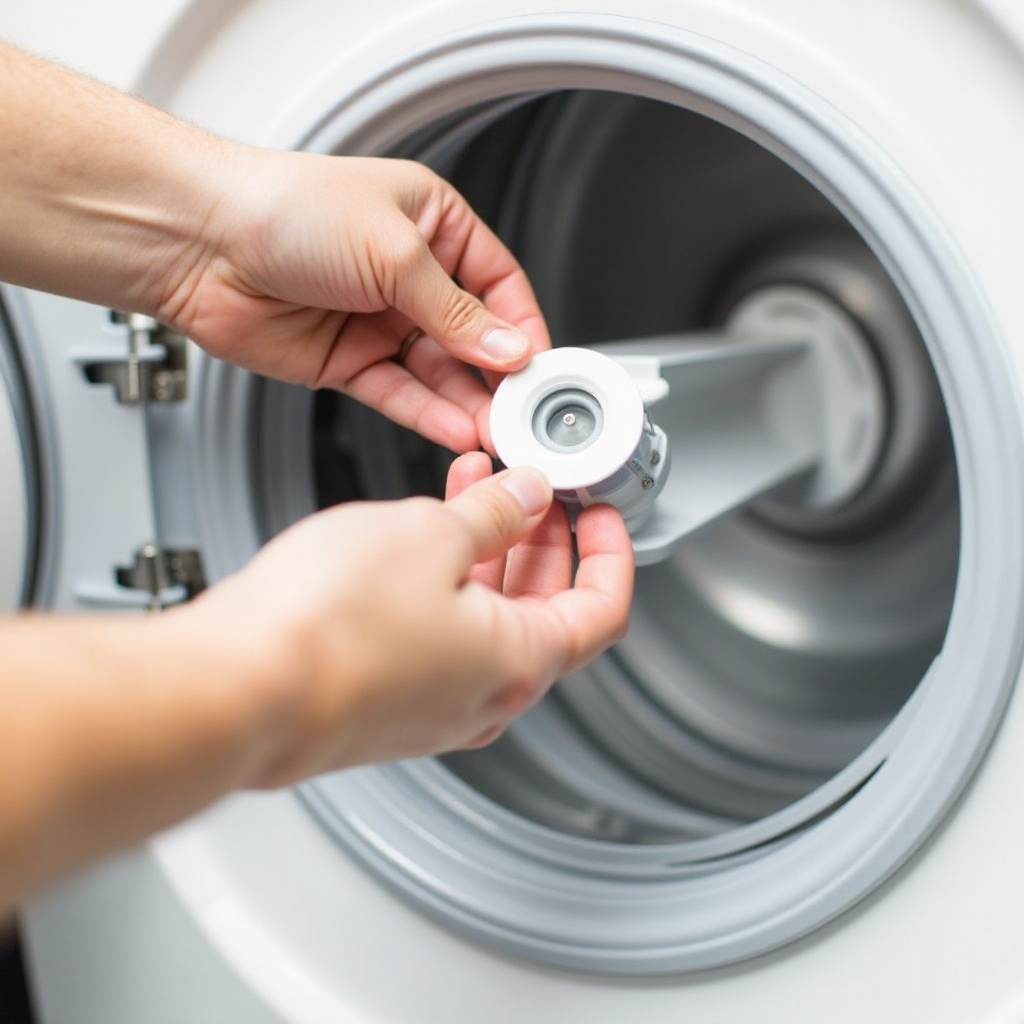
Removing the Agitator Cap
Once you have access to the agitator cap:
- Unscrew and remove the cap with the screwdriver or socket wrench.
- Place the cap in a safe location to avoid misplacing it.
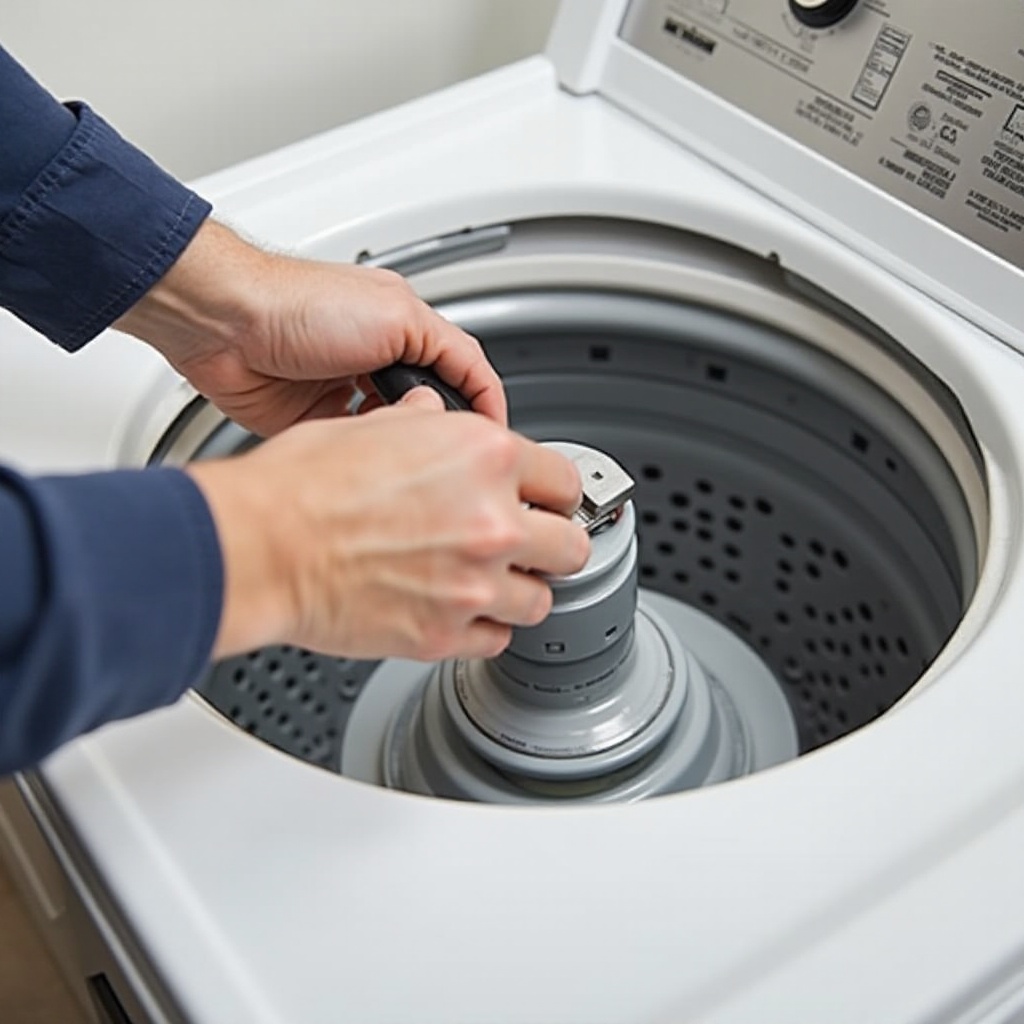
Unscrewing and Lifting Out the Agitator
Next, you can focus on the agitator itself:
- Unscrew the central bolt holding the agitator in place using the socket wrench.
- Gently wiggle and pull the agitator upward to lift it out of the drum.
Troubleshooting Common Issues
If you encounter difficulties:
- If the agitator is stuck, apply a bit of penetrating oil around the base.
- Use a rubber mallet to tap gently and loosen it up without damaging the components.
Cleaning and Inspecting the Agitator
Effective Cleaning Methods
Once removed, clean the agitator thoroughly:
- Use warm soapy water and a brush to scrub away any residue.
- Ensure all crevices are free of debris.
Inspecting for Wear and Tear
Examine the agitator for any signs of damage, such as:
- Cracks in the plastic
- Worn-out or damaged fins
Replace any components showing significant wear to maintain washing efficiency.
Reinstalling the Washer Agitator
Proper Reinstallation Steps
To reinstall the agitator:
- Align the agitator with the central post and push it down firmly.
- Reattach the central bolt and tighten it securely using the socket wrench.
Ensuring Secure Placement
Ensure the agitator is properly seated:
- Push and pull slightly to check for stability.
- Reattach any caps or dispensers removed earlier.
Post-Removal Maintenance Tips
Routine Checks and Upkeep
Regularly inspect your washer components:
- Check agitator stability and cleanliness every few months.
- Remove lint and residue from the drum after every wash.
Tips for Long-Term Washer Health
Ensuring the longevity of your washer involves:
- Balancing loads properly to avoid undue strain on the agitator.
- Using the appropriate detergent to prevent buildup.
Conclusion
Regular maintenance, including removing and cleaning your washer agitator, keeps your appliance running efficiently. Following these steps can help you save money and extend the life of your washer, ensuring cleaner clothes with every wash.
Frequently Asked Questions
How often should I remove and clean my washer agitator?
It is recommended to remove and clean your washer agitator every six months or when you notice decreased washing efficiency.
What should I do if the agitator won't come out?
If the agitator is stuck, use a rubber mallet to tap around the base gently. Applying penetrating oil can also help loosen it.
Can I use household tools for removing the agitator?
Yes, you can use common household tools like a socket wrench and a flathead screwdriver, but ensure you have them in the appropriate sizes to avoid damage to the agitator.