Introduction
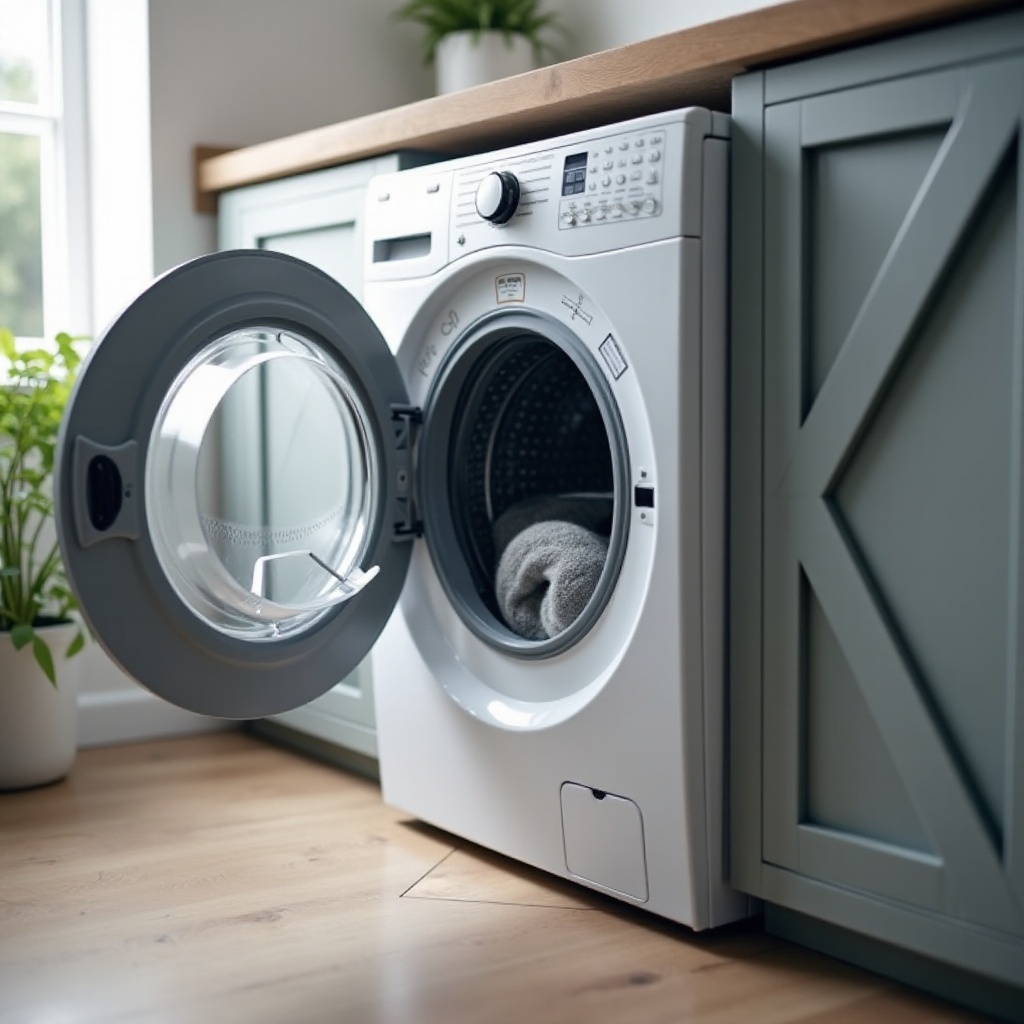
Removing the agitator from your washing machine might seem like a daunting task, but with the right guidance, it can be a straightforward process. Whether you need to remove it for maintenance, replacement, or repair, this guide will walk you through all the necessary steps. By following our detailed instructions, you'll be able to ensure your washer functions efficiently, and if any issues arise, you'll be well-equipped to handle them.
Why You Might Need to Remove the Agitator
The agitator in your washing machine plays a crucial role in cleaning your clothes. It helps to move your clothes around, promoting better detergent penetration and effective washing. However, there are several reasons why you might need to remove it:
- Maintenance: Over time, debris and detergent residue can accumulate beneath the agitator, which can affect the washer's performance. Regular cleaning can prevent this buildup.
- Repair: If the agitator is damaged or not functioning correctly, it might need to be repaired or replaced.
- Inspection: Occasionally, you may need to inspect the interior of your washer for any foreign objects that might be causing issues.
Knowing the potential reasons helps you understand the importance of removing the agitator when necessary, and prepares you for the following practical steps.
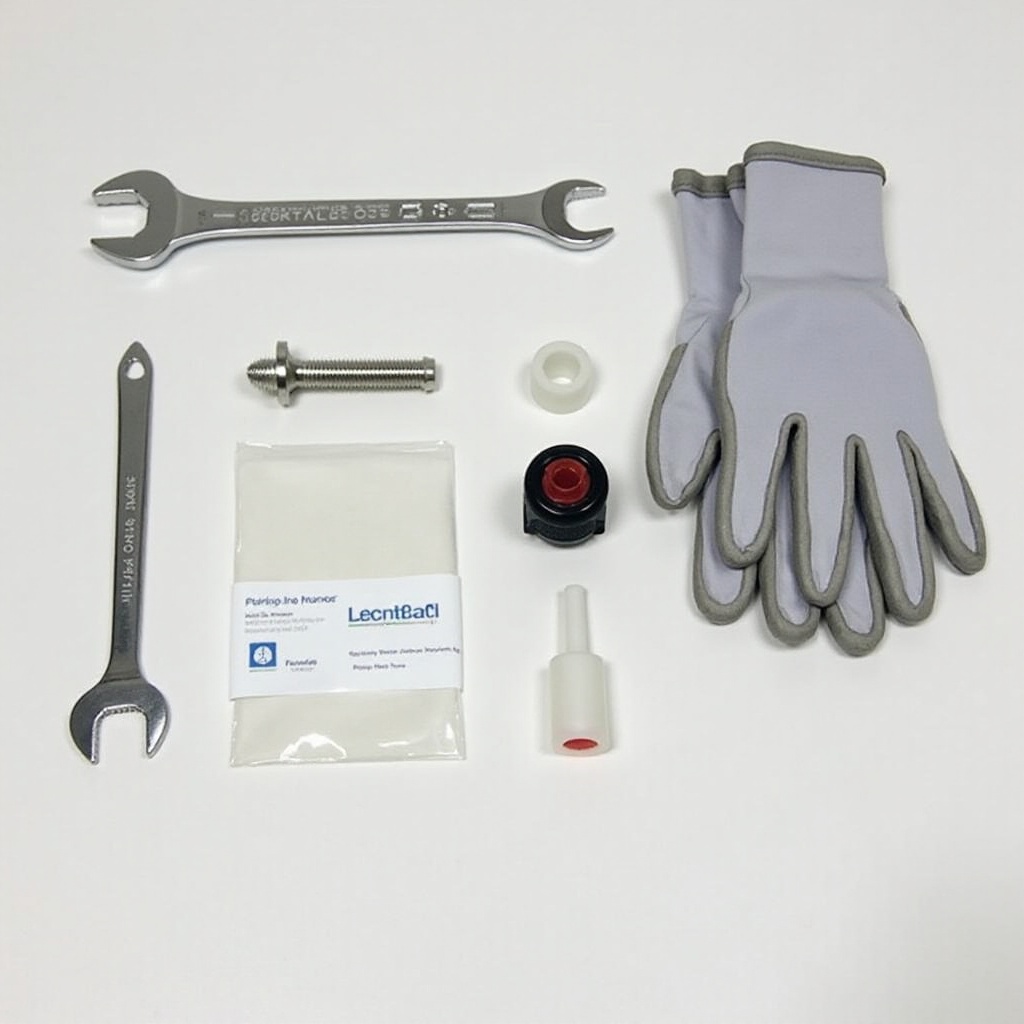
Tools and Materials You'll Need
Before starting the removal process, make sure to gather all the necessary tools and materials. Having everything on hand will make the process smoother and quicker.
- Screwdriver: A flat-head or Phillips screwdriver, depending on your washer model.
- Socket Wrench: To remove any bolts securing the agitator.
- Agitator Removal Tool: Specific for some washer models, helps ease the removal process.
- Work Gloves: To protect your hands.
- Towels: To mop up any water spills.
- Bucket: Useful if there’s any remaining water in the washer.
- Cleaning Supplies: For maintenance, have a mild detergent or cleaning solution ready.
These tools and materials are essential for ensuring that you can perform the task without unnecessary interruptions. Proper preparation is key to a smooth and successful agitator removal.
Step-by-Step Guide on Removing the Agitator
Now, let's dive into the main part. This step-by-step guide outlines exactly what you need to do:
Safety First: Disconnecting the Washer
To start, always ensure your safety. Unplug your washer from the power supply to avoid any electrical hazards. Additionally, shut off the water supply to prevent any flooding or water spillage. This initial step is crucial to avoid any accidents.
Removing the Dispenser and Fabric Softener Cup
- Open the washer lid to access the interior.
- If your washer has a fabric softener dispenser on top of the agitator, gently pull it out. Some models might require a bit of a twist to remove.
- Once the fabric softener cup is out, set it aside in a safe place.
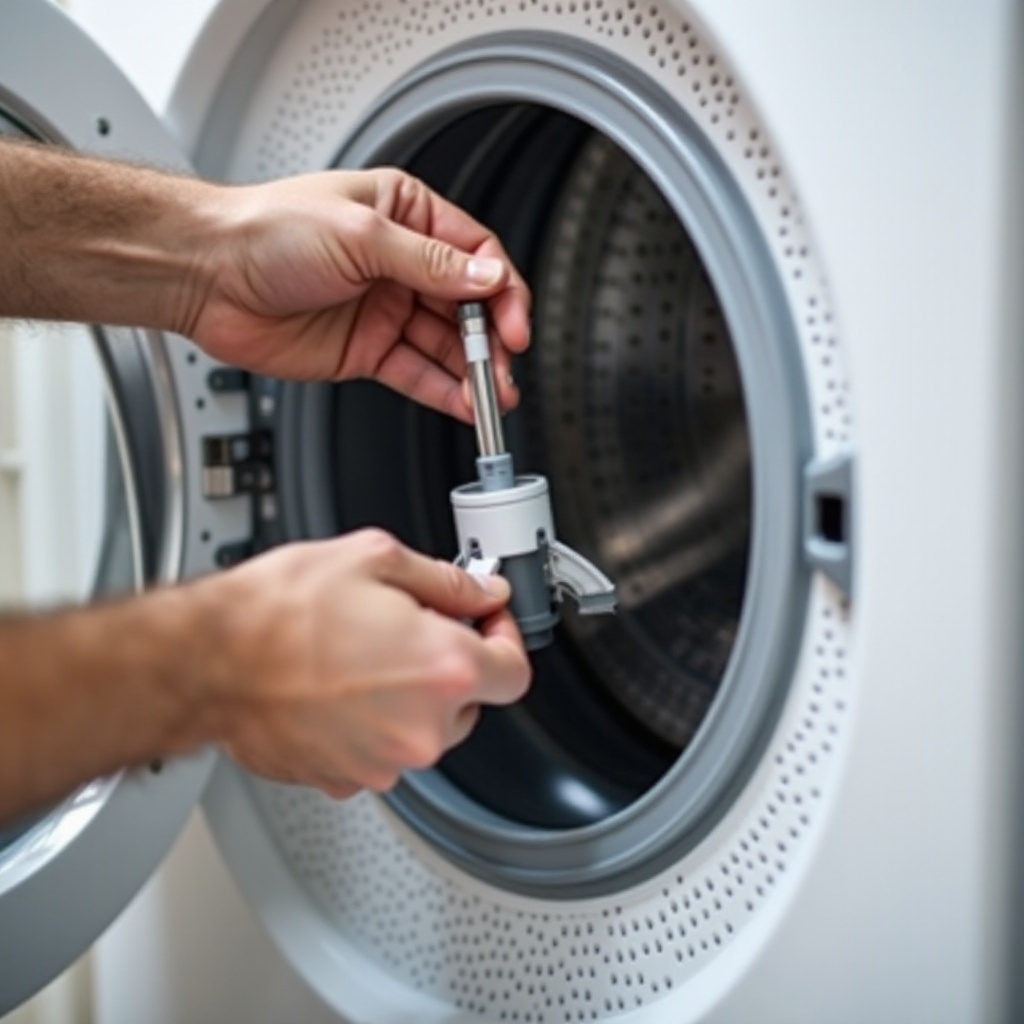
Accessing the Agitator Bolt
- Look inside where the fabric softener cup was. You should see a bolt or screw at the center of the agitator.
- Use your screwdriver or the appropriate bit to loosen and remove this bolt. Hold the agitator firmly to prevent it from spinning.
Unscrewing and Removing the Agitator
- After removing the bolt, the agitator should be loose. Grasp the bottom of the agitator firmly.
- Pull the agitator straight up. It might require a bit of force if it’s been in place for a long time.
Handling Stubborn Agitators
If the agitator doesn’t come out easily, don’t panic:- Apply Penetrating Oil: Spray a bit of penetrating oil around the base of the agitator. Allow it to sit for a few minutes.- Use an Agitator Puller Tool: This specialized tool can provide extra leverage to pull the agitator out without damage.
Inspecting and Cleaning After Removal
Once the agitator is out, take the opportunity to inspect the area:- Clean the Base: Use a mild detergent to clean the area where the agitator was situated. This will help remove any residue.- Check for Damage: Look for any signs of wear or damage on the agitator and the surrounding parts.
Reassembly and Final Checks
After cleaning and inspecting, it's time to reassemble everything:1. Place the agitator back into position, ensuring it aligns correctly with the bolt hole.2. Screw the bolt back in, tightening it securely.3. Replace the fabric softener cup and any other components removed.
Now, reconnect your washer to the power supply and turn on the water. Run a short test cycle to ensure everything operates smoothly. This step ensures that your washer is reassembled correctly and in good working order.
Conclusion
Removing an agitator from your washer doesn't have to be a complicated task. By following this guide, you can perform necessary maintenance, repairs, or inspections with confidence. Regular maintenance like this helps prolong the life of your washer and ensures it operates efficiently.
Frequently Asked Questions
Can I remove the agitator from any washing machine model?
Generally, yes. Most top-load washers allow the agitator to be removed. However, always refer to your washer's user manual for specific instructions related to your model.
What should I do if the agitator is stuck and won’t come out?
If the agitator is stubborn, apply some penetrating oil around the base and let it sit for a few minutes. You can also use an agitator puller tool for additional leverage.
Do I need any special tools to remove the agitator?
For most washers, basic tools like a screwdriver and a socket wrench are sufficient. However, some models may require a specialized agitator puller tool, especially if the agitator is particularly tight or stuck.