Introduction
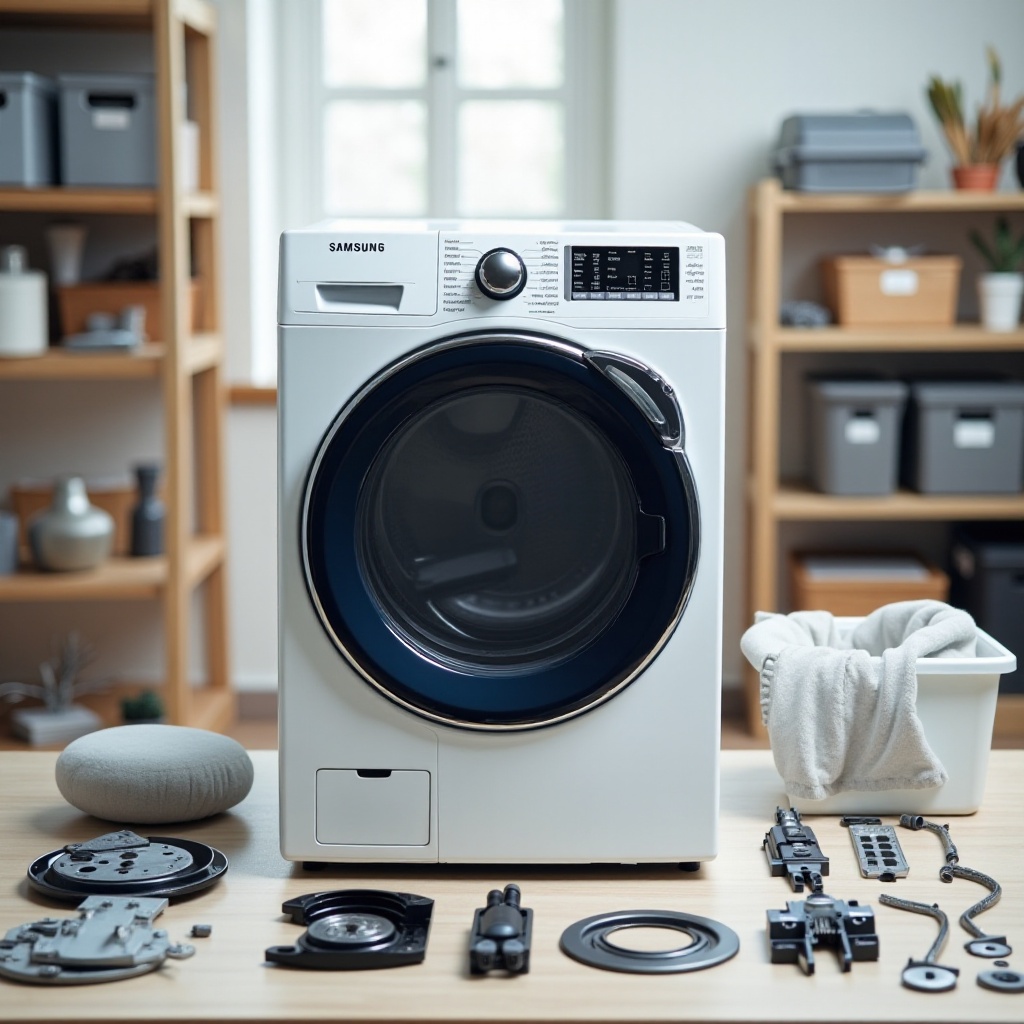
Taking apart your Samsung dryer can be a valuable skill, especially if you're dealing with performance issues or need to perform maintenance. This guide will walk you through the process safely and effectively, ensuring your dryer continues to run smoothly.

Essential Tools and Safety Precautions
Before disassembling your dryer, gather the necessary tools and familiarize yourself with safety precautions to ensure a smooth process.
- Tools Required:
- Phillips and flathead screwdrivers
- Needle-nose pliers
- Multimeter for electrical checks
Socket wrench set
Safety Precautions:
- Unplug your dryer from the electrical outlet to avoid shocks.
- Wear gloves to protect your hands from sharp edges.
- Ensure you're working in a well-lit area with plenty of space.
Now that you're prepared with the tools and safety measures, you're ready to begin the disassembly process.
Step-by-Step Guide to Disassembling Your Samsung Dryer
Removing the Top Panel
- Begin by locating and removing the screws at the back of the top panel with a Phillips screwdriver.
- Carefully slide the top panel forward and lift it off, setting it aside.
Detaching the Control Panel
- Locate the screws securing the control panel and unfasten them carefully.
- Disconnect any wiring harnesses connected to the control panel, noting their positions for reassembly.
- Set the control panel in a safe place.
Taking Off the Front Panel and Door
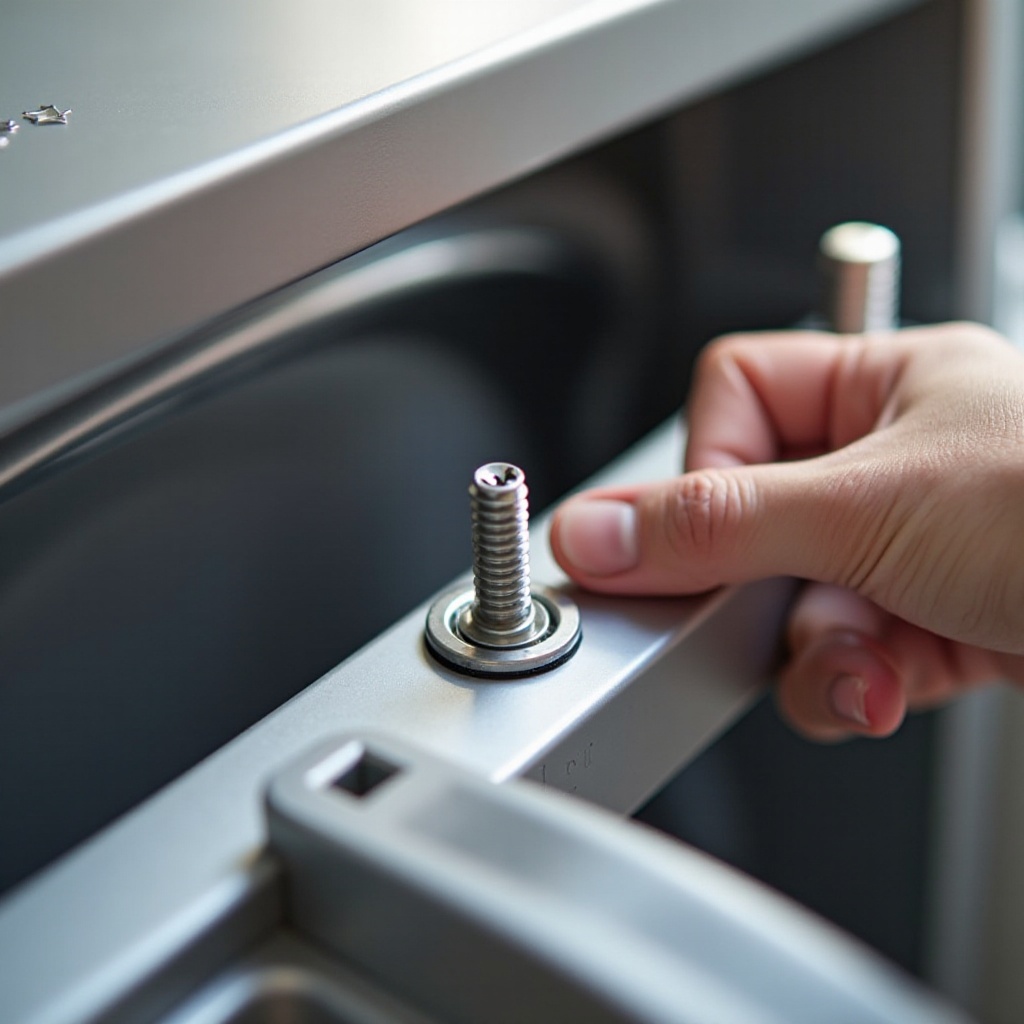
- Open the dryer door and remove the screws securing the door hinges.
- Gently lift the door off its hinges and set it aside safely.
- Proceed to remove the screws from the front panel and carefully pull it forward.
Accessing the Drum and Internal Parts
- With the front panel removed, gain access to the drum by loosening the belt.
- Remove the drum carefully, making sure it is free from obstructions.
- With the drum out of the way, inspect the belt and rollers, checking for wear or damage.
Cleaning and Inspecting Components
- With clear access to the internal components, remove any lint or debris inside the dryer.
- Inspect the motor, blower, and heating element for any signs of damage.
- Use a multimeter to test electrical components, ensuring they are in good working condition.
By following these steps, you have now disassembled your Samsung dryer. It's time to focus on reassembling it.

Reassembling Your Samsung Dryer
Begin reassembly by reversing the disassembly steps.
- Replace the drum, ensuring the belt and rollers are properly aligned.
- Secure the front panel with its screws, then carefully rehang the dryer door.
- Reconnect all wiring harnesses to the control panel, ensuring secure connections.
- Reattach the control panel in its correct position and fasten it with screws.
- Slide the top panel back on, ensuring it fits properly, and fasten with screws.
Reassembling carefully ensures that your dryer functions correctly once powered back on.

Troubleshooting Common Problems During Reassembly
If you encounter any issues during reassembly, here are some fixes:
- Door Alignment Issues: Ensure the door hinges are correctly aligned and fastened securely.
- Loose Wiring: Double-check all harness connections to ensure they are snug and secure.
- Drum Misalignment: Verify that the drum is sitting properly on the rollers and that the belt is correctly aligned.
Once you've tackled any issues, your dryer should be ready for use again.
Conclusion
By following this comprehensive guide, you have learned how to take apart and reassemble your Samsung dryer for maintenance or repair. These actions not only help you address current issues but also extend the life of your dryer.
Frequently Asked Questions
How long does it take to disassemble a Samsung dryer?
Disassembling a Samsung dryer generally takes between one to two hours, depending on your experience and familiarity with the appliance.
What should I do if I can't reassemble my dryer properly?
If you struggle with reassembly, consult the appliance's manual or seek assistance from a professional technician to avoid causing damage.
Can taking apart my dryer void the warranty?
Yes, disassembling your dryer without proper authorization can void the warranty. Always check your warranty terms before proceeding with DIY repairs.
