Introduction
Opening your dryer can seem daunting if you're not familiar with the process. However, maintaining your dryer regularly and troubleshooting common issues is crucial to keeping your appliance running efficiently. Whether you're looking to clean the interior, check for worn parts, or perform minor repairs, learning how to open a dryer can save you both time and money. Let's dive into the process and get you on your way to being your own appliance expert.

Safety Precautions
Safety should always be your top priority when dealing with electrical appliances like dryers. Being cautious not only prevents injury but also protects the appliance from damage.
- Unplug the Dryer: Ensure the dryer is unplugged from the power outlet to eliminate the risk of electric shock.
- Wear Protective Gear: Use gloves and safety goggles to protect your hands and eyes from sharp edges and debris.
- Ventilate the Area: Make sure the area is well-ventilated while working on your dryer to avoid any dust-related allergies or problems.
With safety measures in place, you are now ready to gather the tools required for the job.
Tools You Will Need
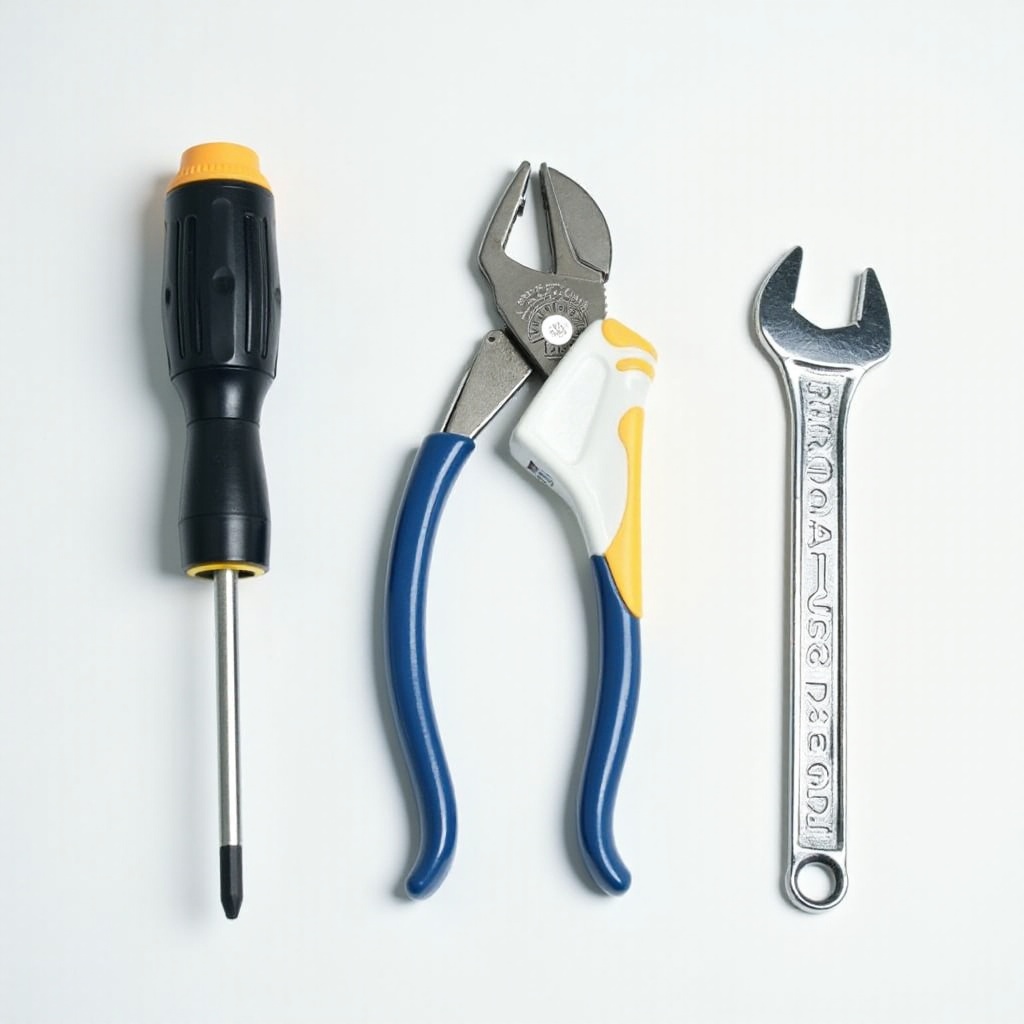
Having the right tools ensures a smooth and efficient process:
- Screwdriver Set: Typically, you will need both Phillips and flathead screwdrivers.
- Pliers: Useful for pulling out any caps or clamps.
- Socket Wrench Set: For removing any nuts and bolts.
- Putty Knife: Helps in easing off panels without damaging them.
Armed with the proper tools, it's essential to understand your specific dryer type before proceeding.
Identifying Your Dryer Type
Knowing whether you have a gas or electric dryer will influence the process:
- Electric Dryers: These are more common and easier to manage due to fewer components connected to gas lines.
- Gas Dryers: While these may offer energy efficiency, they require you to handle gas lines carefully.
Different brands may have unique features, so consulting the user manual specific to your dryer model is a good practice. With this knowledge, you can prepare your dryer for opening.
Preparing Your Dryer for Opening
Before jumping into dismantling the dryer, there are initial preparation steps:
- Disconnect Power and Gas Supply: For electric dryers, ensure the plug is removed. For gas dryers, turn off the gas supply and detach any gas connectors.
- Clear the Surrounding Area: Make space around the dryer to move freely.
- Have a Container Ready: Use it to keep screws and small parts organized.
Once your dryer is ready to be opened, you can proceed with the step-by-step process.
Step-by-Step Guide to Opening Your Dryer
Follow these steps to open your dryer efficiently:
- Access the Control Panel: Depending on your dryer model, you may need to remove the control panel first. This usually involves unscrewing a couple of screws at the top rear.
- Remove the Top Panel: Insert the putty knife under each end of the top panel and push to release clips to lift off the top.
- Detach the Front Panel: Unscrew and carefully lift the front panel. You may need to disconnect wiring harnesses that connect the door switch.
- Access the Interior: With the front panel off, you can now access the lint filter, drums, and other critical components inside the dryer.
This allows you to inspect the interior components and perform cleaning or repairs needed.
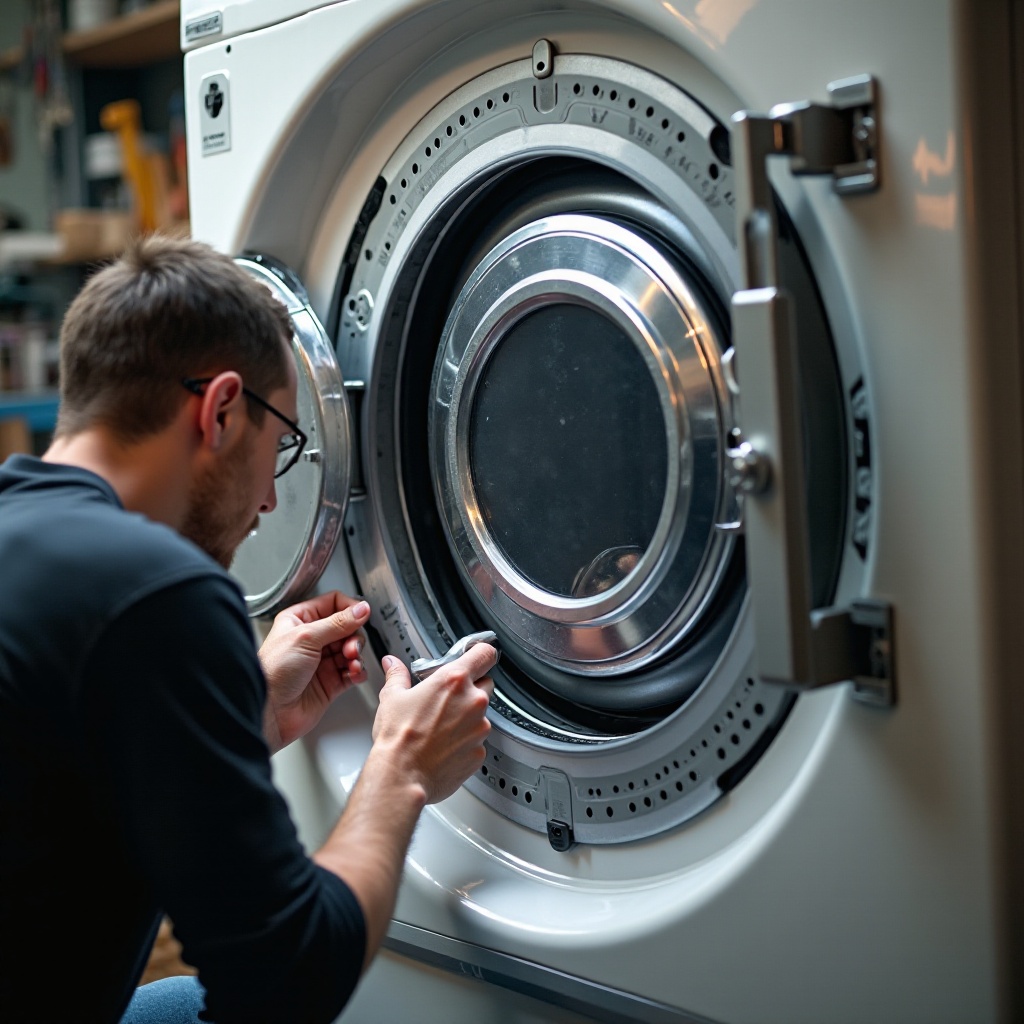
Inspecting and Cleaning the Interior
Once open, it’s crucial to check and clean the interior:
- Inspect Parts: Check the drum rollers, belt, and pulley for wear and tear.
- Clean the Lint Trap Housing: Use a vacuum to clean out accumulated lint and debris.
- Wipe Down the Drum: Use a damp cloth to clean the drum interior.
Keeping it clean is vital to prevent overdrying or potential fire hazards. Now it's time to put everything back together.
Reassembling Your Dryer
Reassembling requires careful attention:
- Reattach Panels: Place the panels back in their original positions and fasten them with screws.
- Reconnect Wiring: Attach any wiring harnesses you may have disconnected.
- Secure the Top Panel: Position it properly and fasten it by pushing it onto the locking clips.
Ensuring every part is secured reduces the risk of any future mishaps. After assembling, check if the dryer operates correctly.
Testing Your Dryer
After reassembly, it's essential to ensure everything functions as intended:
- Plug Back in or Reconnect Gas Supply: Return power to the dryer and test by running a short cycle.
- Listen for Strange Noises: Noisy operations may indicate loose parts or misalignment.
- Check Cycle Completion: Ensure the cycle completes without interruption.
With everything running smoothly, you can be assured of a job well done.
Conclusion
Opening a dryer might initially seem intimidating, but with the right tools and guidance, it can be a manageable task. Regular maintenance can extend the appliance's life and save on costly repairs. Familiarize yourself with these steps, and you'll have the confidence to tackle dryer issues as they arise.
Frequently Asked Questions
What are the signs that I need to open my dryer?
If your dryer shows signs like unusual noises, inefficient drying, or excessive vibrations, it may be time to open it for inspection.
How often should I clean the inside of my dryer?
It's advisable to clean your dryer's interior every six months to ensure optimal performance and safety.
Can opening my dryer void the warranty?
Consult your warranty terms before opening the dryer, as it may vary by manufacturer. Doing so without authorization may void the warranty for some brands.