Introduction
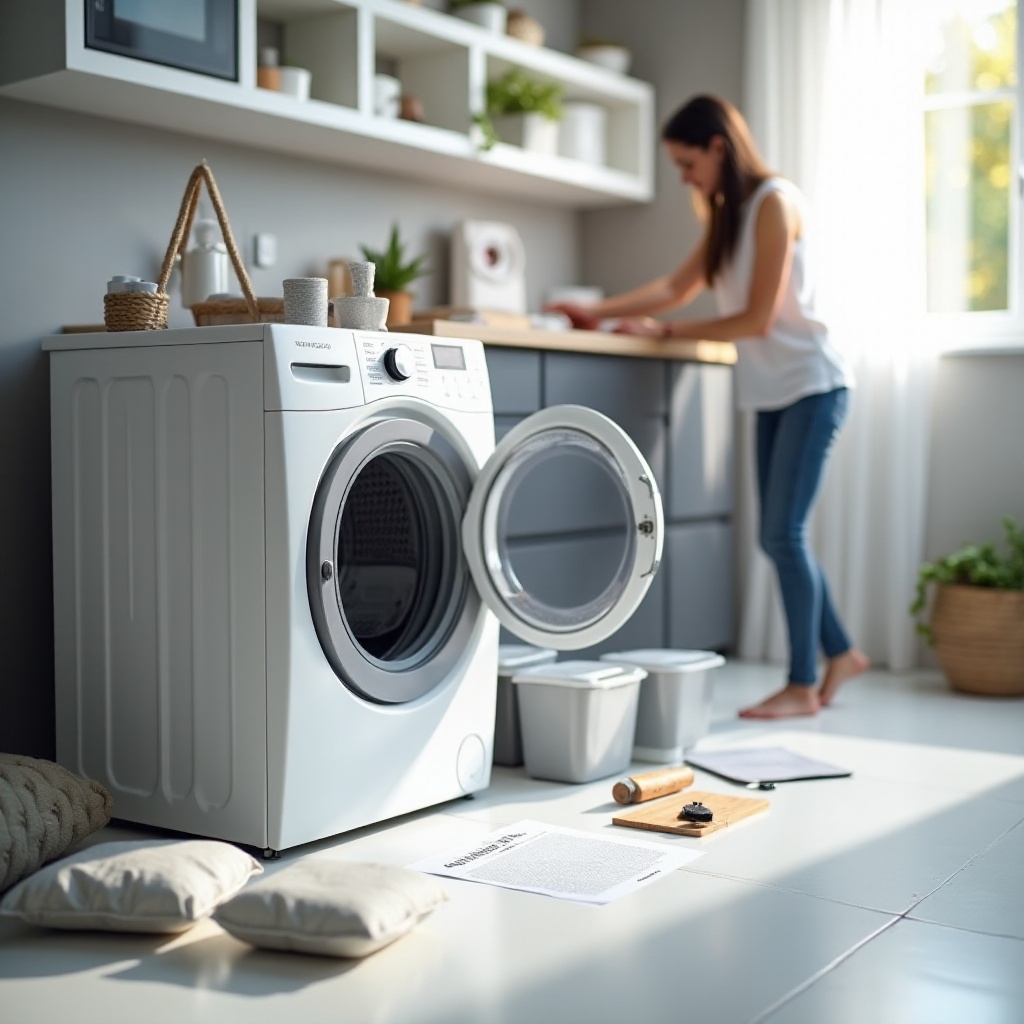
Setting up your new washer properly ensures smooth operation and enhances its longevity. A correct installation can save you from costly repairs and inefficiencies. Our guide breaks down each step to simplify the process.

Essential Tools and Preparation
Before diving into the installation, organize all required tools and materials. This preparation will make the setup quick and prevent potential problems.
List of Required Tools
- Adjustable wrench
- Screwdrivers
- Level tool
- Measuring tape
- Bucket or bowl (for potential leaks)
Pre-Installation Checklist
- Inspect Your Washer: Check for any visible damages that might have occurred during transit.
- Read the Manual: Get familiar with the manufacturer's instructions to avoid mistakes.
- Check Connections: Ensure water supply lines and electrical outlets are accessible and functional.
Having the right tools and being fully prepared allows you to choose the optimal location for your washer, setting the stage for a successful installation.
Choosing the Best Location for Your Washer
Selecting the correct spot is crucial to ensure your washer functions safely and efficiently. Proper placement minimizes vibrations and other operational issues.
Factors to Consider for Placement
- Proximity to Utilities: Place the washer close to water inlets and power outlets to facilitate easy connection.
- Floor Stability: Choose a location where the floor can support a fully loaded washer and remains level.
- Space for Ventilation: Ensure there's enough space around the machine for air circulation, helping to prevent moisture buildup.
Environmental Considerations
- Keep your washer away from direct sunlight which can harm its components and finishes.
- Ensure good ventilation to reduce the risk of mold and odors.
Once you're satisfied with the location, you can proceed to the installation with confidence.
Step-by-Step Guide to Setting Up Your Washer
With the location selected and tools ready, it's time to install your washer. By following these steps, you can ensure a seamless setup.
Unpacking and Inspecting the Washer
- Remove Packaging: Carefully strip all external packaging and protective materials from the washer.
- Inspect for Damage: Immediately check for any dents, scratches, or operational damages.
- Check Included Parts: Verify that all accessories such as hoses and manuals are present.
Connecting the Water Supply and Drain Hose
- Attach Hoses: Secure the hot and cold water hoses to their respective valves tightly.
- Tighten Connections: Use the adjustable wrench to ensure snug connections but avoid overtightening.
- Position the Drain Hose: Correctly place the drain hose into the laundry sink or standpipe.
Ensuring Proper Electrical Connections
- Connect your washer directly to a grounded electrical outlet to avoid risks.
- Refrain from using extension cords to ensure safety and compliance.
The next crucial step is to ensure the stability and balance of your washer to promote its efficient operation.
Ensuring Stability and Balance
Achieving proper leveling prevents unwanted noise and vibrations, maintaining the washer’s performance over time.
Why Leveling is Necessary
Without proper leveling, your washer is susceptible to uneven loads that increase wear and decrease its longevity.
How to Level Your Washer
- Check the Level: Utilize a level tool to measure the balance of your washer.
- Adjust Feet: Carefully rotate the adjustable feet clockwise to raise or counterclockwise to lower for balance.
- Re-test with Level Tool: Confirm the washer is evenly balanced on all sides.
Once balanced, the washer is ready for its initial run, a critical step to verify that everything is in working order.
First-Time Use and Testing
Running your washer for the first time helps to clear out any residues and check for initial problems.
Running the Initial Wash Cycle
- Conduct an empty wash cycle to wash away residues from manufacturing.
- Monitor the process for leaks, unusual noises, or error notifications.
Diagnosing Common Setup Problems
- Vibrations: If excessive shaking occurs, recheck the leveling process.
- Leaks: Tighten any loose hose connections and confirm the drain hose is correctly positioned.
Post-setup, it's important to focus on keeping your washer maintained for long-term efficiency.
Long-Term Washer Maintenance Tips
Performing regular maintenance keeps your washer in top condition and extends its operational life.
Routine Maintenance Practices
- Frequently clean out filters and dispensers to prevent the build-up of debris.
- Inspect hoses for wear and tear and replace them if needed.
Adjustments to Maintain Setup Integrity
- Periodically ensure the washer remains level as wear and movement may cause shifts over time.
- Regularly check connections to ensure they are secure and not leaking.
Overall, a well-maintained setup guarantees your washer continues to function without hassle and costly repairs.
Conclusion
By following these steps for washer setup and maintenance, you ensure efficient operation and maximum lifespan for your appliance. A little effort now can save you significant time and money in the future.
Frequently Asked Questions
What should I do if my washer is unbalanced?
Ensure all four feet of the washer are firmly touching the floor and adjust them if necessary. Use a level tool to confirm balance from front to back and side to side.
How often should I check the washer setup?
Review your washer's setup every few months, especially after moving it. Regular checks will help maintain its efficiency and avoid potential issues.
Can I setup my washer myself or should I hire a professional?
Most homeowners can set up the washer themselves with basic tools and careful attention to instructions. However, if you encounter complex plumbing or electrical issues, consider hiring a professional to avoid any damages.