Introduction
Installing a washing machine shut off valve is essential for preventing potential water damage and ensuring the longevity of your appliance. This small but significant component will help you control water flow, averting unexpected leaks and the consequent costly repairs. Whether you are a DIY enthusiast looking to tackle this task on your own or simply trying to avoid hefty plumbing fees, the following guide will provide clear, straightforward steps to ensure a successful installation.
Tools and Materials Needed
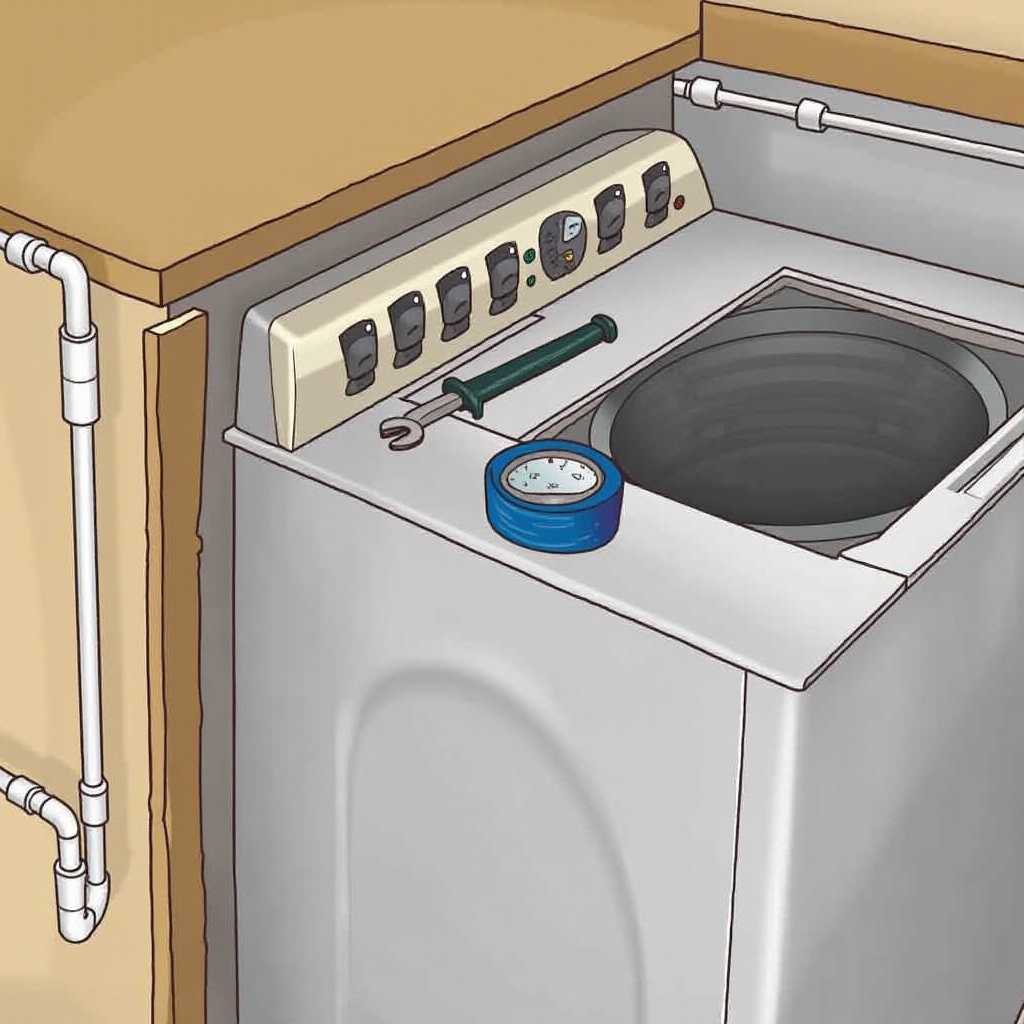
Before you begin the installation process, make sure you have all the necessary tools and materials ready. Proper preparation will significantly ease the installation procedure and minimize possible disruptions. For this task, you will need:
- An adjustable wrench
- A pipe cutter
- Teflon tape
- A brass shut off valve
- A bucket and towels or rags
These items are easily obtainable at local hardware stores and are essential for ensuring an efficient installation process.
Preparing for Installation
Proper preparation is crucial for setting the stage for a successful valve installation. Start by turning off the main water supply to your home to prevent any unwanted water flow while working. Next, disconnect your washing machine from its power source to avoid any electrical hazards.
Once disconnected, place a bucket or towels underneath the pipes to catch any excess water, ensuring your workspace remains dry and safe. With everything in place, you’re ready to proceed to the next stage: removing the old valve.
Removing the Old Valve
If you’re replacing an existing valve, you'll need to remove it carefully to make room for the new installation. Here’s how to do it:
- Use the adjustable wrench to loosen the connection of the old valve.
- Gently pull the valve away from the pipe.
- If the valve is stuck, apply some heat or use a lubricant to ease its removal.
After you have removed the old valve, ensure the pipe threads are clean and ready for the new valve installation.
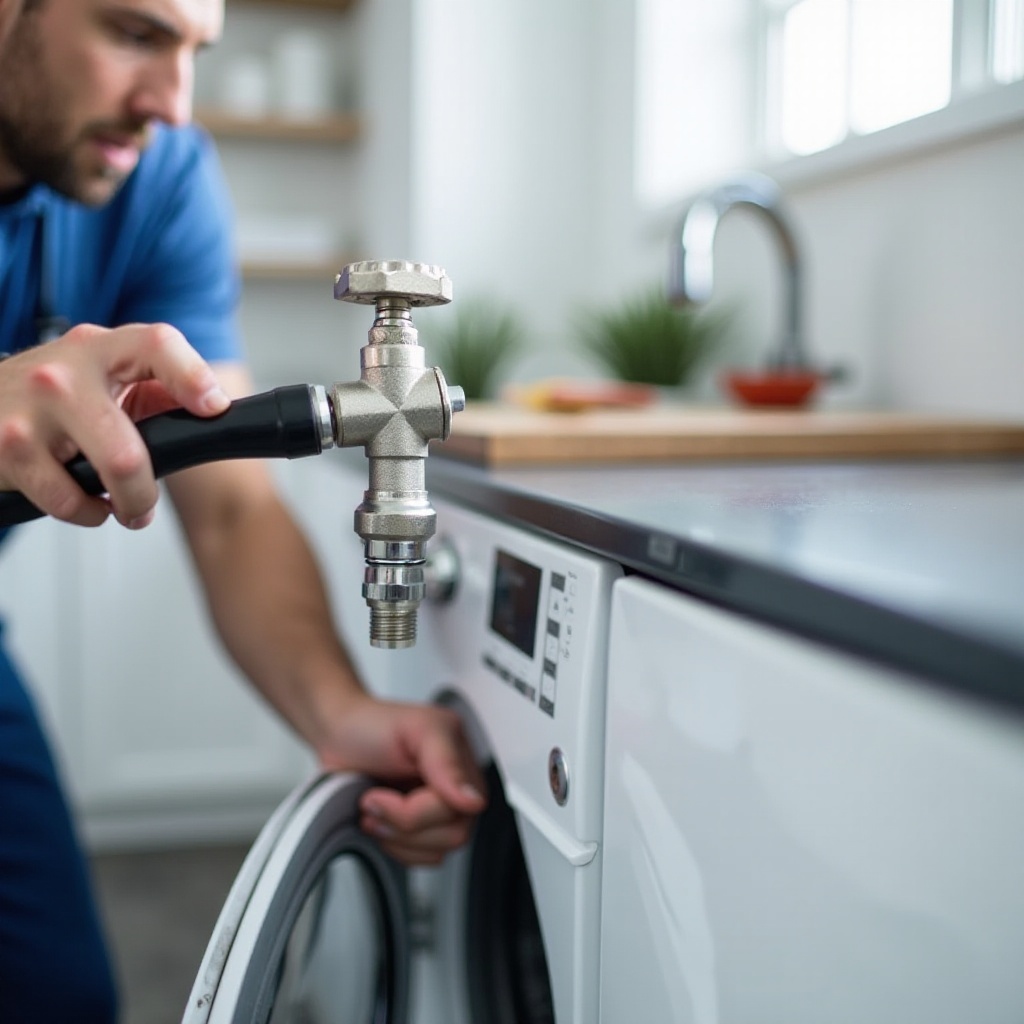
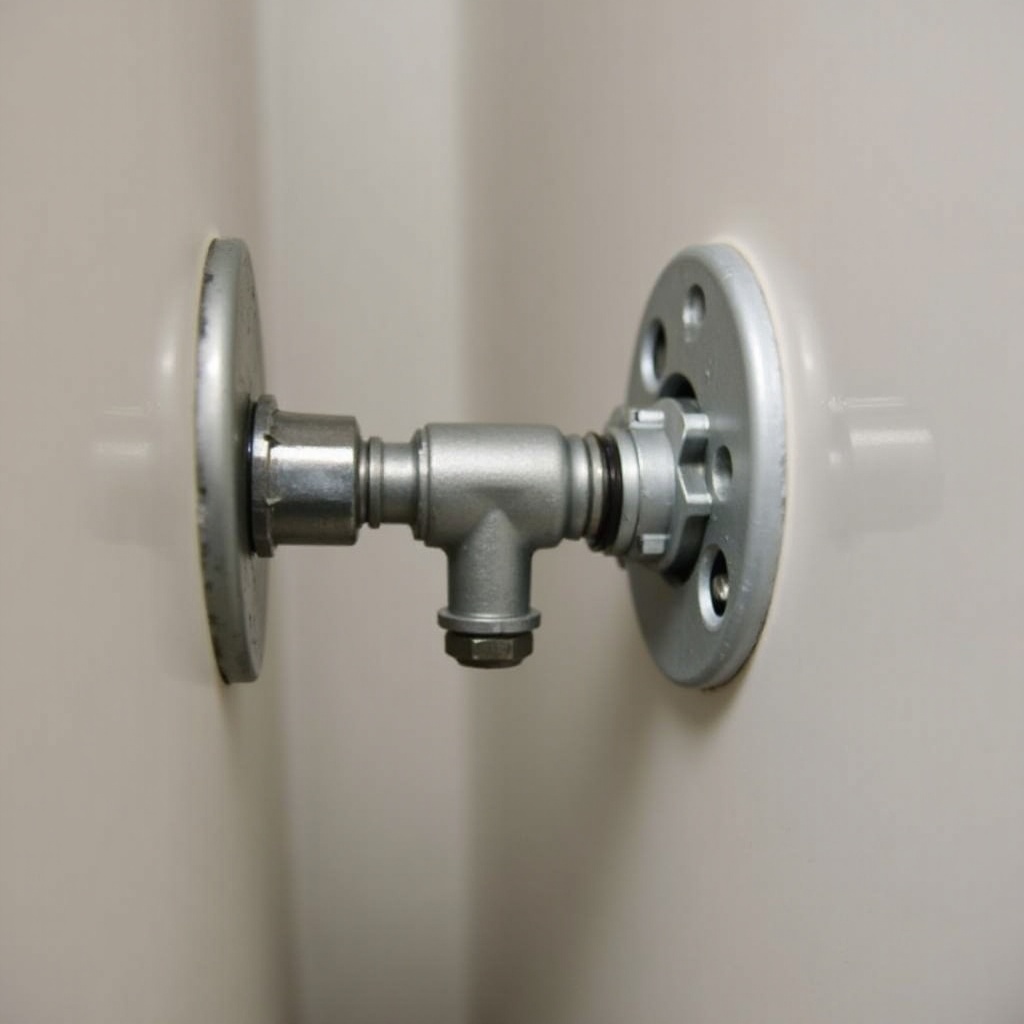
Installing the New Shut Off Valve
Now that you have prepared the pipes, you can begin installing the new shut off valve. Follow these detailed instructions:
- Wrap Teflon tape around the pipe threads. This helps to create a tight seal and prevents future leaks.
- Attach the new valve securely to the pipe’s threads.
- Use the wrench to tighten the valve, ensuring it’s securely attached but being careful not to overtighten, as this can damage the installation or the pipe.
Taking the time to ensure a solid installation will save you potential headaches down the line.
Testing and Inspecting the Installation
With the new shut off valve firmly in place, it’s important to conduct a test to confirm the installation has been successful. Gradually turn on the main water supply and examine the valve closely for any signs of leakage.
Should you discover any leaks, it might be necessary to tighten the valve further or apply additional Teflon tape to achieve a proper seal. Test the valve by turning it on and off to ensure it operates smoothly without resistance.
Troubleshooting Common Issues
Despite following the installation instructions carefully, you may encounter some common issues. Here are some potential problems and their solutions:
- Leakage around the valve: Ensure that the Teflon tape adequately covers all threaded regions before reattaching and securing the valve.
- Difficulty turning the valve handle: This might be indicative of overtightening. Loosening it slightly should resolve the issue.
If these solutions don't remedy the problem, it may be wise to consult with a professional plumber.
Conclusion
Performing the installation of a washing machine shut off valve yourself is a rewarding task that ensures your home is protected from unnecessary water damage and provides peace of mind. By carefully following this comprehensive guide, you can confidently handle the installation process, which emphasizes both safety and efficiency.
Frequently Asked Questions
What types of shut off valves are available?
There are several types, including ball valves, gate valves, and lever-operated valves. Each offers varying ease of use and durability.
Can I install a shut off valve myself, or do I need a professional?
Most homeowners can install a shut off valve with the right tools and instructions. However, if you're uncomfortable or face complications, hiring a professional ensures proper installation.
How often should I check my shut off valve for maintenance?
Regular checks every six months help detect early wear or leaks, ensuring the valve functions correctly when needed.