Introduction
Disassembling a Whirlpool dryer can be a straightforward task if you follow the right steps. Doing so allows you to perform necessary maintenance or address issues that might be affecting its performance. By learning how to effectively take your dryer apart, you can ensure its long-term efficiency and safety.
Why Disassemble a Whirlpool Dryer?
Understanding why you need to disassemble your Whirlpool dryer is critical. Regular cleaning of internal components prevents lint buildup, a primary cause of inefficiency and fire hazards. Moreover, accessing the internal parts can help diagnose and fix common problems such as unusual noises or a malfunctioning motor. By knowing how to take apart your dryer, you empower yourself to maintain it properly, enhancing its lifespan and performance.
Tools and Safety Precautions
Before you begin the disassembly, assemble the necessary tools and review essential safety precautions. Here’s a list of what you will need:
- Phillips and flathead screwdrivers
- Nut driver or socket wrench set
- Putty knife
- Safety gloves
- Multimeter
Safety is paramount when working with electrical appliances. Always unplug your dryer before initiating disassembly to prevent electrocution risks. Wear safety gloves to protect against sharp edges, and use a multimeter to safely test electrical components if necessary.
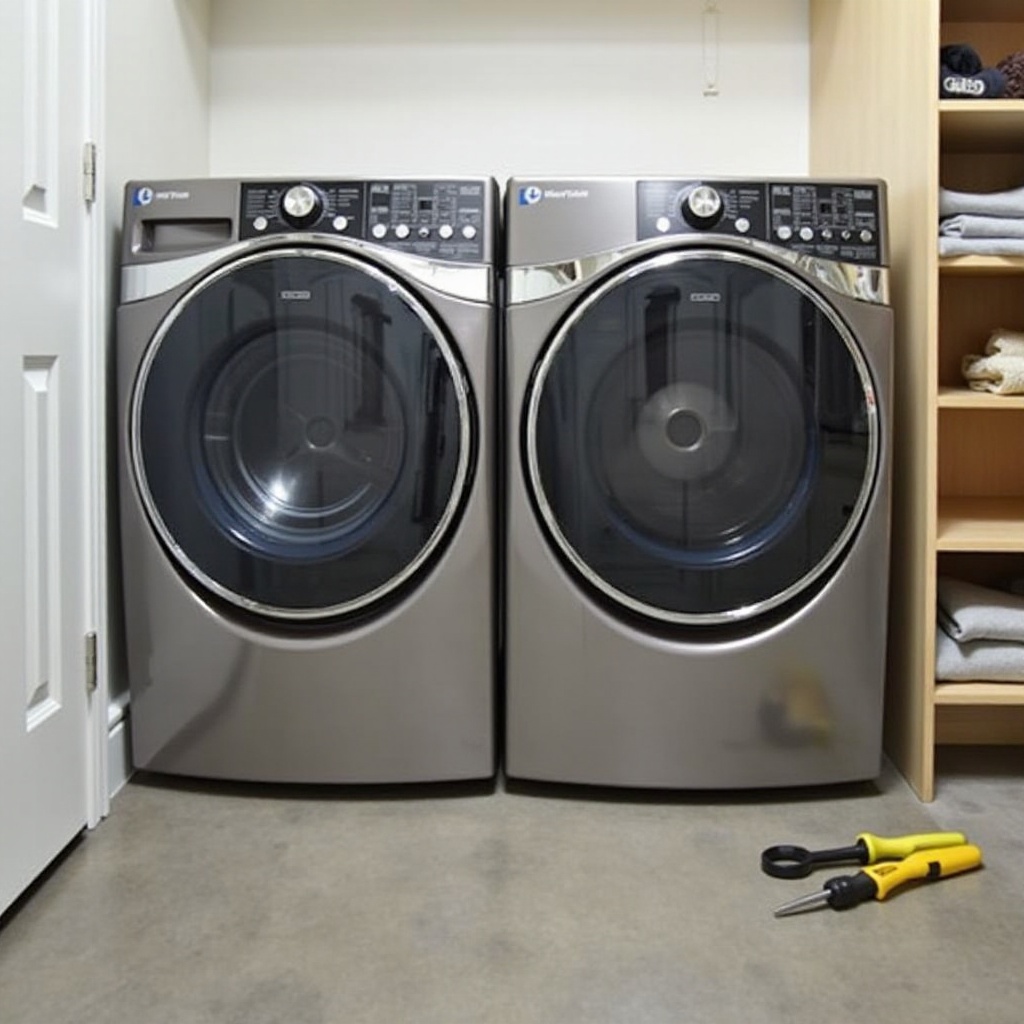
Preparing Your Whirlpool Dryer for Disassembly
Preparation lays the groundwork for a smooth disassembly. Follow these steps to prepare your Whirlpool dryer:
- Disconnect the dryer from the power source.
- Move the dryer away from the wall to provide ample space for work.
- Clean the lint trap and surrounding areas to avoid debris infiltration during disassembly.
- Arrange your workspace with all tools close at hand.
With these preliminary steps complete, you're ready to proceed with removing the dryer’s top panel to access its interior.
Removing the Top Panel
The top panel removal is the starting point to delving deeper into the dryer’s interior. Here’s how to do it:
- Use a screwdriver to remove the screws at the back securing the top panel.
- Slide a putty knife under the front edges to release the clips holding the panel.
- Lift the panel carefully and set it aside.
Once removed, the top panel reveals the control panel and other components, setting the stage for further steps.
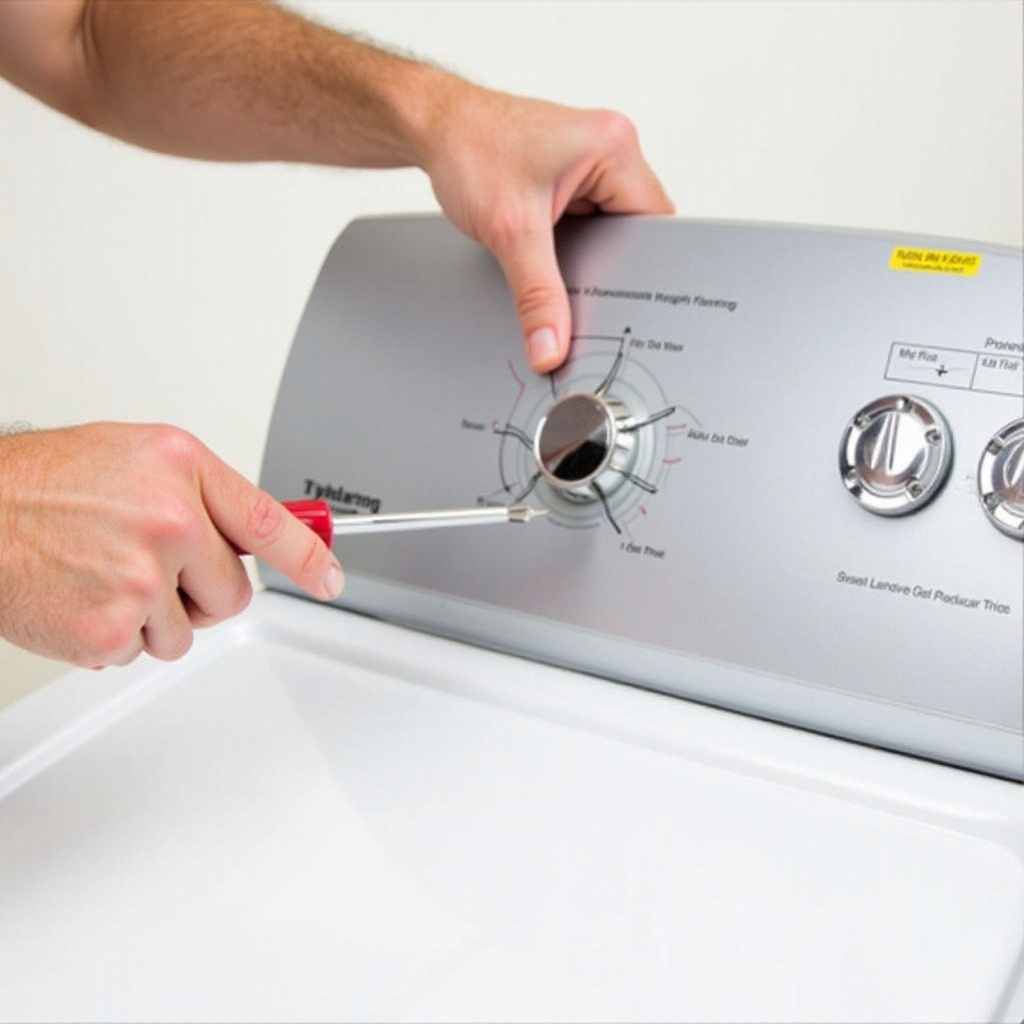
Detaching the Control Panel
Next is the control panel, a key component that requires careful handling:
- Remove any screws or clips fastening the control panel.
- Gently pull the panel forward and disconnect the attached wire harnesses, noting their positions for reassembly.
With the control panel disconnected, you can now proceed to the front panel, gaining broader access to the dryer’s internals.
Taking Off the Front Panel
The front panel is a major barrier to the dryer’s essential parts. Follow these steps to remove it:
- Locate and unscrew the fasteners securing the front panel.
- Gently pull the panel away, disconnecting any electrical wiring such as the door switch before full removal.
With the front panel out of the way, you now have full access to the dryer’s drum and other internal mechanisms that might need maintenance or repair.
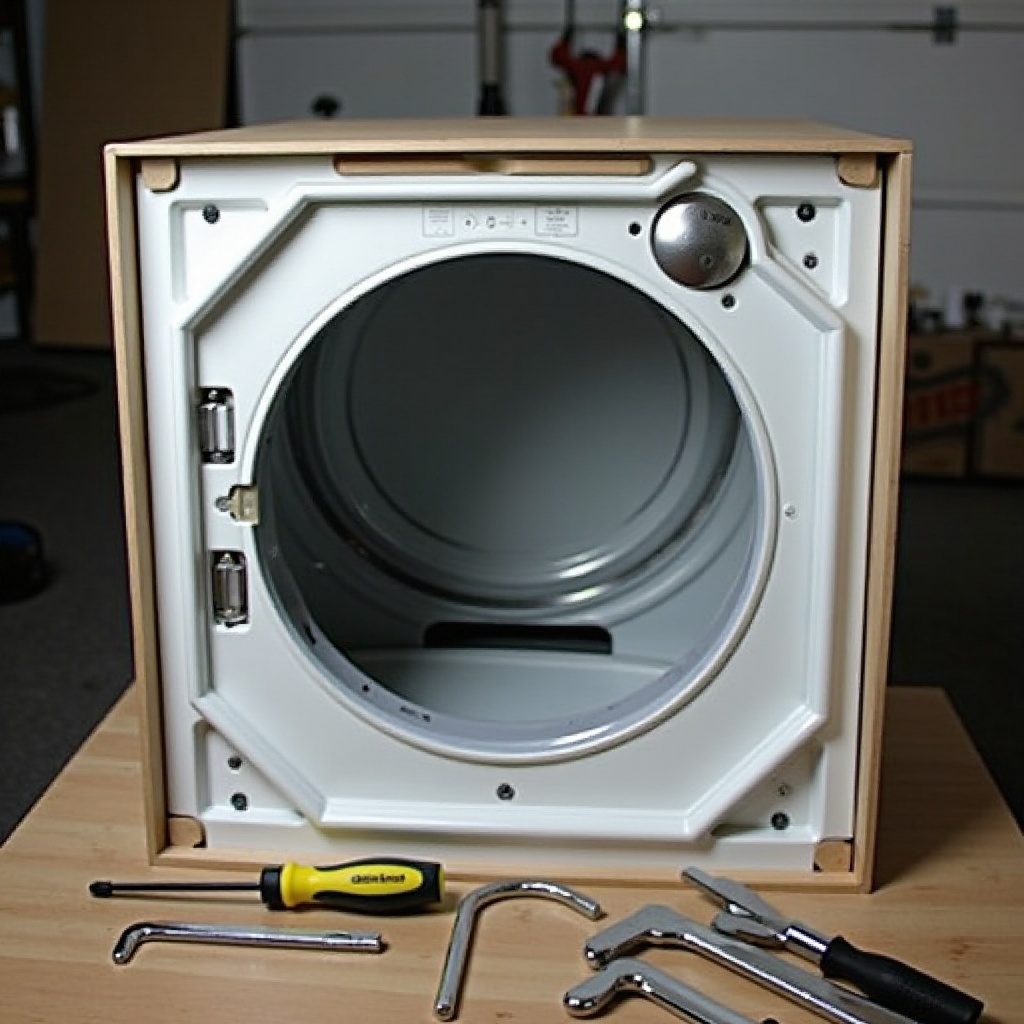
Exploring Internal Components
Inside, you’ll find the drum, motor, belt, and more. Take this opportunity to:
- Inspect and replace the drive belt if necessary.
- Check drum rollers for wear and replace them as needed.
- Thoroughly clean lint and debris that could obstruct dryer operation.
A clear understanding of these components aids in maintaining your Whirlpool dryer and ensures it operates smoothly.
Reassembling Your Whirlpool Dryer
To reassemble, simply reverse the disassembly steps. Precision is key so everything fits correctly:
- Position and secure the front panel, reconnecting all wires correctly.
- Reattach the control panel, ensuring all connections match their pre-disassembly placement.
- Carefully place the top panel back, securing it with screws and clips.
- Verify all parts are fastened and aligned, then plug the dryer back in to test its operation.
Once reassembled, perform a test run to ensure there are no operational anomalies, confirming successful maintenance or repair.
Conclusion
Disassembling your Whirlpool dryer doesn’t have to be intimidating. By following these detailed steps, you ensure efficient maintenance that can greatly extend your dryer’s functional life and performance. Remember, if at any point the process feels overwhelming, consulting a professional is a wise choice.
Frequently Asked Questions
What tools do I need to take apart a Whirlpool dryer?
You will need Phillips and flathead screwdrivers, a socket wrench, a putty knife, safety gloves, and a multimeter.
How often should I clean the internal components of my dryer?
It's recommended to clean the internal components every six months to prevent lint buildup and ensure efficiency.
Is it safe to take apart a Whirlpool dryer by myself?
Yes, as long as you follow safety precautions, such as unplugging the dryer and using appropriate tools, it is safe to disassemble it for maintenance.