Introduction
Removing a dishwasher from under the counter can seem daunting, but with the right approach, it’s quite achievable even for beginners. Whether you’re replacing an old unit or need to perform repairs, knowing how to safely and effectively remove your dishwasher is a useful skill. This guide will walk you through each step, ensuring you do the job quickly and without any hassle.
Materials and Tools You Will Need
Before starting the removal process, gather the necessary materials and tools:
- Screwdriver set
- Adjustable wrench
- Bucket and towels
- Pliers
- Voltage tester
- Work gloves
- Flashlight
These tools will help ensure you can disconnect and remove the dishwasher safely and efficiently.
Safety Precautions Before Dishwasher Removal
Safety should be your top priority when working with electrical appliances and plumbing. Here are the key precautions to take:
- Shut off the power: Locate the circuit breaker for the dishwasher and flip it to the 'off' position. Verify with a voltage tester that there is no electrical current.
- Turn off the water supply: Usually, there’s a shut-off valve under the sink. Turn this valve clockwise until it stops.
- Clear the area: Remove any dishes or personal items from and around the dishwasher to create a spacious work area.
Taking these steps will help ensure a safe working environment.
Step-by-Step Guide to Removing Your Dishwasher
Now that you have your tools ready and safety precautions in place, follow these steps to remove your dishwasher:
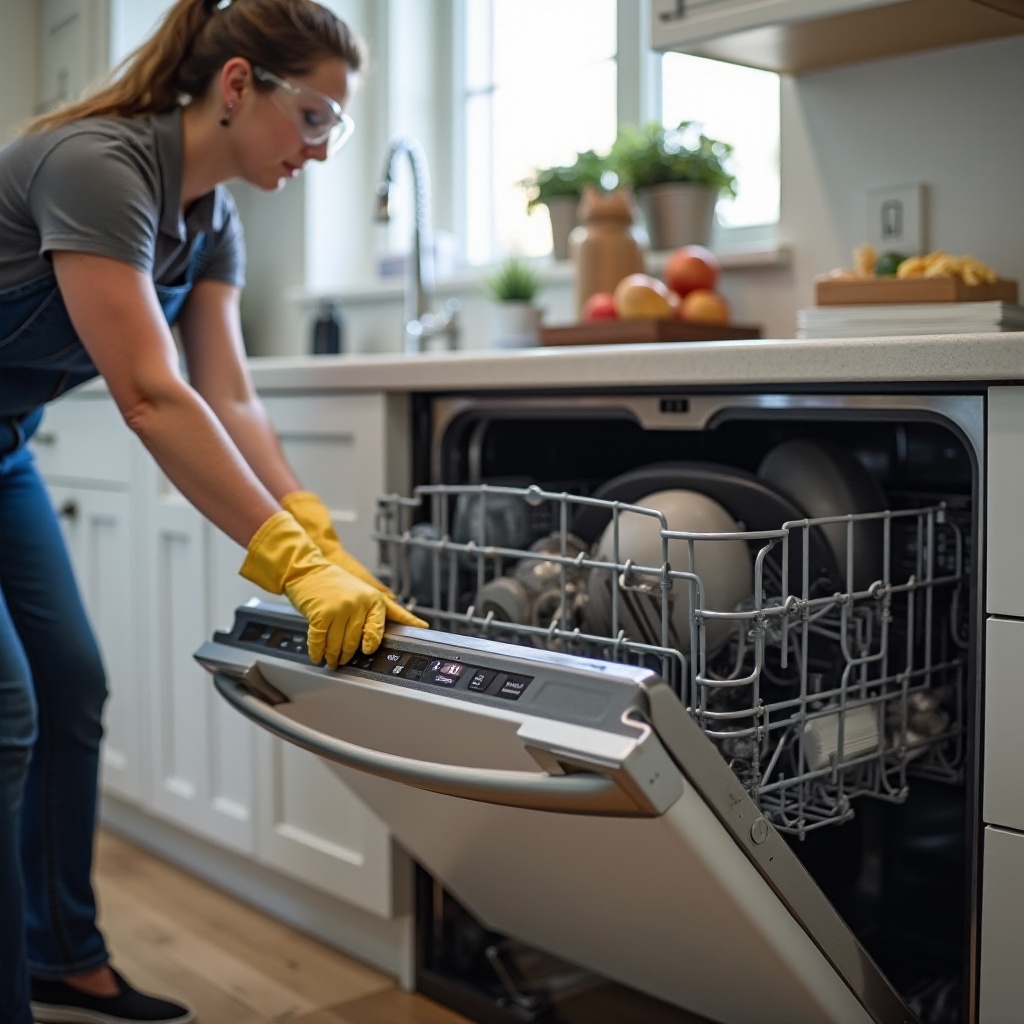
Step 1: Preparing the Area
Before disconnecting anything, clean and organize the surrounding area. Ensure you have easy access to the dishwasher without obstruction. This goes a long way in facilitating a smooth removal process.
Step 2: Disconnecting the Power Supply
The first thing to disconnect is the power supply:
- Locate the electrical connection: Find where the wiring connects to the dishwasher, often under the access panel at the bottom of the unit.
- Use a voltage tester: Before touching any wires, confirm there’s no voltage.
- Disconnect the wires: Use a screwdriver to open the wire nuts and separate the wires.
Step 3: Turning Off and Disconnecting the Water Supply
Next, tackle the water supply line:
- Locate the water supply valve: Usually found under the sink.
- Turn off the valve: Twist it clockwise until it's tightly shut.
- Disconnect the supply line: Use an adjustable wrench to loosen the compression nut where the supply line meets the dishwasher.
Step 4: Removing the Drain Hose
The drain hose is your next target:
- Locate the drain hose: It’s usually connected to the garbage disposal or sink drain.
- Use pliers: Gently disengage the clamp securing the drain hose and pull it free.
Step 5: Detaching the Mounting Screws
To free the dishwasher from the countertop:
- Find the mounting brackets: These are typically located on either side of the inner door frame.
- Remove the screws: Use a screwdriver to unscrew the mounting brackets.
Step 6: Adjusting and Lowering the Legs
Loosen the dishwasher’s legs to ensure it slides out smoothly:
- Locate the leveling feet: These are at the front corners of the dishwasher.
- Lower the feet: Use adjustable pliers to turn them counterclockwise until the dishwasher is lower than the countertop.
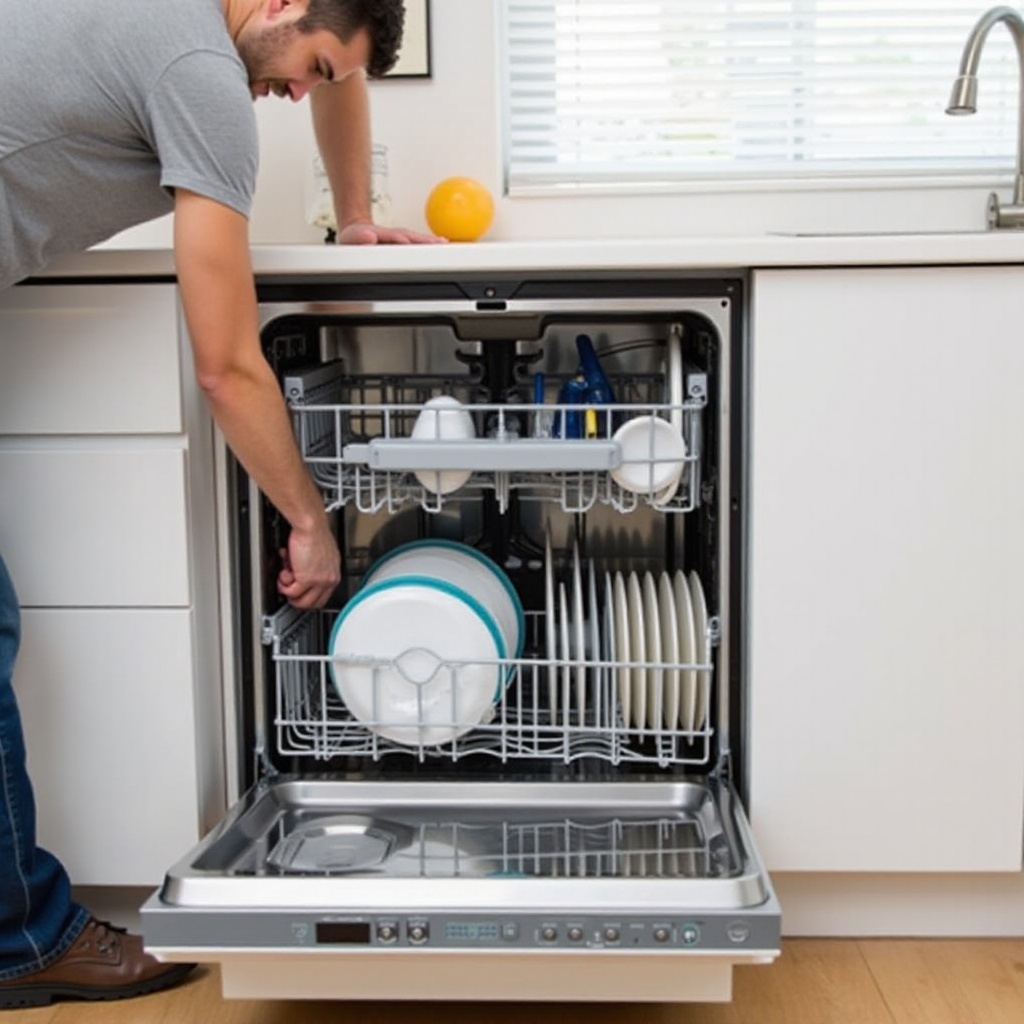
Step 7: Sliding the Dishwasher Out
Finally, it’s time to slide the dishwasher out:
- Pull gently: Grasp the sides and pull slowly to avoid damaging the floor.
- Watch for obstructions: Ensure the drain hose and supply line come out without snagging.
Troubleshooting Common Issues
Removing a dishwasher can present challenges. Here’s how to address some common problems:
Dealing with Stuck Screws
- Apply penetrating oil: If screws are rusted or stuck, use a penetrating oil and let it sit for a few minutes before attempting to remove them again.
Handling Water Leaks
- Keep towels handy: In case of small leaks, have towels and a bucket ready to quickly manage any spills.
Post-Removal Tips
After successfully removing your dishwasher, follow these tips to ensure everything is in order:
Inspecting the Area for Damages
Check the surrounding cabinetry and floor for any signs of water damage or wear that might need attention before installing a new dishwasher.
Cleaning the Space
Clean the area thoroughly:
- Remove debris: Clear away any leftover screws, brackets, or debris.
- Wipe down surfaces: Use a mild cleaner to wipe down the area where the dishwasher was installed.
Conclusion
Removing a dishwasher from under the counter involves careful preparation and step-by-step execution. With the right tools and safety measures, the process is straightforward, ensuring you can handle replacements or repairs with confidence.
Frequently Asked Questions
How long does it take to remove a dishwasher?
Typically, removing a dishwasher can take approximately 1-2 hours, depending on your familiarity with the process and any potential issues.
Can I remove a dishwasher by myself?
Yes, you can. With proper tools, clear instructions, and safety precautions, removing a dishwasher by yourself is quite manageable.
What should I do if I encounter a problem during the removal?
If you encounter problems like stuck screws or leaks, use common troubleshooting methods. If issues persist, don’t hesitate to contact a professional for assistance.