Introduction
Removing the drum from your dryer is a valuable task that aids in routine maintenance and troubleshooting. The drum functions as the core component, holding and spinning clothes to ensure effective drying. By understanding how to remove it, you gain access to other critical components, allowing for deeper cleaning and inspection, which can extend your dryer's life. Ensure you're fully prepared with the right tools and safety precautions, and let's get started.
Preparing for Drum Removal
A successful drum removal begins with solid preparation. Equipping yourself with the necessary tools and ensuring a safe working environment are essential first steps.
Gathering Necessary Tools
To proceed, gather these essential tools:
- Screwdriver set
- Multimeter (for testing electrical connections)
- Pliers
- Protective gloves
- Vacuum or soft brush for cleaning
Ensuring Safety Precautions
Prioritize safety by following these guidelines:
1. Disconnect the dryer's power by unplugging it or flipping the circuit breaker.
2. Wear protective gloves to safeguard against cuts or injuries.
3. Clear your workspace of any obstacles to prevent tripping or damage.
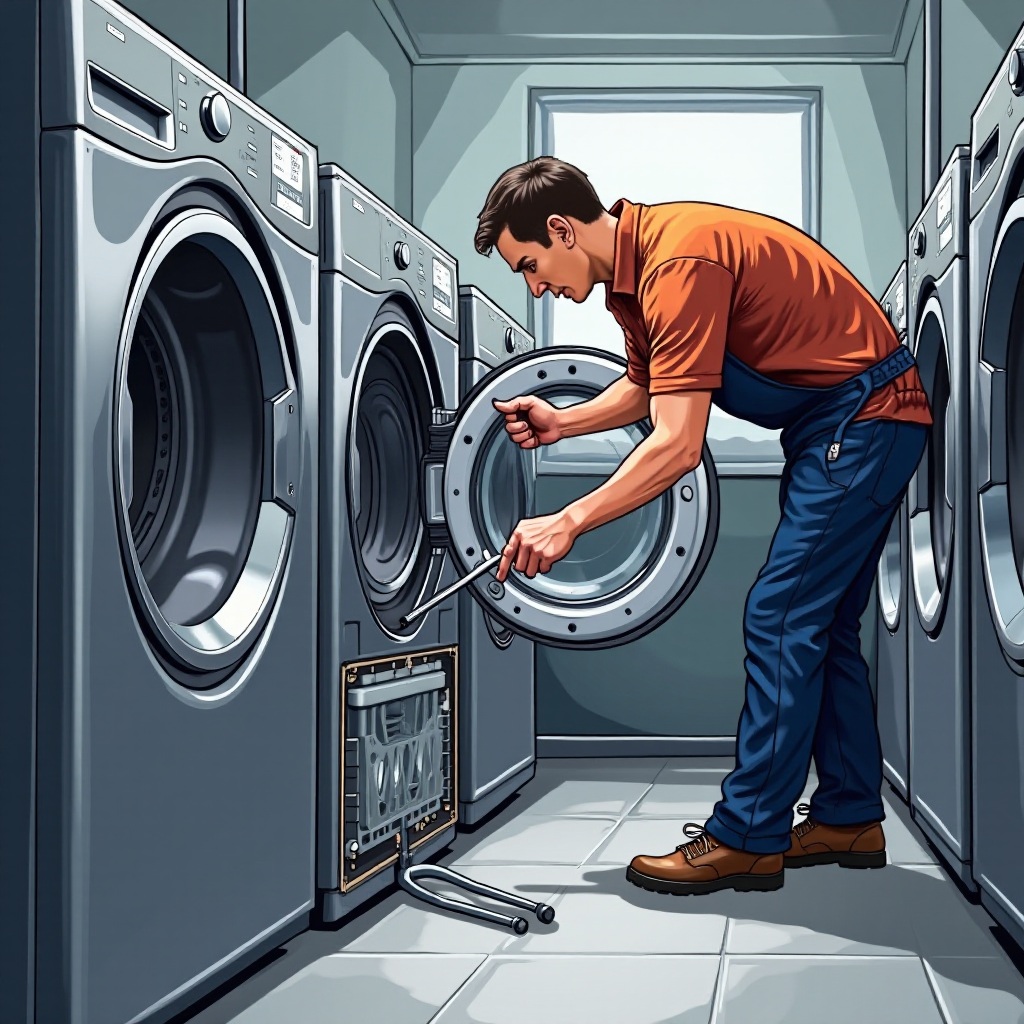
Accessing the Drum in Different Dryer Models
Now that you're prepared, it's time to access the drum. Though models differ slightly, many share a common approach for gaining access to the inner components.
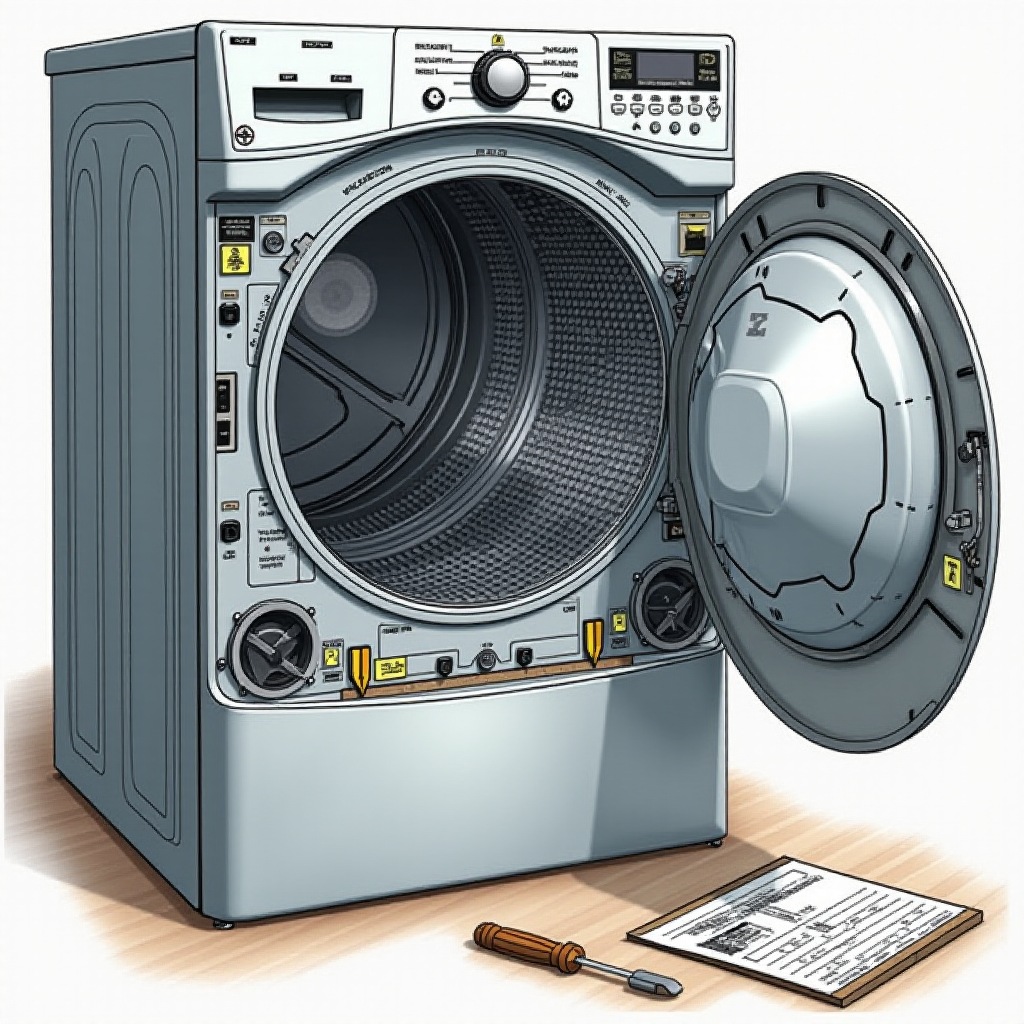
Removing the Top Panel
- Locate screws at the top back edge and remove them with a screwdriver.
- Gently lift off the top panel, taking care not to tug on attached wires or clips.
Detaching the Front Panel
- Identify screws holding the front panel and unscrew them.
- Gently pull the panel forward, watching for any connected wires.
- Disconnect any wires by unclipping or unscrewing, using a multimeter to verify if needed.
Step-by-Step Guide to Removing the Dryer Drum
With access to the dryer's interior, focus on carefully removing the drum to avoid any accidental damage.
Loosening and Removing the Belt
- Locate the tension pulley, which maintains belt tension.
- Lightly press it to relieve belt tension, allowing you to slip the belt off the drum.
Carefully Sliding the Drum Out
- Support the drum firmly and slide it out towards you with care.
- Avoid hitting any internal parts as you remove the drum.
Inspecting the Condition of the Drum
With the drum out, check it for:
- Cracks or dents
- Worn felt seals
- Rust or other signs of wear
Consider replacing the drum if damage is significant, or consult a professional.
Post-Removal Inspection and Maintenance
Having removed the drum, conduct an inspection and clean parts inaccessible in everyday use.
Checking for Wear and Tear
- Examine the belt for signs of wear, such as fraying.
- Inspect rollers and pulleys for smooth operation and damage.
Cleaning the Interior
- Use a vacuum or brush to clear out lint and debris.
- Wipe surfaces with a damp cloth to prevent dust buildup.
Reassembling Your Dryer
After performing maintenance, it's essential to reassemble your dryer correctly.
Proper Alignment of Parts
- Slide the drum back, aligning it on support rollers.
- Re-hook the belt, checking it's aligned on both pulleys and the tensioner.
Testing for Proper Operation
- Reconnect any wires detached earlier.
- Firmly replace the front and top panels, securing them with screws.
- Restore power and run a test cycle to confirm everything functions smoothly.
Conclusion
By following these detailed steps, you can remove and inspect your dryer's drum safely. This knowledge empowers you to maintain your appliance, ultimately saving on costly repairs and improving efficiency.
Frequently Asked Questions
What tools do I need to remove the drum from a dryer?
Essential tools include a screwdriver set, multimeter, pliers, protective gloves, and a vacuum or soft brush for cleaning.
Can I remove the drum by myself, or should I hire a professional?
With proper tools and precautions, you can remove the drum yourself. For complex issues, seek professional assistance.
How often should I perform maintenance involving drum removal?
Perform maintenance annually or when experiencing issues like unusual noises or decreased efficiency.