Proper plumbing is essential for a dishwasher to function effectively. Incorrect installation can lead to leaks and inefficiencies. This guide provides you with the knowledge and confidence needed to tackle this task successfully. Whether you're a seasoned DIYer or a first-timer, these steps can help you achieve a professional outcome without hiring a plumber.
Understanding Dishwasher Plumbing Basics
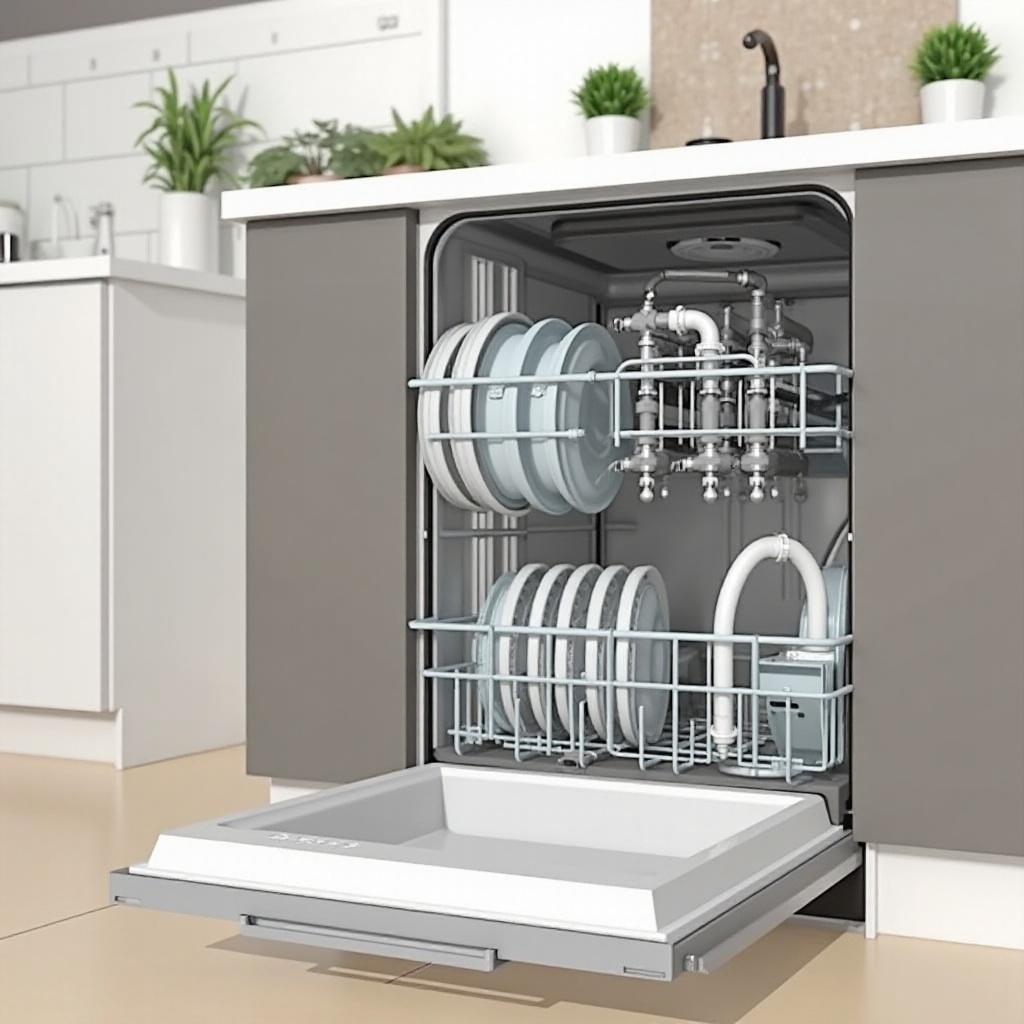
Before you start the installation, it's important to familiarize yourself with the main components involved in dishwasher plumbing. Understanding these elements will ensure a smooth process and help prevent potential mistakes. The key components include a drain line, water supply line, and power connection. Knowing how these parts work together prepares you for the task ahead. Remember the importance of safety; always disconnect the appliance from power before beginning.
Next, you'll need to gather the appropriate tools and materials to ensure an efficient setup.
Tools and Materials Needed
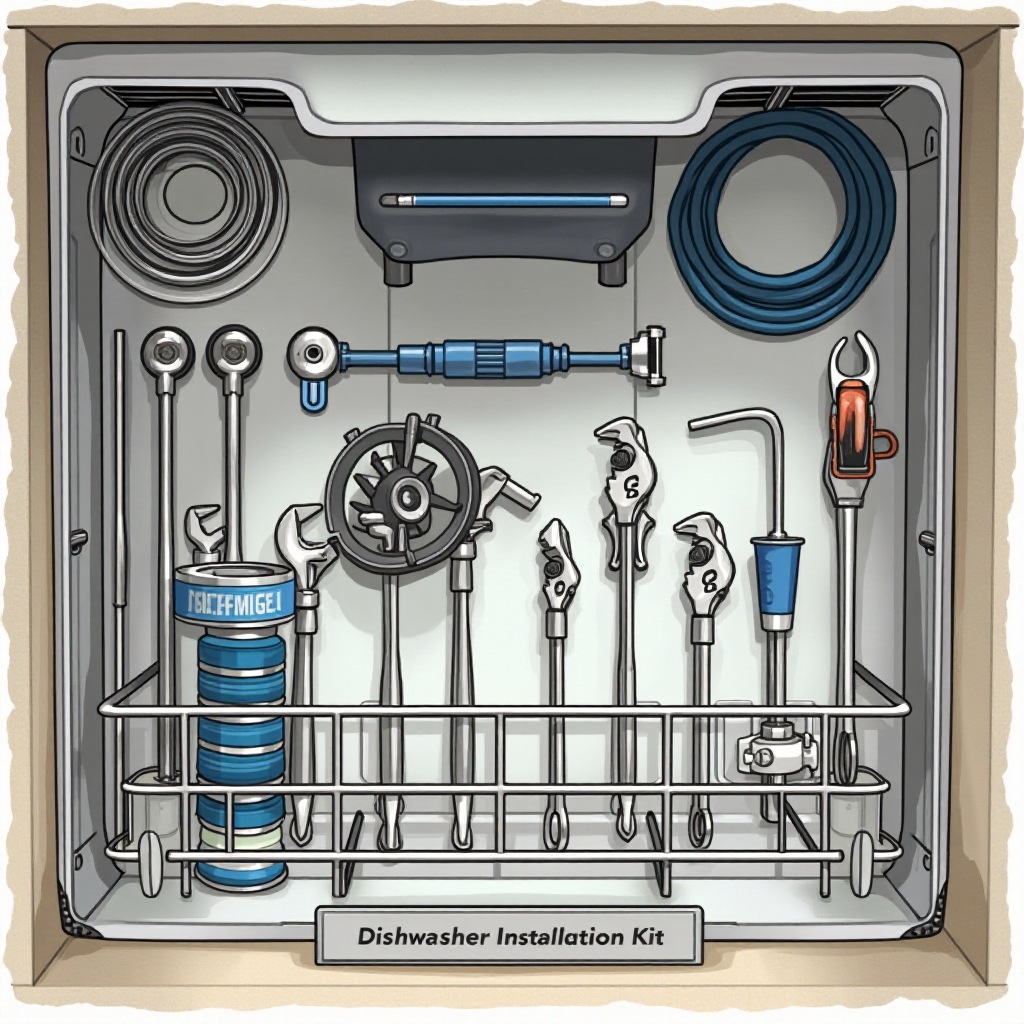
Having the right tools and materials on hand simplifies the process significantly. Here's what you'll need:
- Adjustable wrench
- Screwdrivers (Phillips and flathead)
- Pliers
- Teflon tape
- Hose clamps
- Dishwasher installation kit (includes drain hose and supply line)
- Towels for cleaning any spills
- Bucket
With these tools ready, you're well-prepared to move on to preparing the space where your dishwasher will be installed.
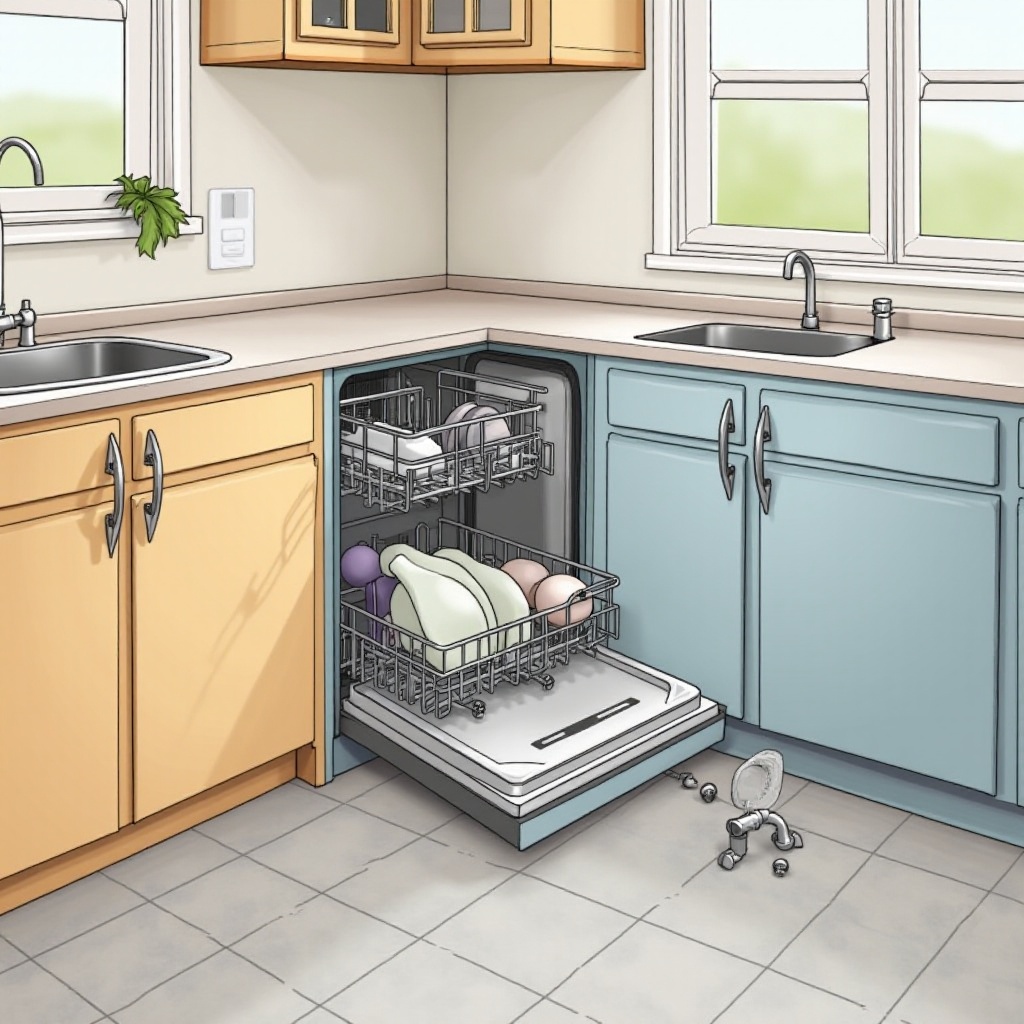
Preparing Your Space for Installation
Choosing the right location for your dishwasher is crucial for both functionality and convenience. Make sure there's enough space and that the area is accessible for plumbing and electrical hookups. Here's how to prepare:
- Measure the space to ensure the dishwasher fits comfortably.
- Check for existing plumbing connections. If none exist, you may need to install new ones.
- Clear out any obstacles, like cabinet shelving or stored items, that could interfere with installation.
- Look for level flooring; if necessary, adjust with shims to stabilize the unit.
Proper preparation ensures a smooth installation process. Now, let's follow the detailed step-by-step plumbing instructions.
Step-by-Step Plumbing Instructions
This section will guide you through the essential steps required to accurately plumb your dishwasher.
Connecting the Drain Line
- Choose the Right Drain Connection: There are two common methods - connecting directly to the sink drain or using an air gap fitting. Check your local codes for requirements.
- Attach the Drain Hose: Connect the hose to the dishwasher's drain outlet. Secure it with a hose clamp to prevent leaks.
- Connect to Sink Drain or Air Gap: Attach the other end of the hose to the sink drain or air gap fitting using appropriate clamps.
Installing the Water Supply Line
- Select the Proper Supply Line: Ensure it's compatible with your home's water valve.
- Attach to Dishwasher Inlet: Connect one end of the supply line to the dishwasher's water inlet, using Teflon tape for a watertight seal.
- Connect to Water Valve: Secure the other end to the hot water supply valve under the sink. Open the valve to check for leaks.
Electrical Connections
- Ensure Power is Off: Double-check the power supply to the dishwasher is off.
- Access the Junction Box: Typically located at the bottom rear of the appliance.
- Connect Wires: Match wire colors (black to black, white to white, and green to ground), using wire nuts to secure connections.
With plumbing and electrical components connected, focus next on ensuring the dishwasher is properly secured and tested for functionality.
Securing and Testing the Dishwasher
- Level the Dishwasher: Use adjustable legs or shims to ensure the unit is stable and level, preventing tipping or inefficient washing.
- Secure the Unit: Anchor the dishwasher to your cabinetry using brackets typically included with the unit.
- Test Run the Dishwasher: With the water supply on, run a short cycle to ensure no leaks are present and that the draining process functions smoothly.
Once your dishwasher is secure and functions correctly, let's explore solutions for any potential issues that might arise during installation.
Troubleshooting Common Issues
Even with careful installation, you might encounter some problems. Here's how to handle them:
- Leaks: Usually occur at connection points. Recheck hose clamps and connections for tightness.
- Drainage Issues: Confirm the drain line isn't kinked or blocked, and check the air gap if used.
- Electrical Problems: Ensure all connections are tight and compatible circuits are functioning properly.
Addressing these common issues promptly will maintain the efficiency and longevity of your dishwasher. Finally, we conclude with a brief recap and encouragement.
Conclusion
Congratulations on successfully plumbing your dishwasher! Following these steps should lead to a clean, efficient setup. If you encounter persistent issues or feel uncertain about any part of the process, don't hesitate to consult a professional. Regular maintenance and periodic checks on connections will ensure your appliance runs smoothly for years to come.
Frequently Asked Questions
What do I do if there is a leak after installation?
Ensure all connections are tight and hoses are properly clamped. Reapply Teflon tape if necessary and resecure hose clamps.
Can I plumb a dishwasher on my own without professional help?
Yes, this guide provides step-by-step instructions for a successful installation. However, if you're unsure, consulting a professional is always advisable.
How often should I inspect the plumbing connections?
Check connections every few months for leaks or wear, especially if you notice changes in performance or water standing under the unit. Regular inspections can prevent significant issues.