Introduction
Installing a dishwasher drain line doesn't have to be a daunting task. With the right tools and a clear step-by-step guide, you can handle this DIY project efficiently, saving both time and money in the process. This blog will cover everything you need to know, from preparation to troubleshooting common issues.
Tools and Materials Needed
Before you start, gather all necessary tools and materials. This will streamline the installation process and ensure you don’t have to stop midway to find an essential item. Here’s what you’ll need:
- Adjustable wrench
- Screwdriver
- Pliers
- Measuring tape
- Bucket
- Teflon tape
- New dishwasher drain hose
- Hose clamps
Make sure you have all these items ready before proceeding to the next step.
Preparing for Installation
Preparation is crucial for a smooth installation process. Start by turning off the water supply to the dishwasher. This is typically done by shutting off the valve under the kitchen sink. Next, disconnect the power supply by unplugging the dishwasher or turning off the circuit breaker.
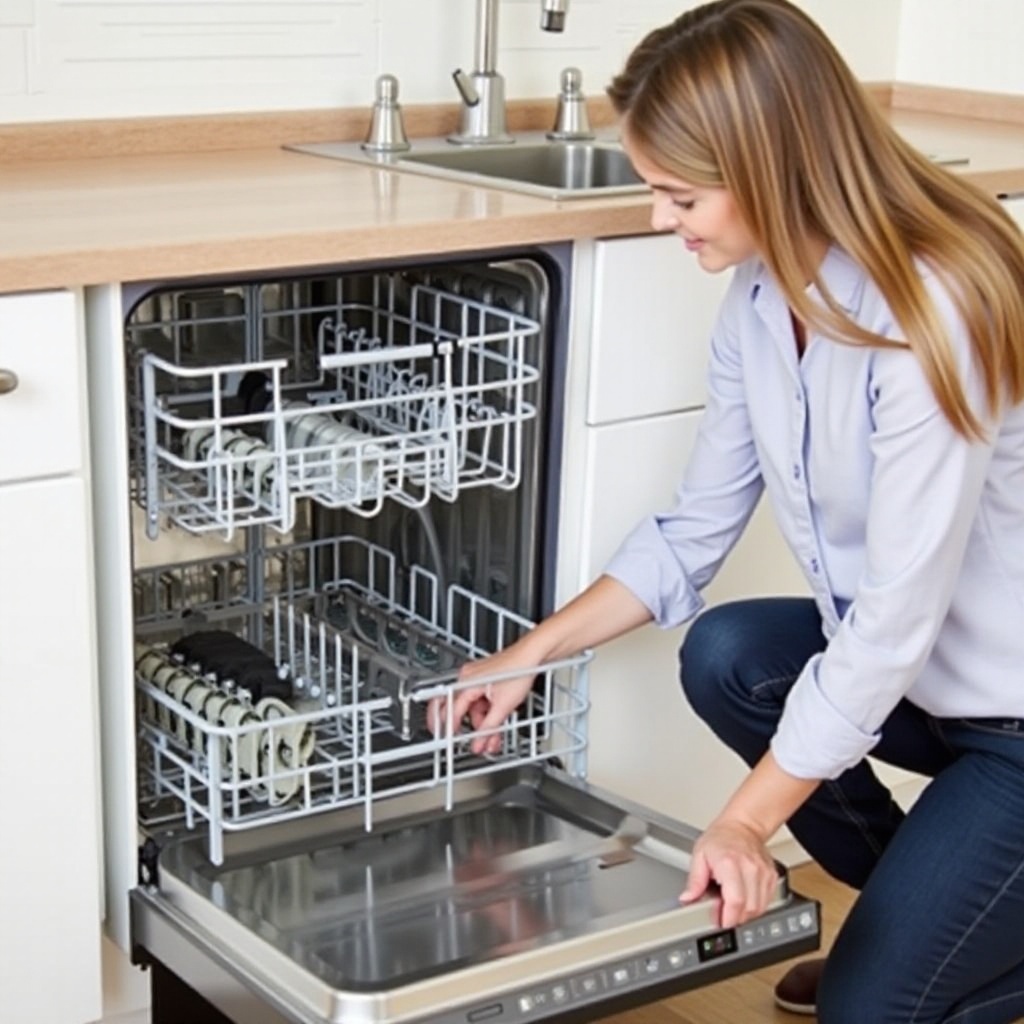
Use a screwdriver to remove the bottom front panel of the dishwasher, giving you access to the electrical connections and the drain line. If you are replacing an old dishwasher, disconnect the existing drain hose by loosening the hose clamp with pliers. Have a bucket ready to catch any excess water that may spill out.
Understanding the Dishwasher Drain System
Understanding the drain system is essential before you start connecting the drain line. Dishwashers typically use one of two types of drain connections: air gap or high loop.
Types of dishwasher drain connections
- Air Gap: This involves a small cylindrical fixture mounted above the sink. It prevents contaminated water from flowing back into the dishwasher.
- High Loop: The drain hose is looped high under the sink before connecting to the drain. This method also helps prevent backflow.
Selecting the right type for your kitchen
Choose based on your plumbing setup. Many modern kitchens come pre-installed with an air gap, but if your kitchen doesn't have one, the high loop method will suffice.

Step-by-Step Installation Guide
With the preparations complete and a clear understanding of your drainage options, you’re ready to begin the installation.
Step 1: Turning off the water and power supply
Ensure the water and power supply are securely turned off to avoid any mishaps during installation.
Step 2: Disconnecting the old dishwasher (if applicable)
- Disconnect the old drain line.
- Remove the dishwasher by unscrewing the mounting brackets and carefully sliding it out.
Step 3: Positioning and leveling the new dishwasher
- Place the new dishwasher near its final location but leave enough room to work behind it.
- Use a level to ensure the dishwasher sits evenly.
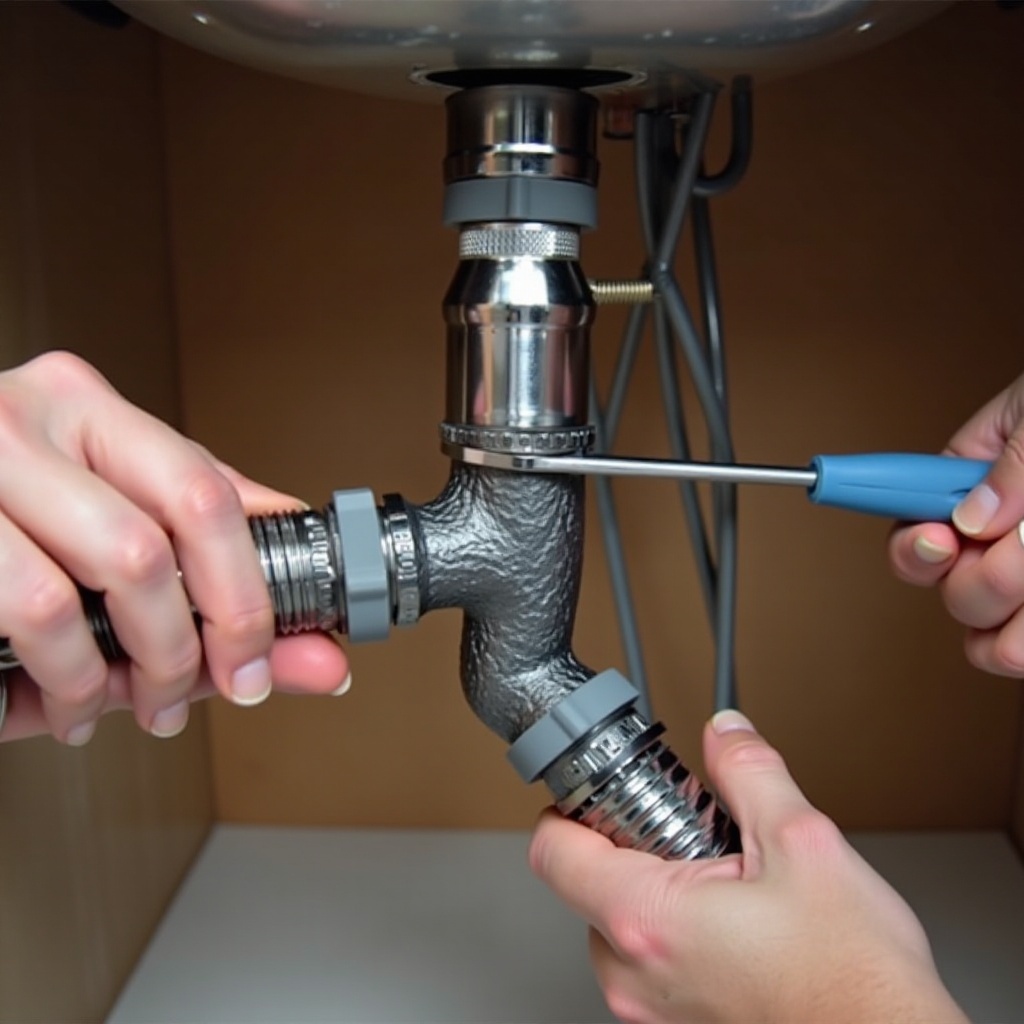
Step 4: Connecting the drain hose to the dishwasher
- Attach one end of the new drain hose to the dishwasher's drain outlet.
- Secure it with a hose clamp to prevent leaks.
Step 5: Attaching the drain hose to the sink or garbage disposal
- For an air gap, connect the hose from the air gap to the drain pipe.
- For a high loop, simply secure the hose in a high position under the sink before connecting it to the drain pipe or garbage disposal.
Securing the Connections
Now that the hose is connected, it's important to secure all connections to prevent leaks.
Checking for tight connections
Make sure all hose clamps are tightly secured. Wiggle the connections slightly to ensure they are firm but not overly tight to avoid damage.
Testing the Dishwasher
With everything securely connected, it’s time to test for proper installation.
Running a test cycle
Plug in the dishwasher and turn the water supply back on. Start a short wash cycle to monitor the water flow.
Checking for proper drainage
Keep an eye on the drainage process. Check the connections for any signs of leaks or improper drainage. If you notice any issues, turn off the dishwasher and correct them immediately.
Troubleshooting Common Issues
Even with careful installation, you might encounter some common issues. Here’s how to resolve them:
Addressing leaks
- If there are leaks, tighten the hose connections.
- Apply Teflon tape to threads to ensure a tight seal.
Ensuring correct drain height
If the dishwasher doesn't drain properly, ensure the drain hose is looped higher than the dishwasher's drain inlet to prevent backflow.
Maintenance Tips
Keeping your drain line and dishwasher in good working condition requires regular maintenance. Here are some tips:
- Periodically check connections for leaks.
- Clean the air gap and filters to prevent blockages.
- Run an empty cycle with a dishwasher cleaner to keep it fresh.
Conclusion
Installing a dishwasher drain line may seem complicated, but by following these steps carefully, you can do it efficiently and correctly. Proper installation ensures your dishwasher runs smoothly and prevents future issues. Remember to regularly check and maintain the connections to keep your kitchen clean and functional.
Frequently Asked Questions
What are the common issues faced during dishwasher drain line installation?
Common issues include leaks from loose connections, improper drainage due to incorrect hose installation, and backflow problems if the drain line is not positioned correctly.
How often should I check the connections for leaks?
It's advisable to check for leaks and secure connections every few months to ensure everything is functioning correctly and prevent potential water damage.
Can I install a dishwasher drain line without professional help?
Yes, with the right tools and a clear step-by-step guide, you can install a dishwasher drain line yourself. This guide provides all the necessary steps to help you through the installation process.