Introduction
Hooking up an electric dryer doesn't have to be intimidating. Whether you're installing a new machine or relocating one, following the correct steps ensures both safety and efficiency. This guide provides detailed instructions so you can confidently set up your dryer and avoid any common mistakes.
Tools and Materials Needed
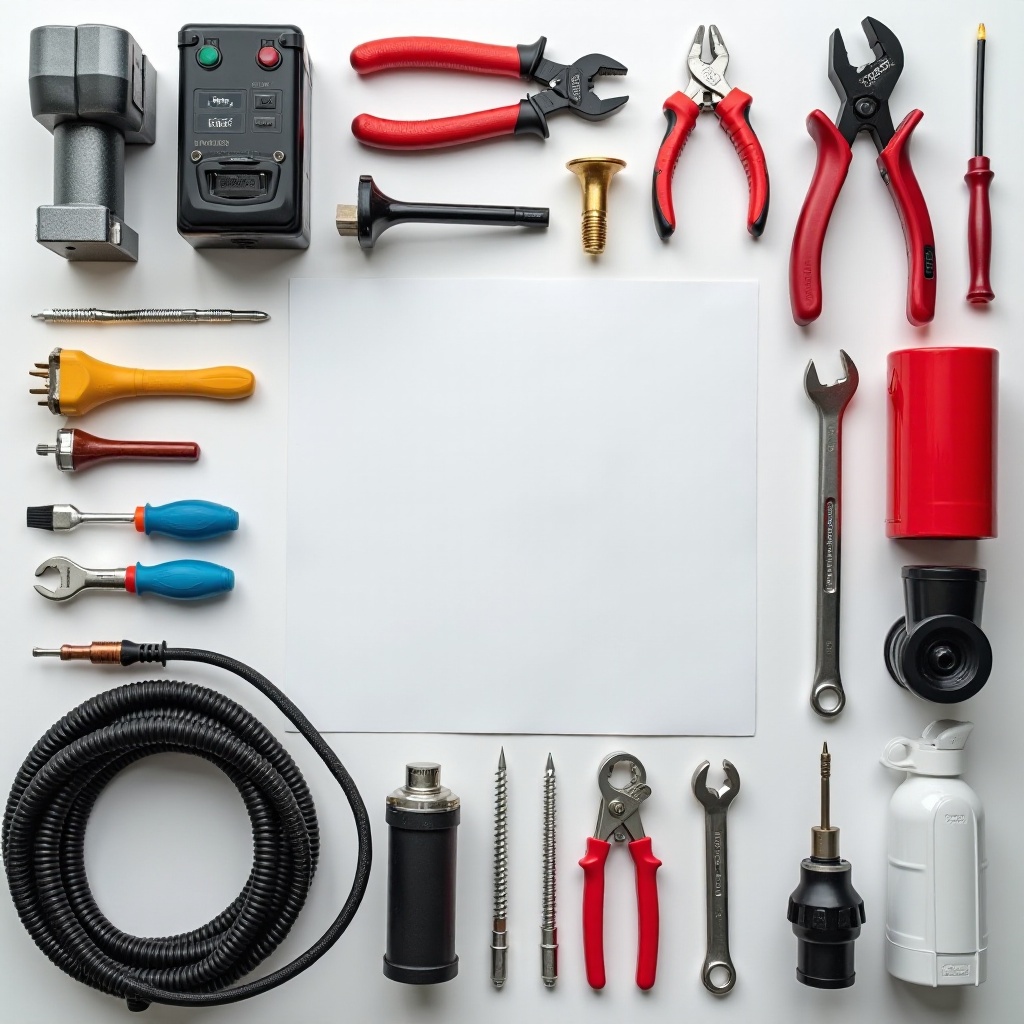
Gathering the right tools and materials beforehand will streamline your installation process.
- Essential Tools for Installation
- Screwdrivers
- Adjustable wrench
- Tape measure
- Level
Vent clamp
Safety Equipment and Precautions
- Gloves
- Goggles
- Dust mask
Consult the dryer’s manual for any specific requirements that might vary based on model or brand. Having everything prepared will prevent unnecessary delays or rework.
Step-by-Step Installation Guide
With the necessary tools in hand, you can now proceed with the installation. This section details each step from choosing the right location to testing your setup.
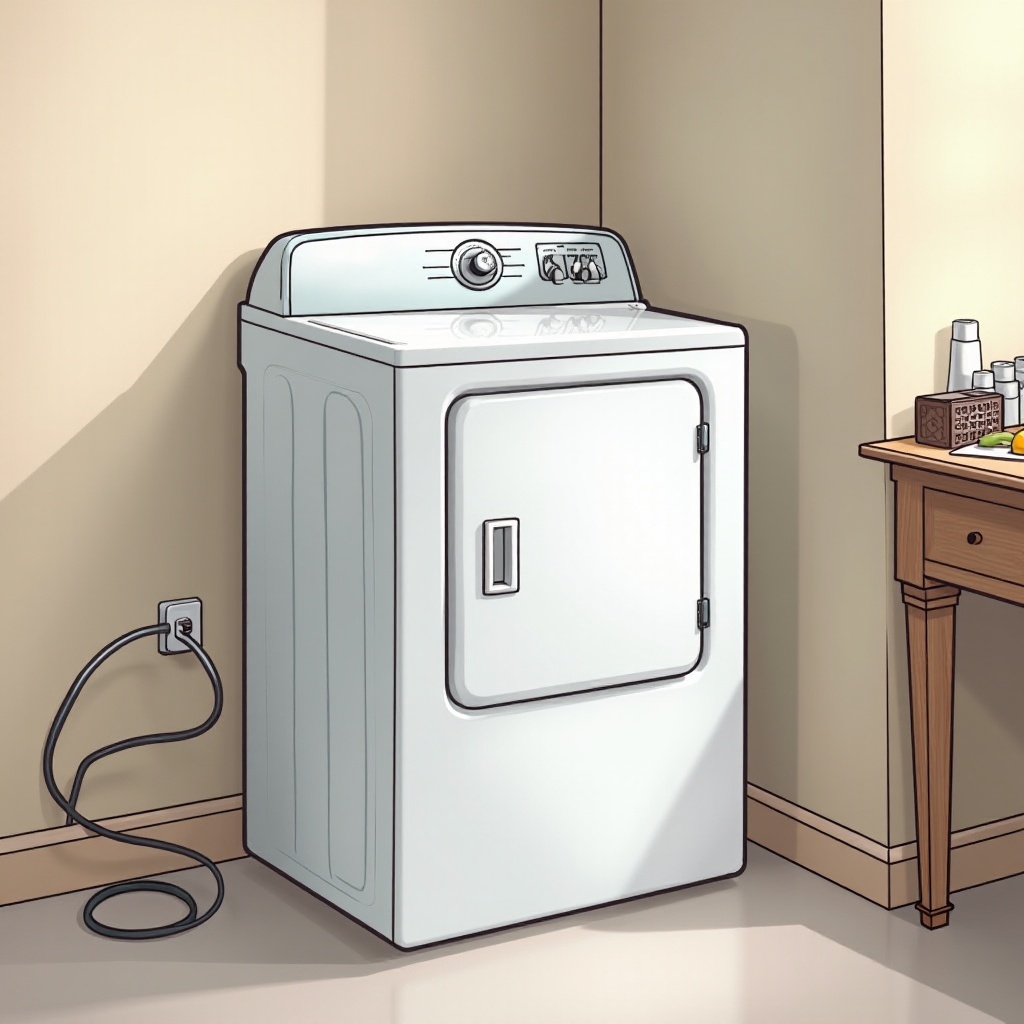
Optimal Location for Your Dryer
Selecting the best location for your dryer is vital for practicality and safety. Consider the following:
- Space and Accessibility: Ensure there is suitable clearance around the dryer for ventilation and maintenance.
- Ventilation Requirements: Choose a spot where the vent can be installed with as few bends as possible for efficiency.
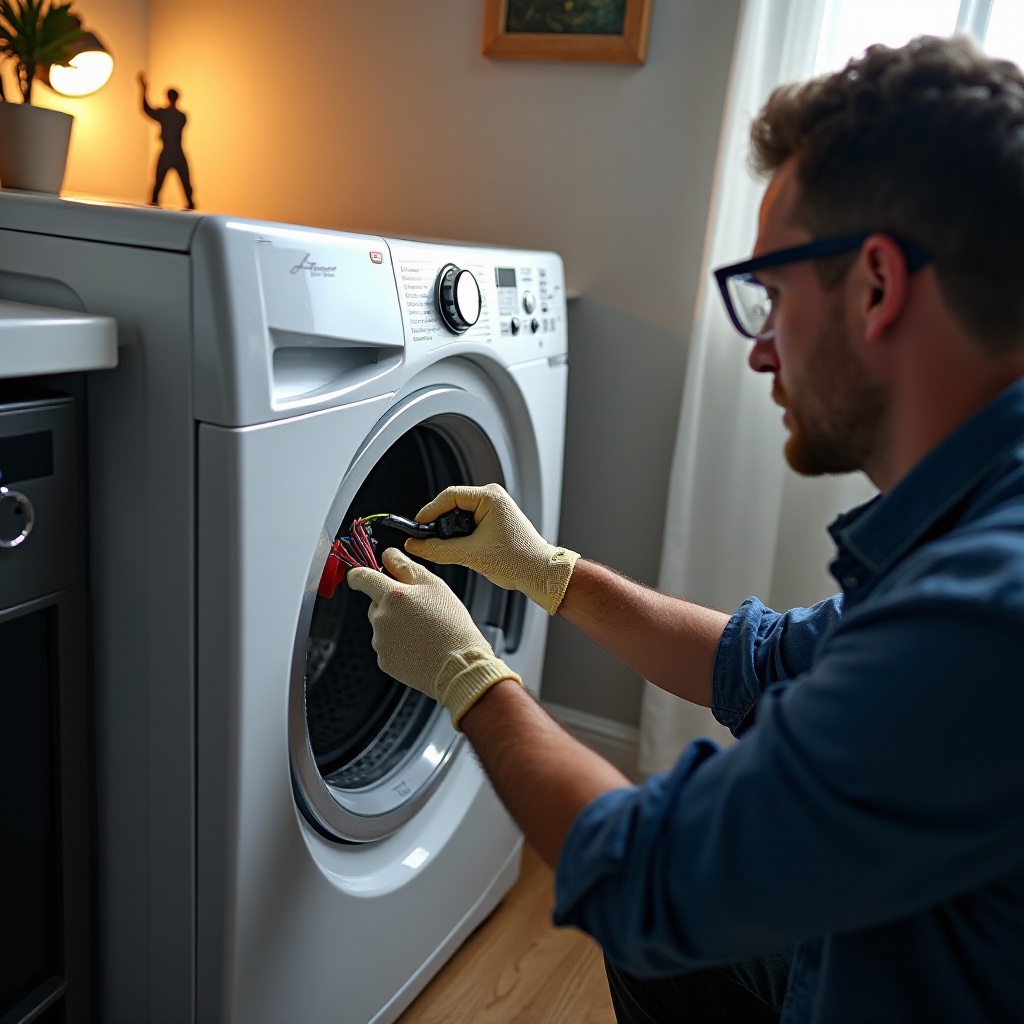
Understanding Electrical Connections
Setting up electrical connections is a critical part of hooking up your dryer. Follow these guidelines to ensure a safe configuration:
- Differentiating Between 3-Prong and 4-Prong Outlets:
- Identify your outlet type and ensure compatibility with the dryer's plug. Replace the cord if necessary.
- Safe Wiring Techniques:
- Always turn off the power at the circuit breaker before working with electrical components. Follow manufacturer instructions for wiring the plug.
Installing the Ventilation System
Proper ventilation is necessary to avoid overheating and improve dryer efficiency. Ensure you:
- Choose the Right Vent Type: Opt for semi-rigid metal ducts for durability.
- Connect the Vent Hose: Attach the vent hose from the dryer exhaust to the wall outlet, ensuring secure connections with clamps to prevent lint leaks.
Testing and Securing Your Dryer
After installation, a few checks can ensure the dryer runs smoothly:
- Leveling the Dryer: Use a level to adjust the dryer's feet until it's stable and doesn’t rock when in use.
- Conducting an Initial Test Run: Run a cycle to make sure everything is functioning correctly, listening for any unusual sounds.
Safety Tips and Common Mistakes
Safety must be a priority when dealing with electrical appliances. Here are some important considerations:
- Key Safety Reminders
- Use a properly grounded outlet to minimize electrical hazards.
Clean the vent regularly to prevent lint build-up that could lead to a fire risk.
Common Errors and Solutions
- Avoid using plastic or foil ducting which could easily tear.
- Ensure the dryer is positioned without kinking the vent hose, as this restricts airflow.
Conclusion
Successfully installing your electric dryer follows only a few careful steps. By keeping safety at the forefront and taking time to properly set up electrical connections and ventilation, you can ensure that your dryer operates efficiently. Don’t hesitate to reach out to professionals if you're uncertain about any part of the process to prevent costly mistakes.
Frequently Asked Questions
What kind of outlet does an electric dryer need?
Electric dryers require either a 3-prong or a 4-prong outlet, depending on local building codes and home wiring.
How often should I check the dryer’s ventilation?
Inspect and clean the dryer’s ventilation every six months to ensure proper airflow and reduce fire risk.
Can I convert a 3-prong dryer cord to a 4-prong?
Yes, you can convert a 3-prong cord to a 4-prong. Follow your dryer’s manufacturer instructions to avoid electrical issues.