Introduction
Hooking up a dryer involves several essential steps, but with the right knowledge, you'll find the process straightforward and rewarding. Whether you're working with a gas or electric dryer, understanding your equipment and space will ensure a successful setup. This guide will lead you through each stage efficiently and safely, so you're up and running in no time.
Preparing for Dryer Installation
Before you begin, it's important to know the type of dryer you're dealing with and the specific requirements of your home setup. By laying the groundwork, you'll prevent common installation mistakes and set up your dryer for optimal performance.
Understanding Dryer Types: Gas vs. Electric
The type of dryer you own dictates the preparation needed. Gas dryers require a natural gas or propane connection and typically offer faster drying times. Electric dryers, on the other hand, need a 240-volt power supply and are generally easier to install if the appropriate outlet is available. Identify your dryer type to gather appropriate materials and instructions.
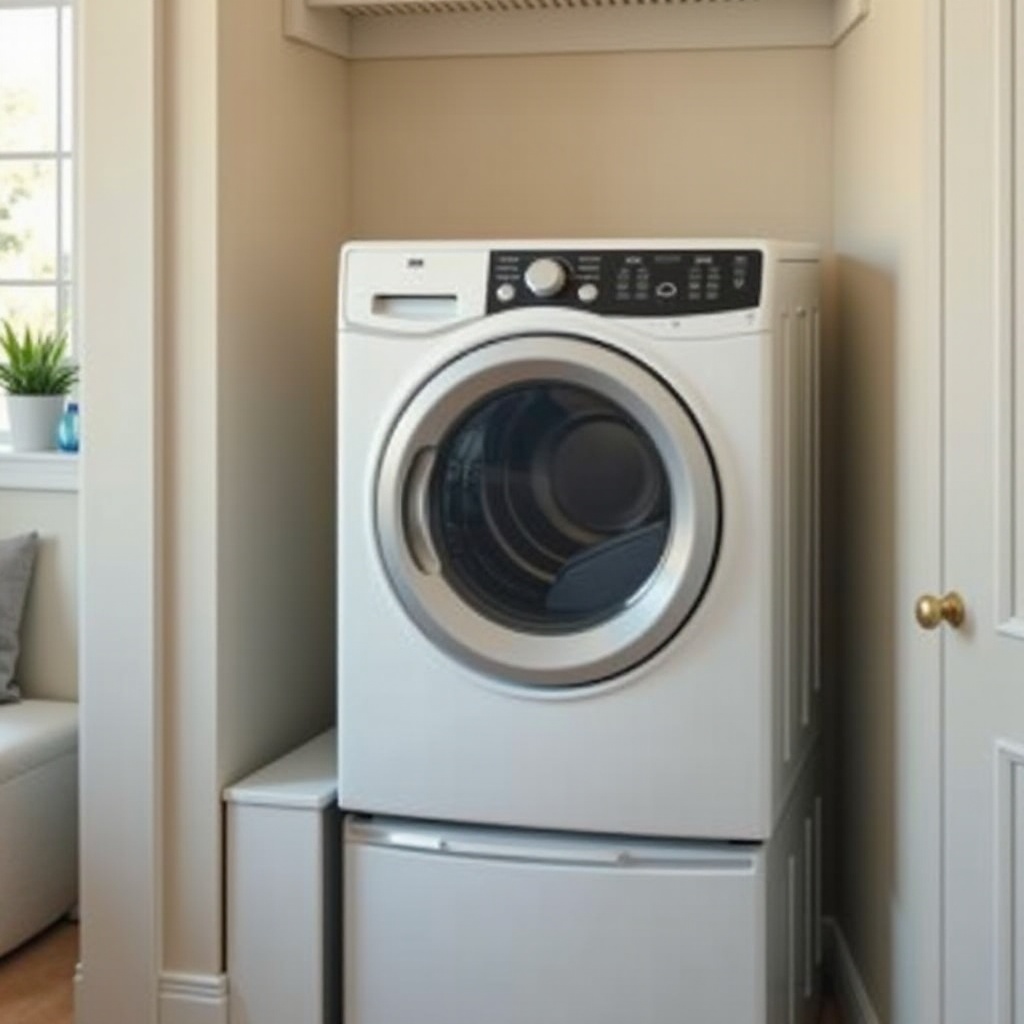
Measuring and Preparing Your Laundry Area
Measure the space where your dryer will reside to ensure it accommodates the appliance comfortably, allowing for adequate ventilation. Verify the availability of relevant connections (power outlets for electric or gas lines for gas dryers) and clear any clutter in the area to facilitate a hassle-free installation.
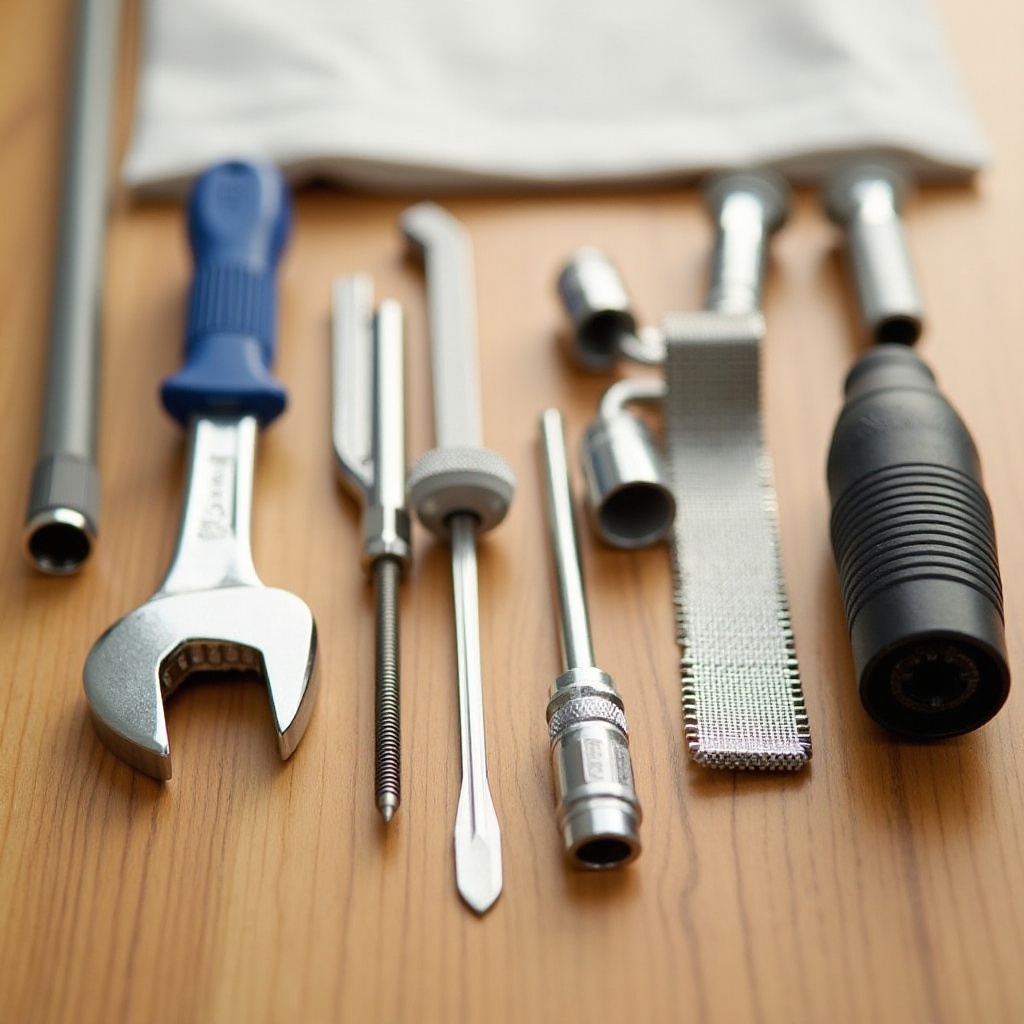
Tools and Materials Needed
Gathering the correct tools and materials ensures a smoother installation process. Here is what you'll need:
- Adjustable wrench
- Phillips and flathead screwdrivers
- Dryer vent kit
- Dryer power cord (for electric dryers)
- Gas line connection kit (for gas dryers)
- Leveling feet
- Tape measure
Check your dryer manual for specific instructions or additional items that may be required for your particular model.
Step-by-Step Guide to Hooking Up an Electric Dryer
Installing an electric dryer involves establishing secure electrical connections. Follow these detailed steps:
- Connecting the Dryer Cord:
- Ensure the power supply to your laundry room is turned off.
- Remove the dryer's back access panel.
Attach the power cord to the designated terminals, following the color-coded wiring instructions.
Ensuring Proper Amperage:
- Make sure your circuit can manage the dryer's amperage, usually 30 amps for typical dryers.
Use a multimeter to verify the electrical connections.
Testing the Electrical Connection:
- Replace the access panel.
- Turn the power back on and run an empty cycle to confirm the dryer operates correctly.
Step-by-Step Guide to Hooking Up a Gas Dryer
Gas dryers require careful handling due to their gas connections. Here's how to do it safely:
- Securing the Gas Line Connection:
- Turn off the gas supply before proceeding.
- Use an adjustable wrench to attach the gas connector to the dryer's inlet.
Utilize thread sealant designed for gas applications to prevent leaks.
Checking for Gas Leaks:
- After attaching the line, turn the gas supply back on.
Use a soap and water solution on connections; bubbles indicate leaks that require immediate correction or professional attention.
Venting Through an Exterior Wall:
- Securely connect the vent duct to the dryer's exhaust outlet, sealing joints with foil tape.
- Ensure the vent leads to an exterior wall, allowing proper expulsion of dryer exhaust.
Installing Dryer Ventilation
Efficient ventilation is crucial for dryer functionality and safety, reducing risks of overheating and fires.
Selecting the Right Ventilation System
Opt for rigid metal ducts over flexible plastic ones to minimize fire risks and maximize durability. Metal ducts enhance airflow efficiency.
Ensuring Proper Vent Installation
Install the vent system with minimal turns to facilitate the best possible airflow, using clamps and foil tape to secure all joints thoroughly.
Finalizing the Installation
With all parts in place, finish the installation with these steps:
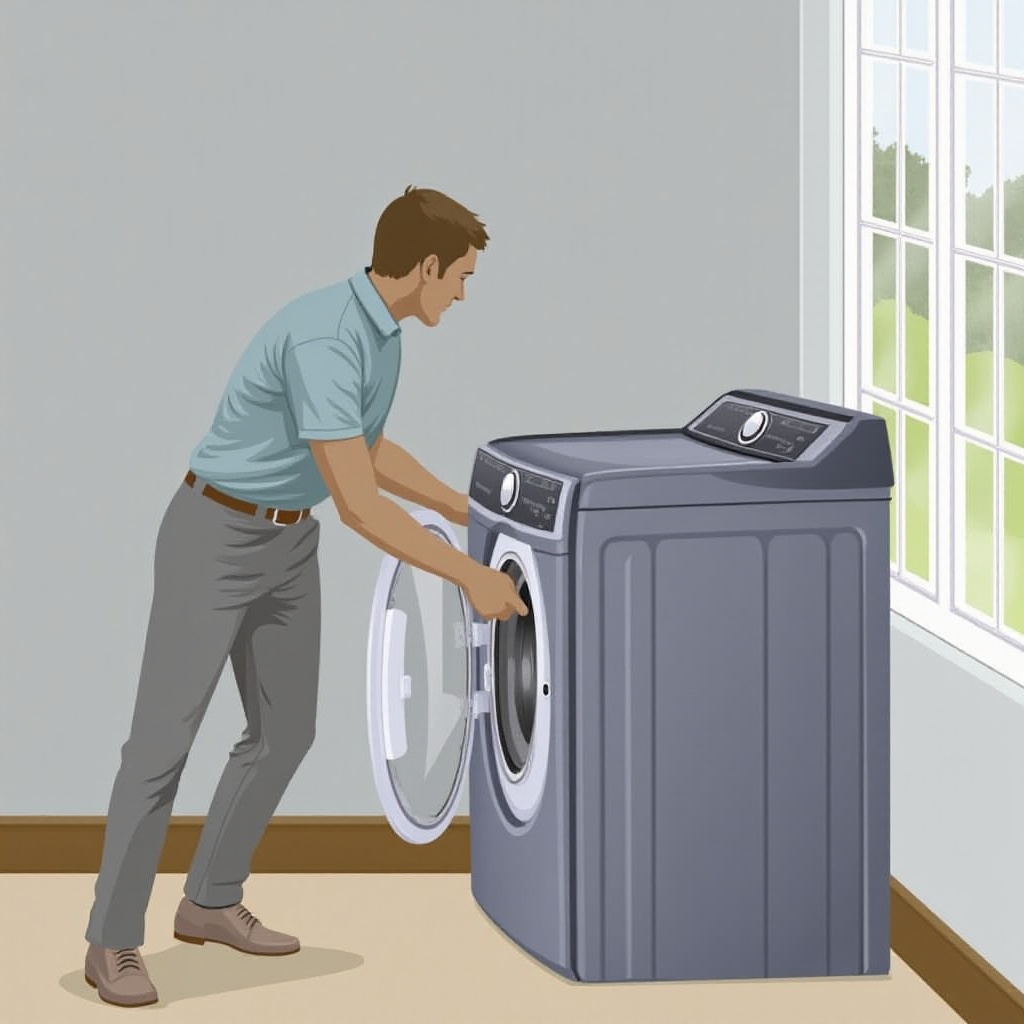
Positioning and Leveling the Dryer
- Ensure hoses and cords don't kink, then slide the dryer into its designated spot.
- Use a level to adjust the feet so the dryer sits evenly to prevent vibrations and noise during operation.
Running a Test Cycle
- Conduct an empty test cycle to check for smooth operation.
- Listen for any unusual sounds or vibrations signifying assembly issues or misalignments.
Conclusion
By carefully following these steps, you will establish a safe and effective setup for your dryer, ensuring smooth operation and prolonged life of the appliance. Regular maintenance, including periodic checks and cleaning of the vent, will not only improve dryer efficiency but also contribute to safety by preventing lint build-up and potential fire hazards.
Frequently Asked Questions
Can I install a dryer myself, or should I hire a professional?
You can install a dryer yourself by following this comprehensive guide. For gas dryers, or if unsure, hiring a professional is advised.
What are the common mistakes to avoid while installing a dryer?
Avoid using flexible plastic ducts, failing to level the dryer, and neglecting to check for gas leaks if installing a gas dryer.
How often should I clean my dryer vent?
Clean your dryer vent at least once a year to prevent lint build-up, which can reduce efficiency and increase fire risk.