Introduction
A dripping washer can be more than a minor nuisance; it can lead to higher water bills and potential damage to your laundry area. Addressing this issue promptly can save you time, money, and hassle. This guide will help you identify the source of the drip, understand common causes and fixes, and offer preventative maintenance tips.
Identifying the Source of the Drip
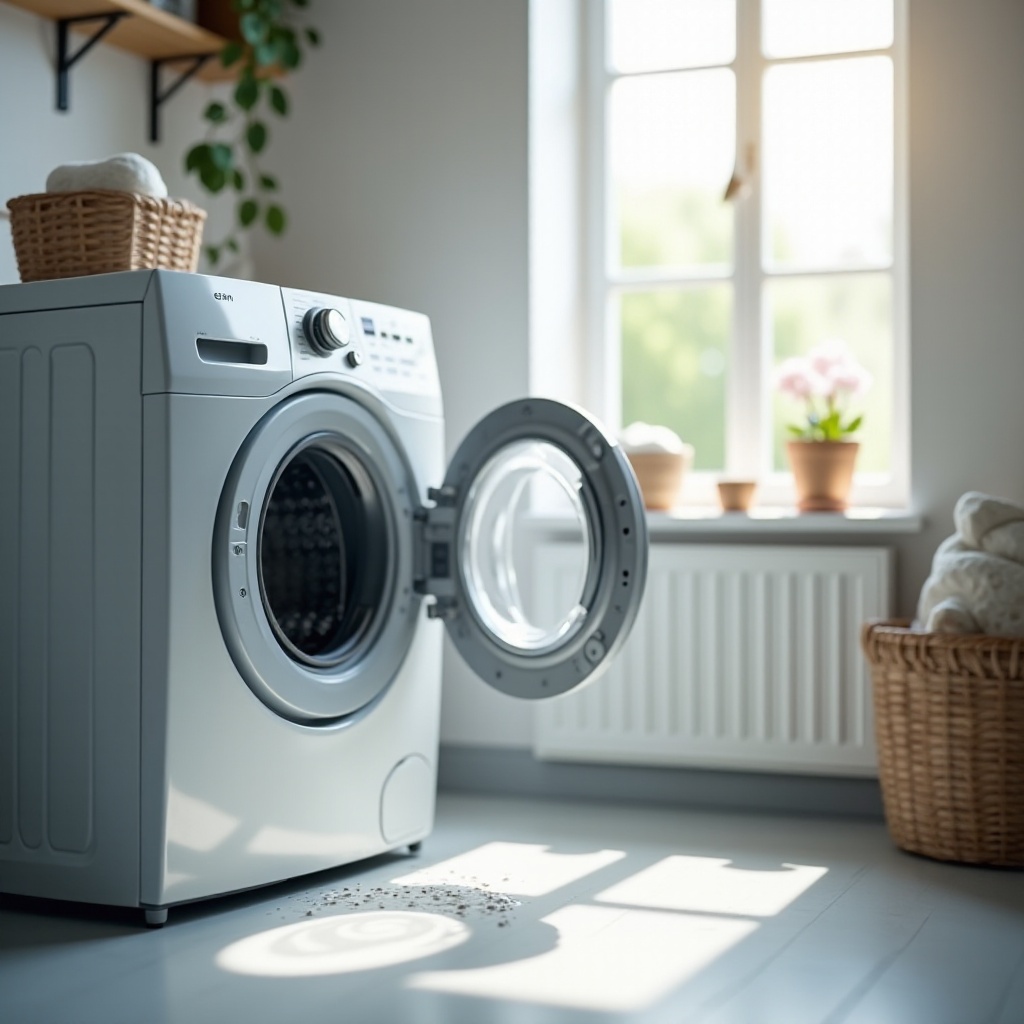
Before you can fix a dripping washer, you need to pinpoint where the water is coming from. Here are the signs and symptoms to watch for and the areas you should inspect:
Signs and Symptoms of a Washer Drip- Puddles of water: If you notice water accumulating around your washer.- Damp laundry room: Persistent humidity indicates an issue.- Musty smell: Standing water can cause mildew and odors.
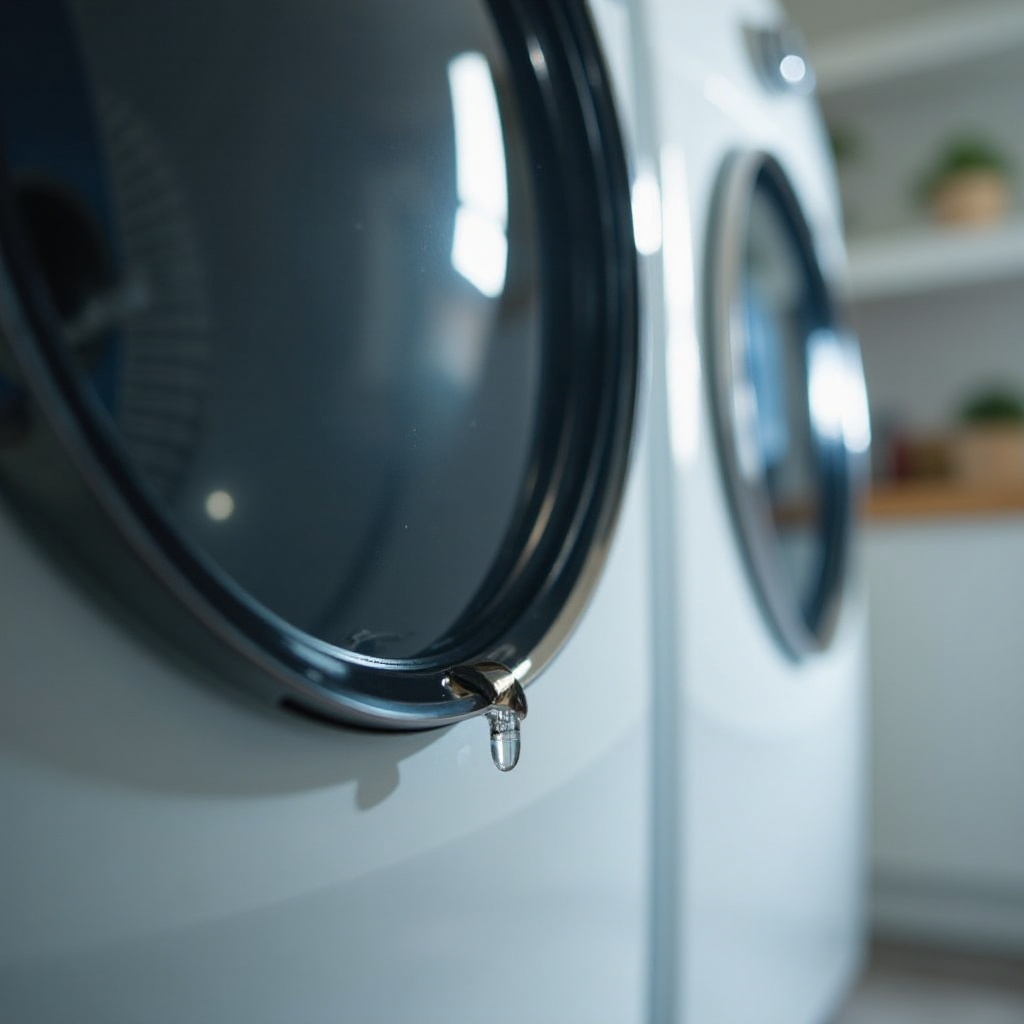
Areas to Inspect: Hoses, Seals, and Connections- Hoses: Check both the inlet and outlet hoses for any signs of wear, cracks, or leaks.- Seals and gaskets: Inspect the door seal for tears or dirt build-up.- Connections: Ensure all hose connections are tight and secure.
Tools Needed for Inspection- Flashlight- Adjustable wrench- Towels or rags- Bucket (for catching water)
After identifying the potential areas for a leak, you can delve deeper into understanding what might be causing the problem.
Common Causes and Quick Fixes
There are several common reasons why your washer might be dripping. Here’s an overview of what these issues could be and how you can address them quickly.
Worn-Out Hoses or Connections- Cause: Over time, hoses can crack or develop small holes.- Fix: Replace the worn-out hoses with new, high-quality ones.
Leaky Door Seal or Gasket- Cause: The door seal can become brittle and cracked with age.- Fix: Clean the gasket with a damp cloth or replace it if it’s damaged.
Faulty Water Inlet Valve- Cause: The water inlet valve might be malfunctioning or clogged.- Fix: Clean the valve or replace it if necessary.
Loose or Damaged Drum- Cause: The internal drum might have a loose connection or crack.- Fix: Tighten any loose connections or call a professional for significant damage.
Once you've tackled the above quick fixes and if the issue persists, it may be time to consider more comprehensive repair solutions.
DIY Solutions and When to Call a Professional
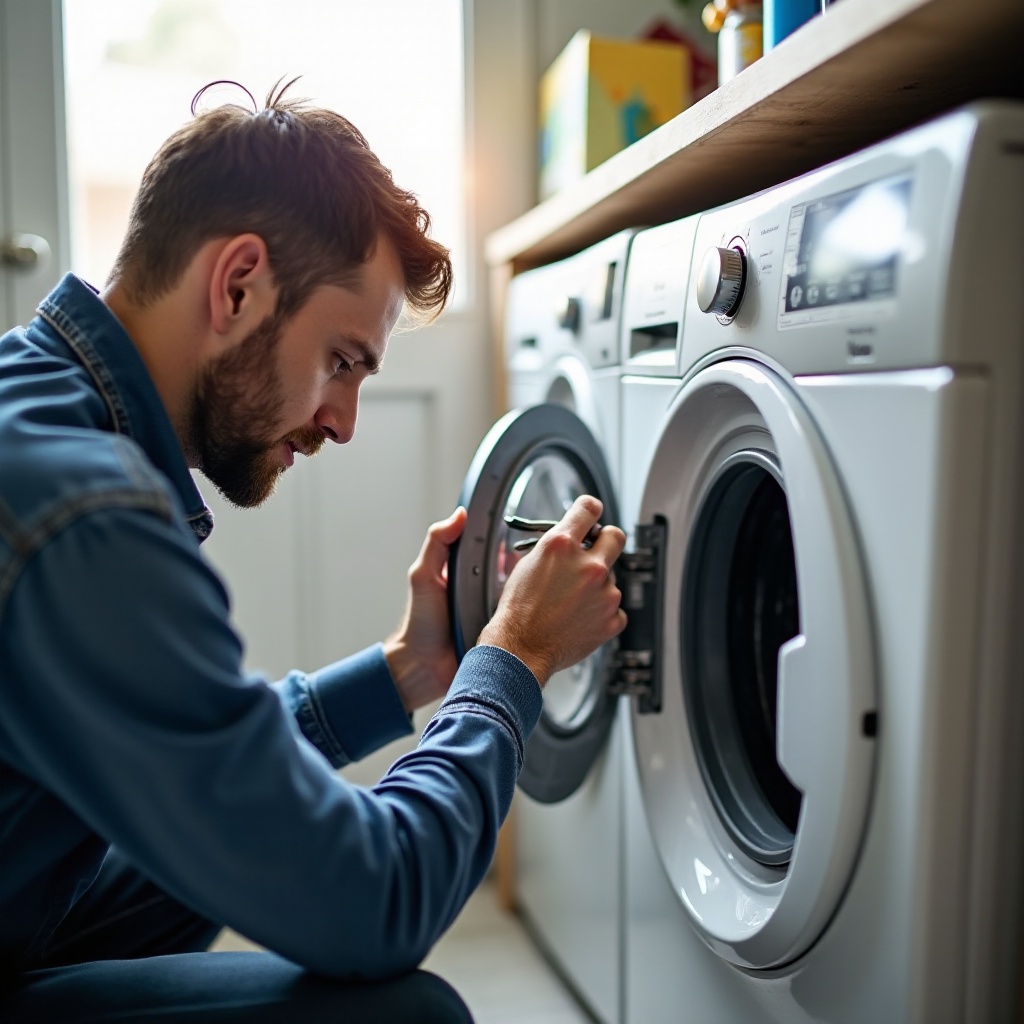
Fixing a dripping washer can often be managed with a few tools and some patience. Here’s how to handle common repairs yourself and know when it’s time to bring in a professional.
Step-by-Step Guide for DIY Repairs1. Turn off power and water supply: Safety first.2. Inspect hoses and connections: Tighten loose hoses and replace damaged ones.3. Check and clean the door gasket: Use a damp cloth to remove any build-up.4. Examine the water inlet valve: Clean any debris or replace it if faulty.5. Test the washer: Run a short cycle to ensure the leak is fixed.
When to Replace Versus Repair Components- Replacement: If parts like hoses, gaskets, or valves are heavily worn or damaged.- Repair: Tightening loose connections or cleaning parts often solves minor issues.
Indicators That Require Professional Help- Persistent leaks despite attempting the above fixes.- Unidentified water sources.- Internal drum damage or other complex issues.
While fixing minor problems can be done at home, preventative maintenance is the best way to keep your washer in good working order.
Preventative Maintenance
Regular maintenance can help you avoid dealing with a dripping washer in the future. Here are some tips to keep your appliance in top condition:
Regular Inspection Routines- Monthly checks: Inspect hoses, connections, and seals.- Quarterly deep clean: Clean the interior and exterior thoroughly.
Best Cleaning Practices to Avoid Future Issues- Use appropriate detergent: Too much detergent can lead to residue build-up which may cause leaks.- Run maintenance cycles: Most modern washers have a self-cleaning cycle.
Tips for Extending Washer Lifespan- Balance loads: Avoid overloading to prevent drum damage.- Use quality parts: Invest in durable replacement parts to ensure longevity.
By staying proactive with these simple steps, you can extend the lifespan of your washer and prevent leaks.
Conclusion
Taking prompt action when your washer starts dripping can save you from costly repairs and water damage. Regular inspection and maintenance go a long way in keeping your washer efficient and leak-free. If you’re unsure about any repair or if the leak persists, don’t hesitate to call a professional.
Frequently Asked Questions
What are the first steps if my washer starts dripping?
Turn off the power and water supply, inspect visible parts like hoses and the door seal, and try to identify the leak source.
How often should I inspect my washer to prevent leaks?
Perform monthly inspections of hoses and connections, and do a quarterly deep clean to catch any potential issues early.
When is it necessary to call a professional for a dripping washer?
If you've tried basic fixes and the leak continues, or if the leak is coming from a part you can’t identify or safely repair, it’s time to call a professional.