Introduction
Connecting water to a dishwasher can seem daunting, but with the right tools and instructions, it’s a manageable DIY task. Whether you’re installing a new dishwasher or replacing an old one, this guide will take you through each step to ensure a smooth installation. Let’s get started on your journey to enjoying an efficiently running dishwasher.
Tools and Materials Required
Before diving into the installation process, gather all necessary tools and materials. Having everything at hand will save you time and ensure a smoother process. Here’s what you’ll need:
- Adjustable wrench
- Screwdriver set
- Teflon tape
- Plumber’s tape
- Bucket
- Flexible water supply hose
- Towels
Once you have all the tools and materials, you’re ready to move on to preparing for the installation.
Preparing for the Installation
Preparation is crucial to a successful installation. Start by turning off the water and power supplies to avoid any accidents.
- Turn off the water supply: Locate the shut-off valve under the sink and turn it clockwise to shut off the water.
- Turn off the power supply: Switch off the breaker connected to your dishwasher to cut off the electricity.
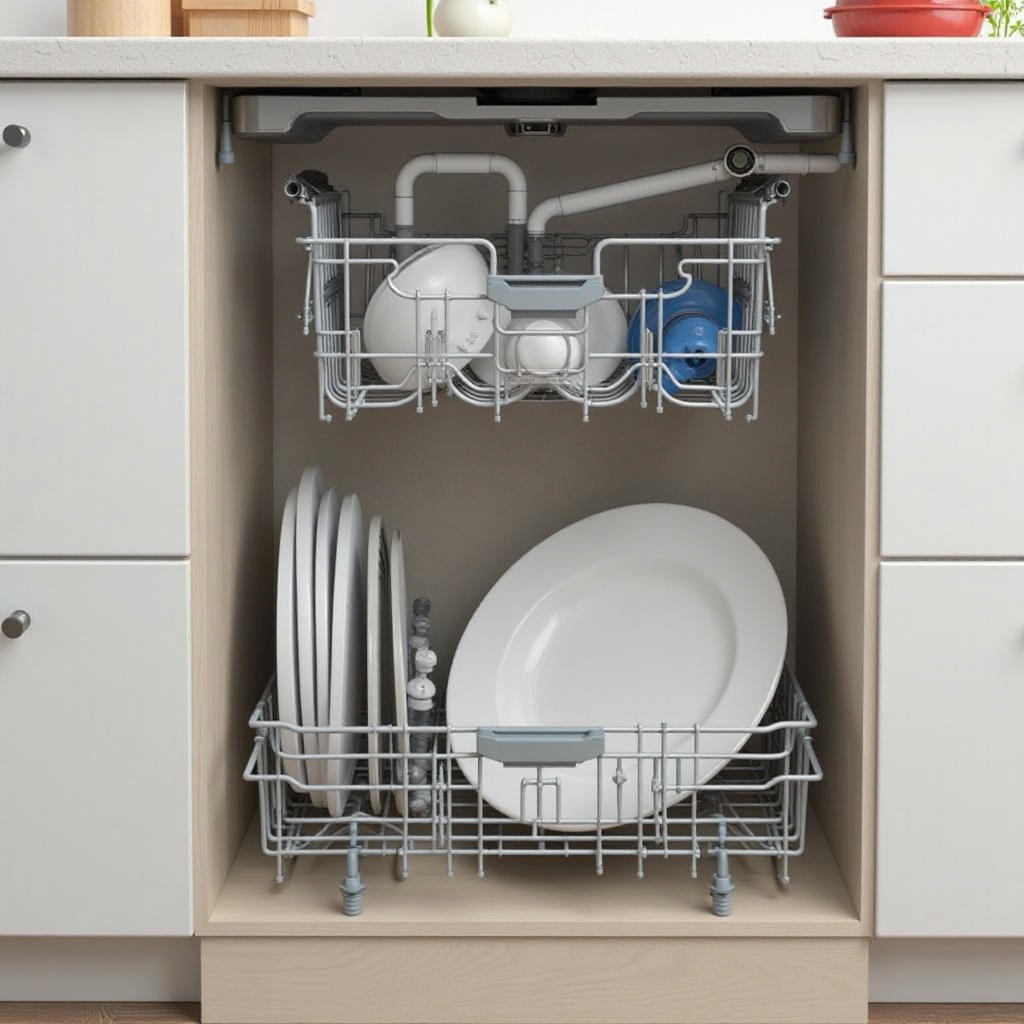
Now, assess the installation area to ensure there is adequate space and that the dishwasher can be easily accessed for connection.
Connecting the Water Supply Line
With preparations complete, you can connect the water supply line to the dishwasher. This is a critical step that ensures your dishwasher gets the necessary water for operation.
Identifying the Water Inlet Valve
Find the water inlet valve, typically located at the bottom front of the dishwasher. This valve connects the water supply hose to the dishwasher.
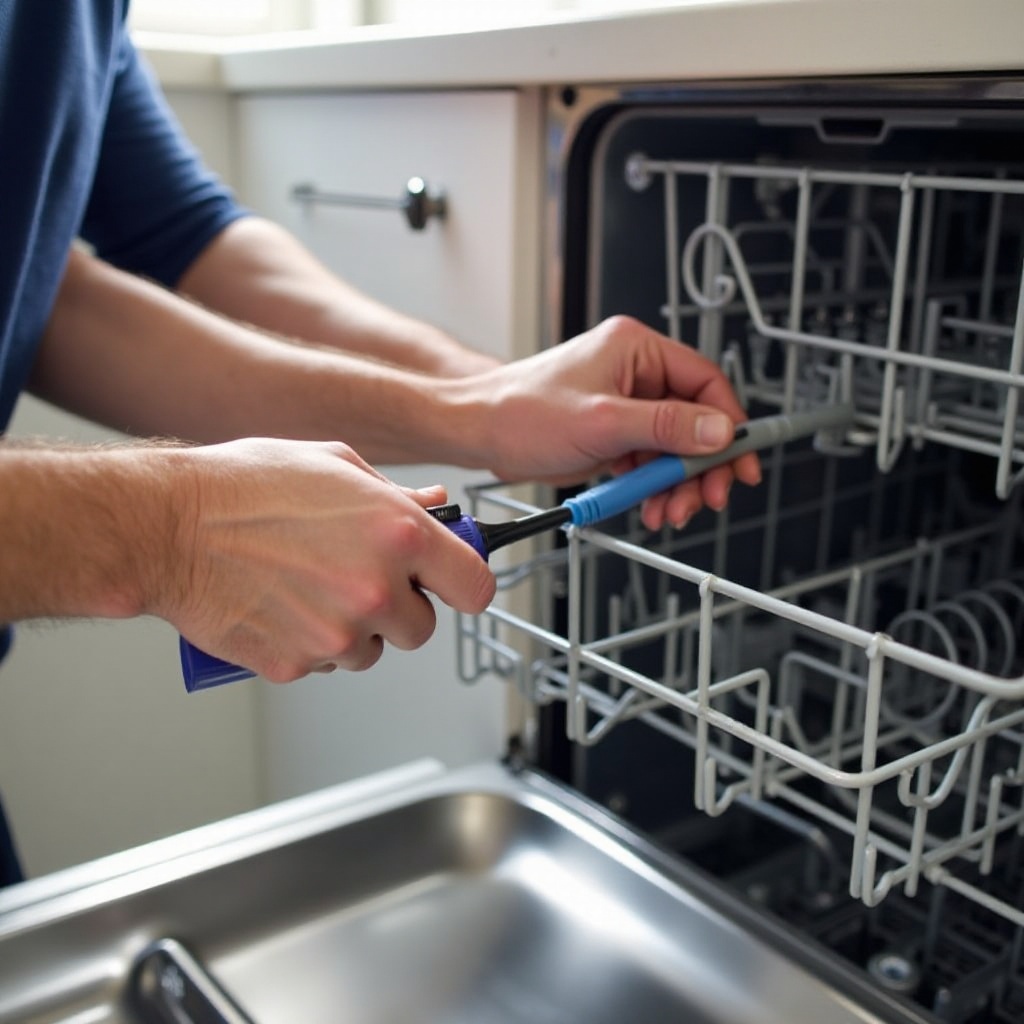
Attaching the Flexible Water Hose
- Wrap Teflon tape around the threads of the inlet valve to prevent leaks.
- Attach one end of the flexible water hose to the inlet valve, tightening with an adjustable wrench.
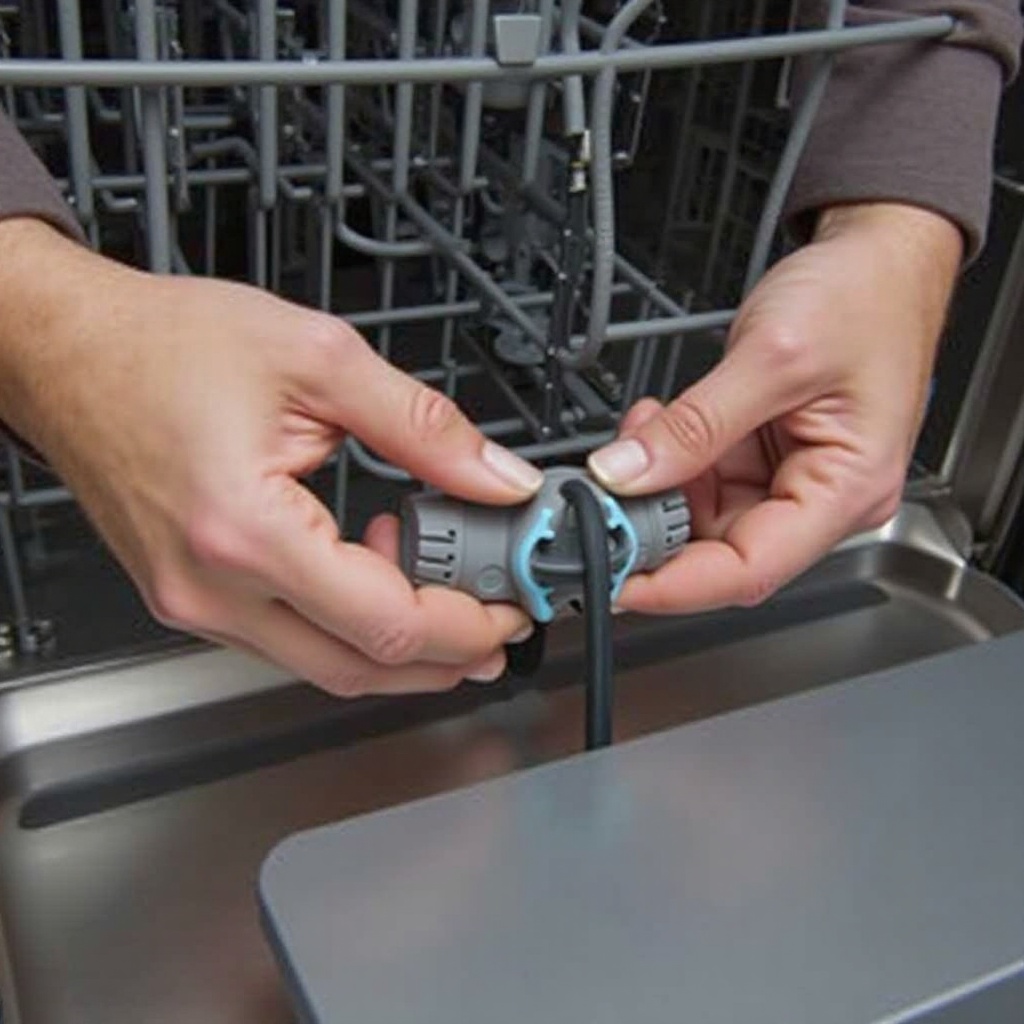
Securing Connections and Checking for Leaks
- Secure the other end of the hose to the water supply valve under the sink.
- Open the water supply valve and check for any leaks.
- If leaks occur, turn off the water, tighten the connections, and recheck.
Following these steps ensures a leak-free connection, but the job isn’t done yet. Let’s move on to connecting the drain line.
Connecting the Drain Line
Properly connecting the drain line ensures wastewater is expelled efficiently. Different types of drain connections require specific handling.
Types of Drain Connections
There are two primary drainage methods:1. Direct connection2. Air gap method
Check your dishwasher manual to see which method is recommended.
Properly Attaching the Drain Hose
- Attach one end of the drain hose to the dishwasher’s drain port.
- Secure it with a hose clamp.
Preventing Backflow Issues
To avoid backflow issues, ensure the drain hose is elevated in a loop before connecting it to the drain outlet. This prevents dirty water from re-entering the dishwasher.
Testing the Installation
With the water supply and drain lines connected, it’s time to test the installation. This step confirms that everything is functioning correctly.
Running a Test Cycle
- Restore the power by flipping the breaker on.
- Run a test cycle on the dishwasher to check for leaks or other issues.
Checking for Leaks or Issues
While the dishwasher runs, inspect all connections for leaks. Check under the sink and around the dishwasher for any signs of water.
Final Adjustments if Necessary
If any leaks are detected, pause the dishwasher, turn off the water and power supplies, and address the leak. Tighten connections or reapply Teflon tape as needed. Once everything is adjusted, conduct another test cycle to ensure the installation is secure.
Conclusion
Connecting water to a dishwasher may seem complex, but by following these steps, you can achieve a successful installation. Ensuring each connection is secure and free of leaks guarantees your dishwasher runs efficiently and reliably. If the process seems too difficult at any point, don’t hesitate to consult a professional plumber. Enjoy your newly installed, fully functional dishwasher!
Frequently Asked Questions
How long does it take to connect a dishwasher water line?
Typically, it takes about 1 to 2 hours, depending on your familiarity with plumbing and the specific circumstances of the installation.
What tools do I need to connect a dishwasher?
You’ll need an adjustable wrench, screwdriver set, Teflon tape, plumber’s tape, a bucket, flexible water supply hose, and towels.
Can I connect a dishwasher to hot water?
Yes, most dishwashers can be connected to hot water lines. However, connecting to the cold water supply is usually recommended as the dishwasher has a built-in water heater.