Introduction
Connecting a Logitech mouse to your laptop can significantly enhance your productivity and overall user experience. Whether you opt for Bluetooth or a USB receiver, the process is simple and can be done in a few minutes. This guide will walk you through the steps and provide solutions to common issues you may encounter along the way.
Checking Compatibility
Before you begin, ensure that your Logitech mouse is compatible with your laptop. Most Logitech mice are designed to work with common operating systems such as Windows and macOS.
- Verify System Requirements: Check your laptop's specifications and ensure it supports the Logitech mouse model you have.
- Battery and Power Source: Make sure the mouse has batteries installed or is charged.

Connecting via Bluetooth
Many laptops now come with built-in Bluetooth, making it easy to connect wireless devices like mice.
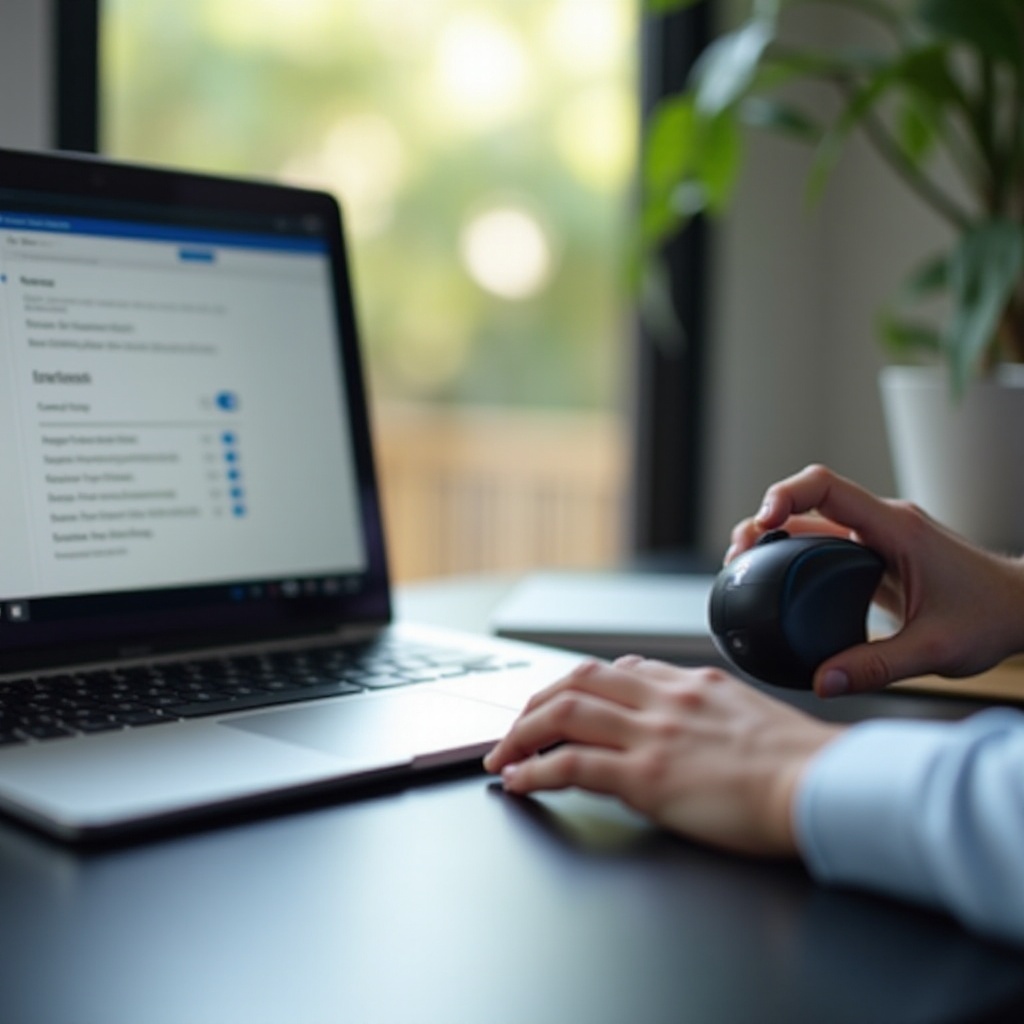
Enabling Bluetooth on Your Laptop
- Windows: Go to Settings > Devices > Bluetooth & other devices. Toggle on Bluetooth.
- macOS: Open System Preferences > Bluetooth > Turn Bluetooth On.
Your laptop is now ready to pair with your Logitech mouse.
Pairing Your Logitech Mouse
- Turn On the Mouse: Ensure your Logitech mouse is powered on.
- Enter Pairing Mode: Press and hold the pairing button on the mouse until the LED light blinks.
- Add Device: On your laptop, click 'Add Bluetooth or other device' in Windows or 'Pair' on macOS. Select your Logitech mouse from the list of available devices.
Following these steps, your Logitech mouse should now be connected via Bluetooth. If you encounter any issues, consider connecting via a USB receiver.
Connecting via USB Receiver
If your laptop does not have Bluetooth or you prefer using a USB receiver, Logitech mice often come with a unifying receiver to facilitate a smooth connection.
Finding and Inserting the USB Receiver
- Locate the Receiver: The USB receiver is usually found inside the mouse's packaging or within the mouse itself.
- Insert Receiver into Laptop: Plug the USB receiver into an available USB port on your laptop.
First-Time Setup Instructions
- Turn On the Mouse: Ensure the mouse switch is set to ‘On’.
- Automatic Connection: The laptop should automatically detect the mouse. Follow any on-screen prompts to complete the setup.
This method provides a stable connection and is often preferred for its reliability.
Installing Necessary Drivers and Software
To maximize functionality, installing drivers and software is essential.
Auto-Installation Process
- Windows & macOS: When you connect your Logitech mouse, the required drivers often install automatically. Simply follow the on-screen instructions if prompted.
Manual Driver Installation
- Logitech Website: Visit the official Logitech support website.
- Download Drivers: Search for your mouse model and download the latest drivers and software.
- Install Software: Run the downloaded file and follow the instructions to install it.
Once installed, your Logitech mouse will have all the necessary drivers to function correctly.
Troubleshooting Common Issues
Sometimes, you may face challenges connecting your Logitech mouse. Here are some solutions.
Mouse Not Detected
- Check Power: Ensure the mouse is turned on and has working batteries.
- Restart Devices: Restart your laptop and try reconnecting.
- Re-pair Bluetooth: Remove the mouse from your Bluetooth devices list and re-pair it.
- USB Receiver: Ensure the receiver is securely connected to the laptop.
Cursor Not Moving / Lagging
- Surface Check: Ensure you are using the mouse on an appropriate surface.
- Update Drivers: Check for any driver updates.
- Interference: Remove any potential sources of wireless interference nearby.
These troubleshooting steps can resolve most common issues.
Customization and Additional Features
Logitech mice come with customizable features. Using the Logitech Options software, you can enhance your user experience.
Customizing Buttons and Settings
- Open Logitech Options: Download and install from the Logitech website if you haven't yet.
- Adjust Settings: Customize button functions, pointer speed, and scrolling direction.
Battery Saving Tips and Tricks
- Turn Off When Not in Use: Save battery life by turning off the mouse when not in use.
- Adjust Sleep Mode: Use Logitech Options to adjust the mouse’s sleep mode settings.
Customizing your mouse can greatly enhance your efficiency.
Conclusion
Following these steps, you should now have successfully connected your Logitech mouse to your laptop. Whether via Bluetooth or USB receiver, each method is straightforward. Enjoy increased productivity and a better user experience with your newly connected mouse.
Frequently Asked Questions
How do I reset my Logitech mouse if it's not connecting?
To reset your Logitech mouse, turn it off, wait a few seconds, and then turn it back on. Repeat the pairing process if it still doesn't connect.
Can I connect my Logitech mouse to multiple devices?
Yes, many Logitech mice allow connection to multiple devices. Use the Easy-Switch button to toggle between devices.
How do I update the firmware of my Logitech mouse?
Visit the Logitech support website, download the Firmware Update Tool, and follow the instructions to update your mouse firmware.