Introduction
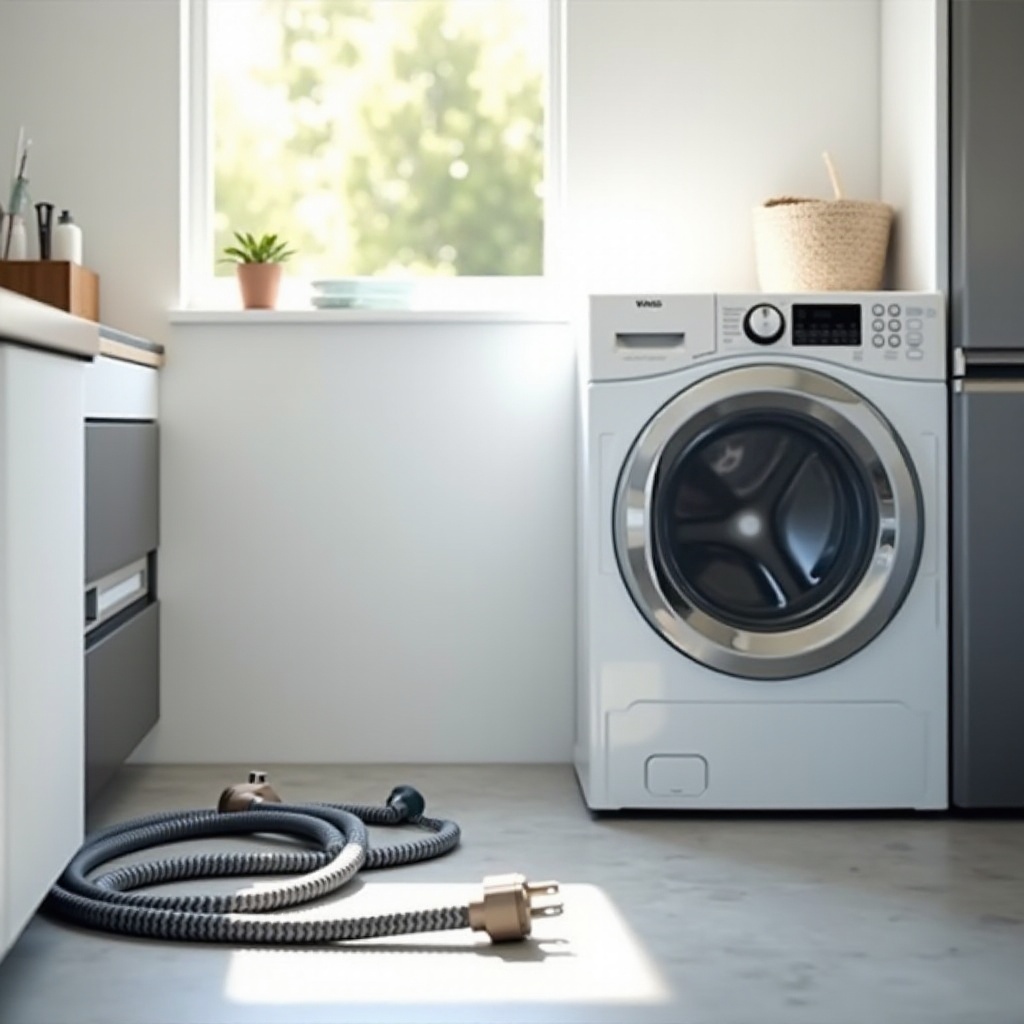
Connecting a washer doesn't have to be a complicated task, although the prospect might be intimidating if you're unfamiliar with plumbing or electrical setups. With the right preparation and a step-by-step approach, the process can be straightforward. This guide will walk you through safely connecting your washer to ensure optimal performance. Whether setting up a new unit or replacing an old one, these instructions will help you avoid common issues. Let's start and get your washer ready for use.
Preparing for Washer Installation
Proper preparation is crucial for a smooth installation process. Having the correct tools and materials on hand will save you time and hassle. Here is what you need:
- Gathering Necessary Tools and Materials:
- Adjustable wrench
- Pliers
- Level
- Bucket or towel (to catch any water spills)
- Water supply hoses
- Drain hose
Electrical outlet tester
Important Safety Precautions:
Safety must be a priority. Ensure your electrical outlet is properly grounded and turn off the water supply before beginning. If you're uncertain about your plumbing or electrical setup, consulting a professional is advisable.
With tools ready and safety measures in place, it’s time to choose where to position your washer.
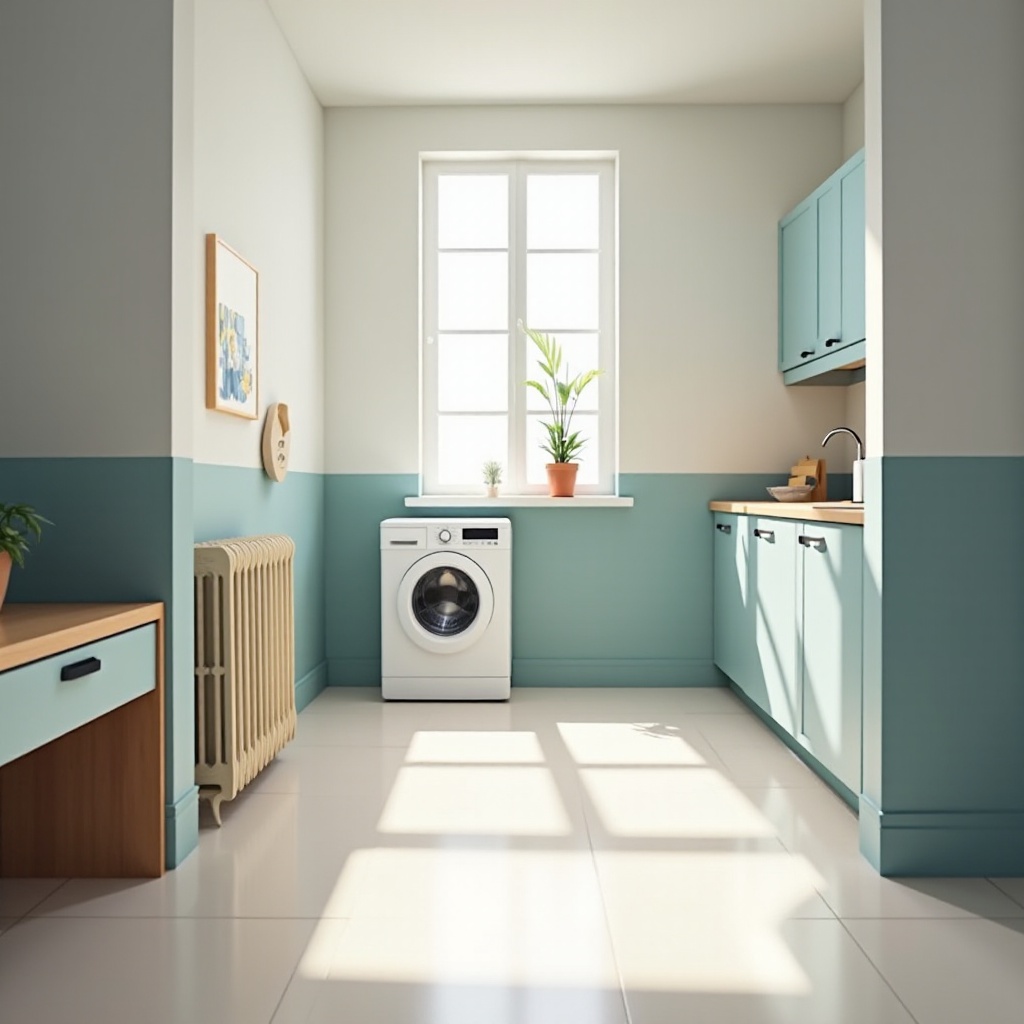
Choosing the Right Location
Selecting the best location for your washer is vital for its operation. Here's how you make the right choice:
Determining the Optimal Washer Spot:
Choose a spot close to existing plumbing connections, minimizing the need for extended hose runs. Ensure the floor can support the weight and vibration of the washer.Ensuring Adequate Ventilation and Drainage:
Proper ventilation is key to preventing moisture buildup, which can cause mold and mildew. Equally, confirm that the drain is accessible and can manage the water flow effectively.
Now that the washer's location is sorted, let’s proceed to the water supply connection.
Connecting the Water Supply
A well-secured water connection is essential for your washer's performance. Follow these steps for a solid setup:
Types of Water Supply Hoses:
Opt for high-quality hoses that match your washer’s inlet valves. Stainless steel braided hoses are recommended for their durability.Step-by-Step Guide to Attaching Hoses:
- Attach the hose to the water supply valve, ensuring you connect the cold and hot water hoses correctly.
Secure the other end to the washer's inlet valves, using pliers to tighten them as needed.
Checking for Leaks and Tight Seals:
Turn on the water supply and check for any leaks. Tighten connections if necessary to prevent water from escaping.
With the water supply connected, the next critical step involves installing the drain hose.
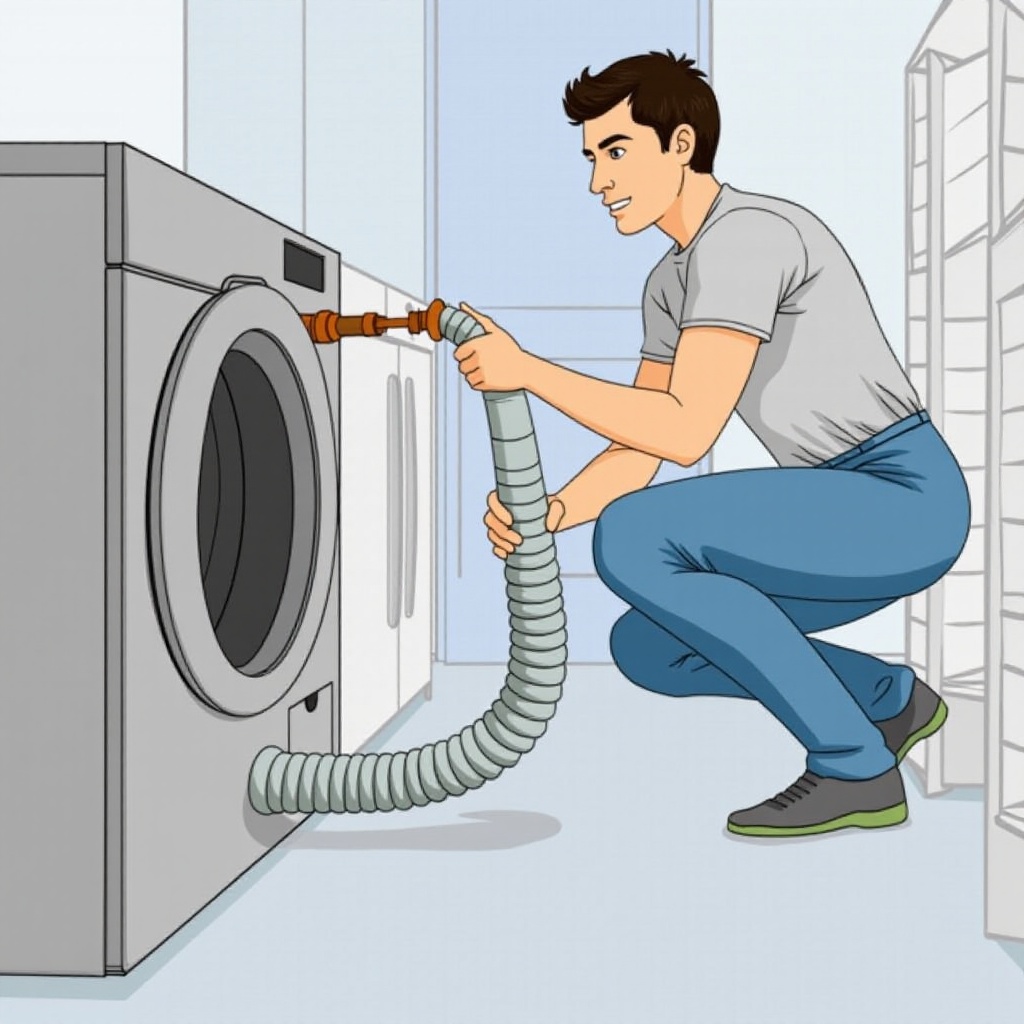
Installing the Drain Hose
Proper drain hose installation safeguards against leaks and potential flooding:
Proper Drain Hose Placement:
Arrange the hose in a loose 'S' shape leading to the standpipe, minimizing the risk of siphoning water.Securing the Drain Hose to Prevent Leaks:
Use a clamp or zip tie to fasten the hose securely to the standpipe, ensuring stability to prevent movement or leakage.
With both water supply and drain secured, it's time to focus on the electrical connection.
Setting Up the Electrical Connection
A safe electrical setup is critical to avoid malfunction:
Safely Plugging in Your Washer:
Verify your electrical outlet using an outlet tester. Plug the washer directly into the outlet. Avoid extension cords as they can pose fire risks.Handling Different Electrical Outlets:
Make sure your outlet fits the washer’s plug type. If an adapter is necessary, ensure it is high quality to prevent hazards.
Having completed the setup, it's important to test and ensure everything functions correctly.
Testing and Final Adjustments
Testing your washer confirms everything is set up correctly and provides a chance to make final adjustments:
Running a Test Cycle:
Initiate a test wash cycle without laundry to assess the machine's operation. Listen for unusual noises and examine for leaks or vibrations.Troubleshooting Common Connection Issues:
If problems arise, revisit the water, drain hose, and electrical connections. Tighten all fittings securely. Persistent problems may require professional advice.
Conclusion
Connecting a washer involves a few essential steps, but with proper guidance, anyone can manage the task. By ensuring adequate preparation, choosing the right location, and securing all connections properly, your washer will be ready without any issues. Always prioritize safety, and don't hesitate to consult professionals when needed.
Frequently Asked Questions
What tools do I need to connect a washer?
You will need an adjustable wrench, pliers, a level, a bucket or towel, and an electrical outlet tester. Additional essentials include water supply hoses and a drain hose.
How do I prevent my washer from leaking?
Ensure all hose connections are tightly secured and double-check for leaks after turning on the water supply. Choose high-quality hoses and secure the drain hose properly.
Can I connect a washer myself, or should I hire a professional?
While you can connect a washer yourself, hiring a professional can guarantee the job is done correctly, especially if unsure about plumbing or electrical aspects.