Introduction
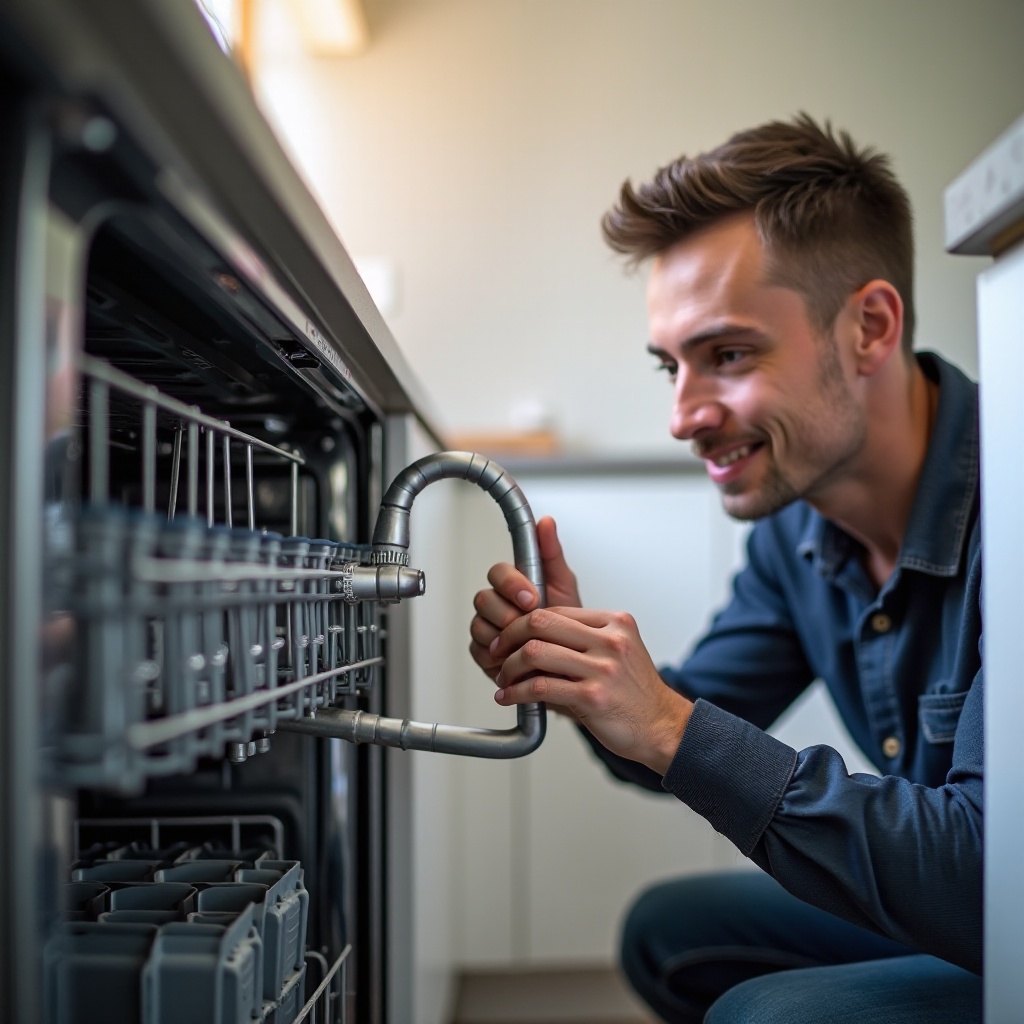
Properly connecting a dishwasher to its water supply is essential for ensuring the appliance functions correctly and lasts longer. Whether you’re installing a new dishwasher or replacing an old one, this guide will walk you through the process step-by-step. Follow these instructions to achieve a leak-free and efficient connection.
Essential Tools and Materials
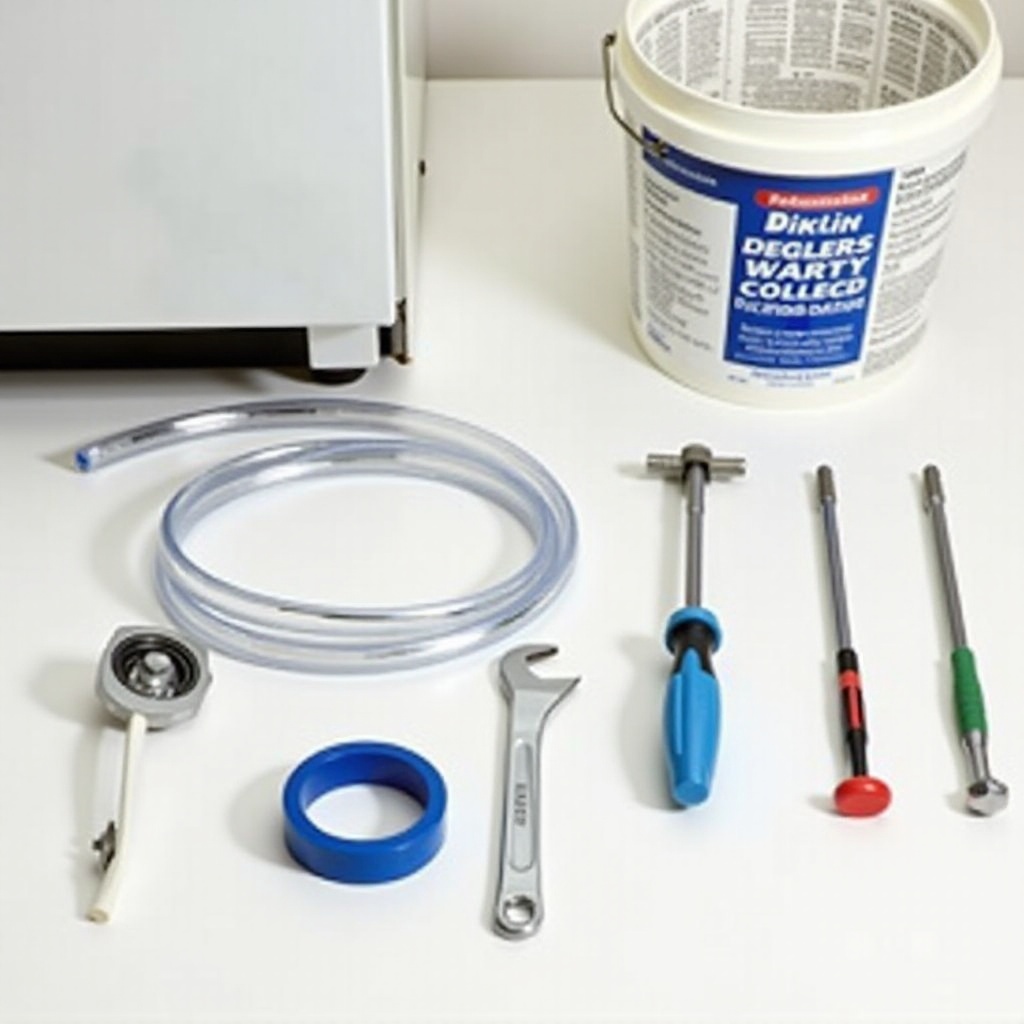
Before you begin, gather all the necessary tools and materials. Having the right equipment at hand will make the installation process smoother and quicker.
List of Necessary Tools
- Adjustable wrench
- Screwdriver
- Basin wrench
- Teflon tape
- Pliers
- Bucket
Types of Water Supply Lines
Choosing the right water supply line is crucial for a proper connection. Typically, you can use flexible braided stainless steel hoses or copper tubing. Stainless steel hoses are more flexible and easier to install, while copper tubing is more durable but requires careful bending.
Preparing for Installation
Preparation is key to a successful installation. Taking the necessary precautions and ensuring compatibility will prevent complications down the road.
Safety Precautions
- Disconnect the power supply to your dishwasher. Unplug it or turn off the breaker at your home’s electrical panel.
- Wear safety gloves and glasses to protect yourself from potential hazards.
Checking Compatibility
Verify that your new dishwasher is compatible with your existing water supply and plumbing. Consult the manufacturer’s instructions for specific requirements.
Shutting Off Water Supply
- Locate the main water shut-off valve in your home and turn it off.
- Open the faucet closest to the shut-off valve to relieve any pressure in the pipes.
Step-by-Step Water Connection Guide
Connecting the water supply involves several steps. Follow these instructions carefully to ensure a secure and leak-free connection.
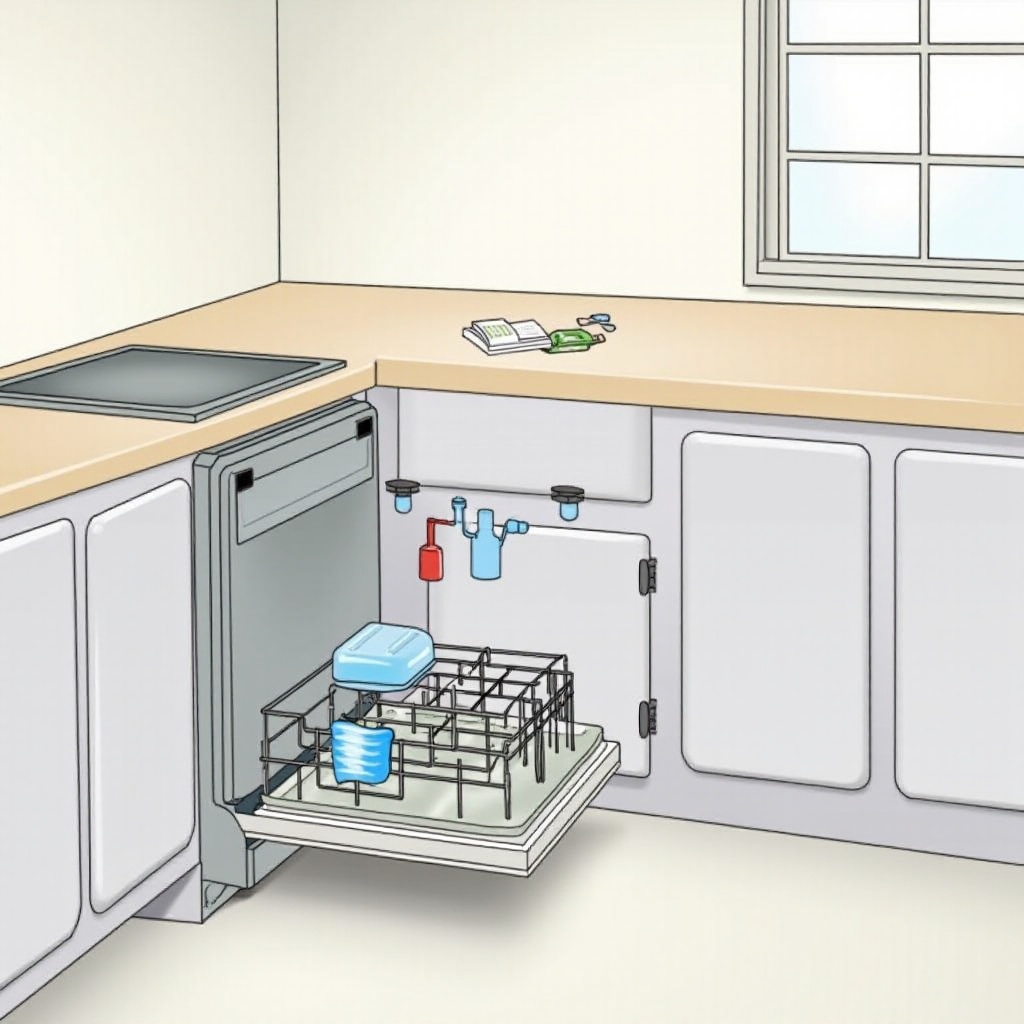
Locating the Water Supply Valve
- Find the hot water supply valve under your sink. This is often located near the bottom of the cabinet.
- If you have a dual-valve setup, identify the valve connected to the dishwasher.
Attaching the Water Line
- Using a basin wrench, disconnect the existing hot water line from the valve.
- Wrap the threads of the valve with Teflon tape to ensure a secure seal.
- Attach the new water supply line to the valve, tightening it with the adjustable wrench.
Securing the Connection
- Route the new water supply line to the dishwasher’s water inlet, ensuring there are no kinks or bends.
- Attach the other end of the water supply line to the dishwasher’s water inlet valve.
- Tighten the connection securely using the adjustable wrench, taking care not to overtighten.
Checking for Leaks
Now that you’ve connected the water supply line, it’s time to check for leaks and ensure everything works correctly.
Turning On the Water Supply
- Slowly turn on the main water supply valve to avoid sudden pressure changes.
- Gradually open the hot water supply valve under the sink, allowing water to flow to the dishwasher.
Inspecting for Leaks
- Use a dry cloth to wipe around the connections, then observe if any moisture appears.
- Check both ends of the water supply line for leaks.
Troubleshooting Common Issues
If you notice any leaks, follow these steps:- Turn off the water supply.- Tighten the connections slightly.- Reapply Teflon tape if necessary.- Turn the water supply back on and recheck for leaks.
Finalizing the Installation
After ensuring there are no leaks, it’s important to finalize the installation by testing the dishwasher and making necessary adjustments.
Running a Test Cycle
- Restore power to the dishwasher by plugging it in or turning on the breaker.
- Run a short wash cycle to ensure the water flows correctly and the dishwasher operates without any issues.
Adjusting Connections as Needed
If you encounter any performance issues or minor leaks during the test cycle, make necessary adjustments to the connections. Tighten or reposition the water line as required.
Maintenance Tips
- Inspect the water supply line periodically for signs of wear or leaks.
- Replace the water supply line every few years to prevent leaks and maintain optimal performance.
- Clean the dishwasher’s filter and spray arms regularly to keep it functioning efficiently.
Conclusion
Connecting a dishwasher to a water supply can seem like a daunting task, but with the right tools and a step-by-step guide, you can do it yourself. Properly installing the water supply line ensures your dishwasher operates efficiently and lasts longer. Remember to perform regular maintenance checks to keep your appliance in top condition. If you ever feel unsure or encounter significant issues, don’t hesitate to seek professional assistance.
Frequently Asked Questions
What tools do I need to connect a dishwasher to the water supply?
To connect a dishwasher to the water supply, you'll need an adjustable wrench, screwdriver, basin wrench, Teflon tape, pliers, and a bucket.
How can I check for leaks after connecting my dishwasher?
After connecting the dishwasher, turn on the water supply gradually and inspect the connections with a dry cloth. Look for any signs of moisture and tighten connections if necessary.
Can I install a dishwasher myself or should I hire a professional?
You can install a dishwasher yourself by following a comprehensive guide and taking necessary precautions. However, if you encounter significant issues or feel uncomfortable with the process, it's best to hire a professional.