Introduction
Changing a dryer cord from a 4-prong to a 3-prong plug can be essential for ensuring compatibility with your home's power outlet. There are significant differences between the wiring setups of the two types of cords. This change is necessary for those moving into older homes or if the dryer cord needs replacement for safety reasons. This guide will provide a step-by-step process to make the conversion safely and effectively.
Tools and Materials Needed
Before you begin the conversion process, gather all necessary tools and materials. Proper preparation ensures a smooth and safe transition.
- Tools:
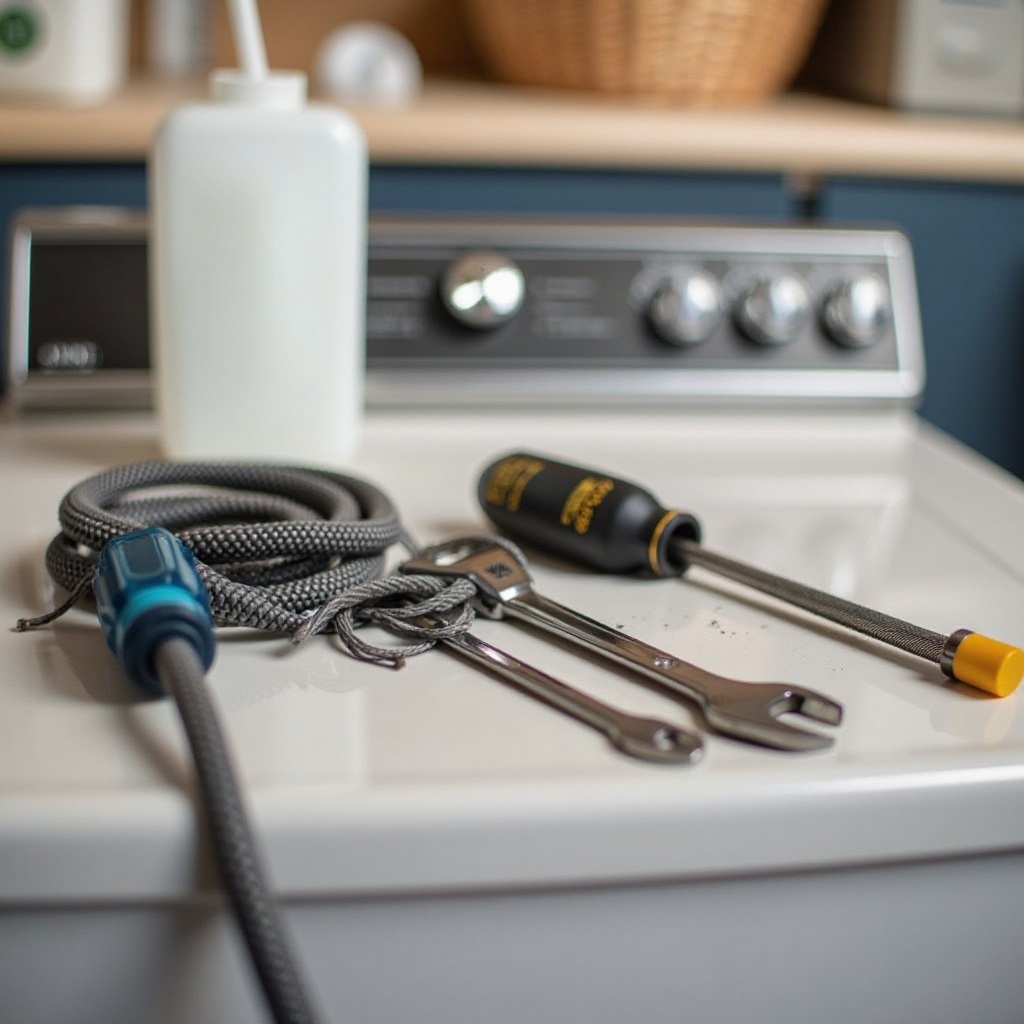
- Philips head screwdriver
- Flathead screwdriver
- Wire stripper
- Multimeter (for checking connections)
- Pliers
- Materials:
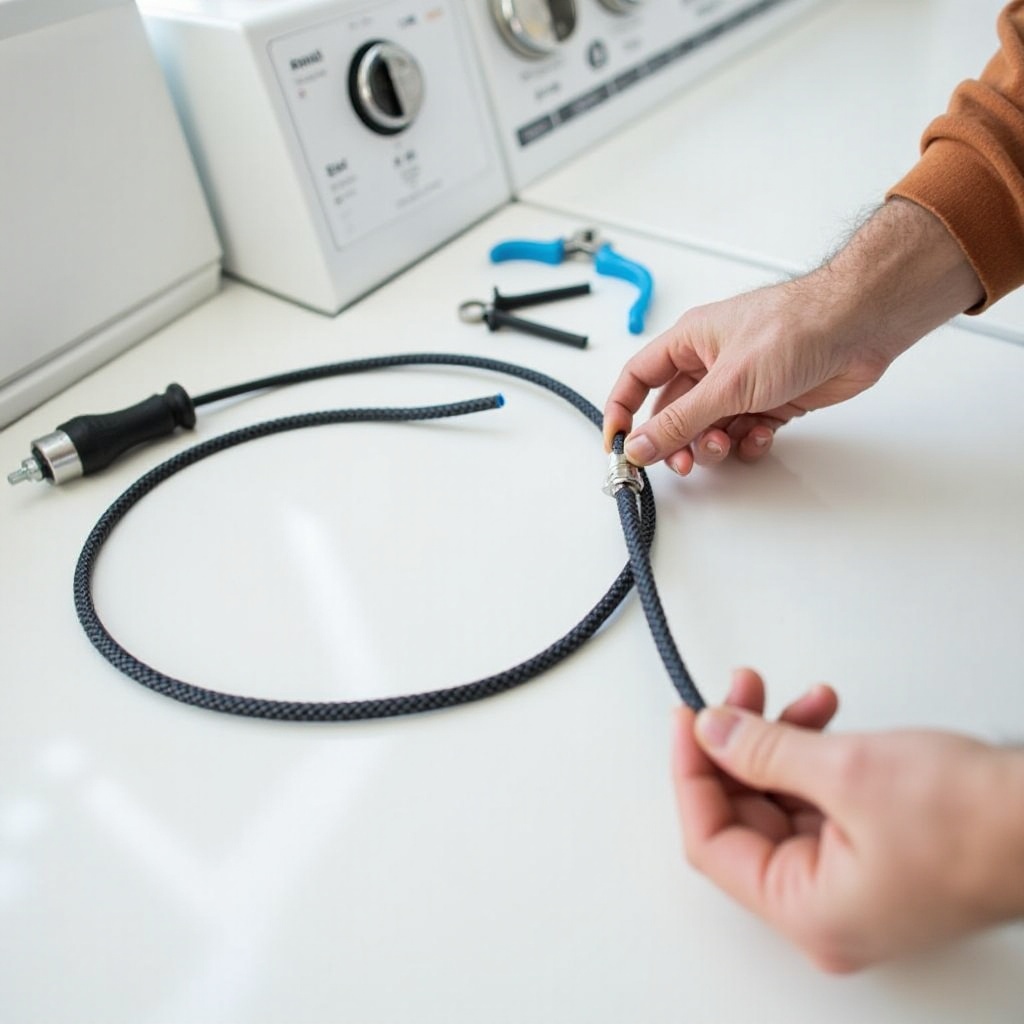
- New 3-prong dryer cord
- Electrical tape
- Wire nuts (optional, for securing connections)
Having the right tools and materials at hand will save time and reduce the risk of mistakes during the process. It also ensures that the conversion is done safely, following all necessary safety precautions.
Understanding Electrical Codes and Regulations
It's crucial to comprehend the electrical codes and regulations surrounding dryer cord conversions. The National Electric Code (NEC) provides guidelines to ensure electrical safety.
The primary difference between a 3-prong and a 4-prong dryer plug lies in the grounding. A 4-prong plug includes a separate ground wire, while a 3-prong plug combines the ground with the neutral wire. This setup affects how you connect the wires during the conversion process.
Make sure to check local codes and regulations, as they may vary and enforce specific requirements for electrical work in residential settings.
Preparing Your Workspace
Proper preparation of your workspace is essential for safety and efficiency. Follow these steps to ensure a safe working environment:
- Disconnect the dryer from the power source to prevent any electrical accidents.
- Move the dryer to an open, well-lit area where you have enough space to maneuver.
- Gather all tools and materials within reach.
Safety should be your top priority throughout the project. By preparing your workspace, you minimize risks and ensure the task proceeds smoothly.
Removing the Old 4-Prong Cord
Once your workspace is ready, it's time to remove the existing 4-prong cord. Follow these steps:
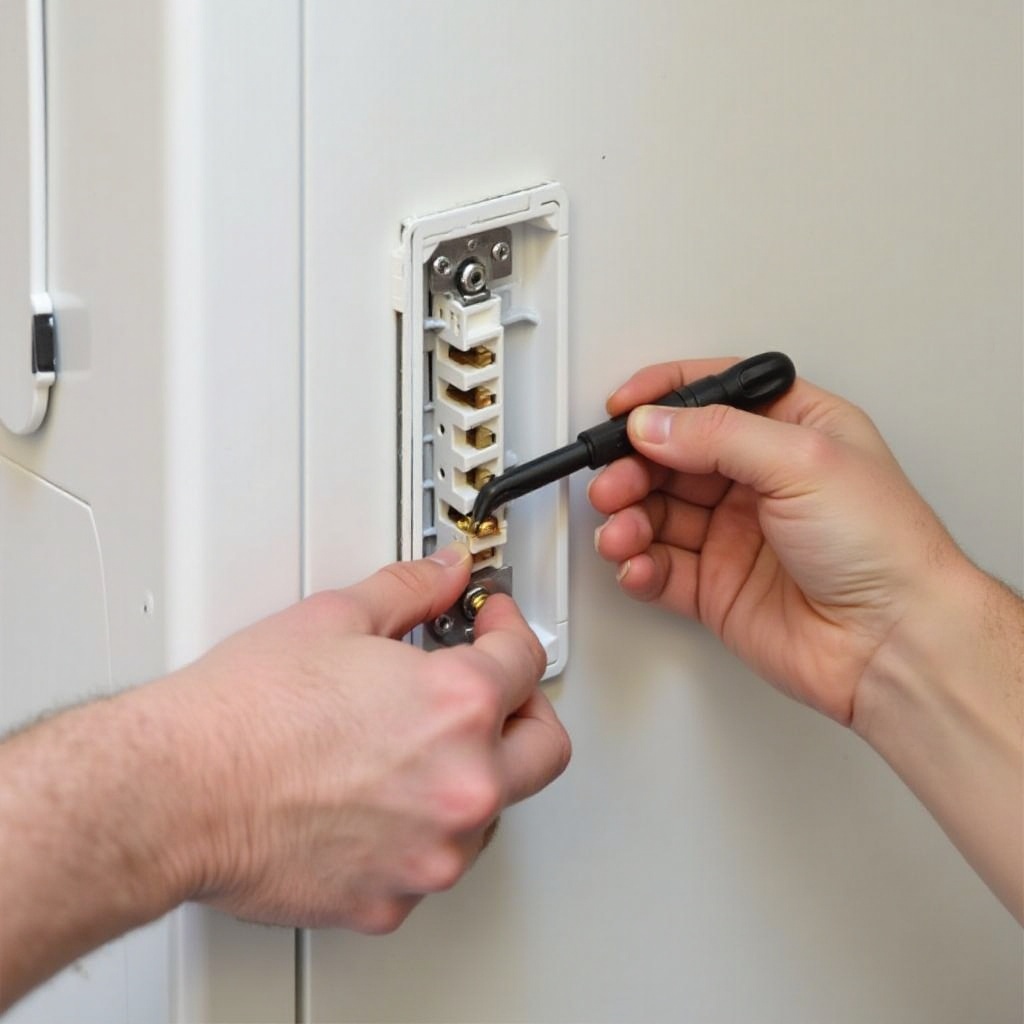
- Unscrew the access panel located at the back of the dryer to reveal the wire connections.
- Identify the four wires connected to the terminal block: red, black, white, and green (ground).
- Use a screwdriver to loosen and remove the screws securing the wires to the terminal block.
- Carefully detach the wires and set aside the 4-prong cord.
It's crucial to carefully follow these steps to avoid damaging the terminal block or the wires. Detach each wire methodically to maintain clarity and avoid confusion during the installation of the new cord.
Installing the New 3-Prong Cord
With the old cord removed, you can now install the new 3-prong cord. Follow these steps:
- Insert the new cord through the dryer’s access hole and align the wires with the terminal block.
- Connect the black wire to the left terminal and the red wire to the right terminal.
- Attach the white (neutral) wire to the center terminal.
- Ensure the grounding wire (green or bare) is connected appropriately, typically to the dryer’s frame, ensuring proper grounding.
- Tighten all connections securely to avoid any loose wires that could cause accidents.
After the wires are connected, double-check all connections to ensure everything is secure and correctly placed. This step is critical for the safety and functionality of your dryer.
Testing the Dryer
Before restoring power, it's essential to test the connections to ensure they are secure. Follow these steps:
- Use a multimeter to check the connections for continuity and proper grounding.
- If everything is correctly connected, plug the dryer back into the power outlet.
- Turn on the dryer to test its functionality.
Carefully observe the dryer to ensure it operates correctly and safely. If the dryer functions as expected, you have successfully converted the cord.
Conclusion
Changing a dryer cord from a 4-prong to a 3-prong plug is a straightforward process if you follow the proper steps and safety guidelines. By understanding the differences between the plugs, preparing your workspace, and methodically connecting the wires, you can ensure a smooth and safe transition.
Frequently Asked Questions
What is the difference between a 4-prong and a 3-prong dryer cord?
A 4-prong dryer cord includes a separate ground wire, ensuring better safety by reducing the risk of electrical shock, while a 3-prong cord combines the neutral and ground wires.
Is it safe to change a 4-prong dryer cord to a 3-prong?
Yes, it is safe to change a 4-prong dryer cord to a 3-prong if you follow proper guidelines and safety measures. Ensure all connections are secure and correctly wired.
What should I do if my dryer doesn't work after changing the cord?
If your dryer doesn't work after changing the cord, double-check all connections for tightness and accuracy. Use a multimeter to check for electrical continuity. If problems persist, it may be best to consult a professional electrician.