Introduction
A malfunctioning InSinkErator disrupts your kitchen workflow. This vital appliance efficiently handles food waste, but when it stops working, identifying the underlying problem becomes crucial. Whether dealing with an electrical hitch, mechanical failure, or blockage, there are effective solutions available. Let's explore the typical problems and practical fixes to restore functionality.
Understanding Your InSinkErator
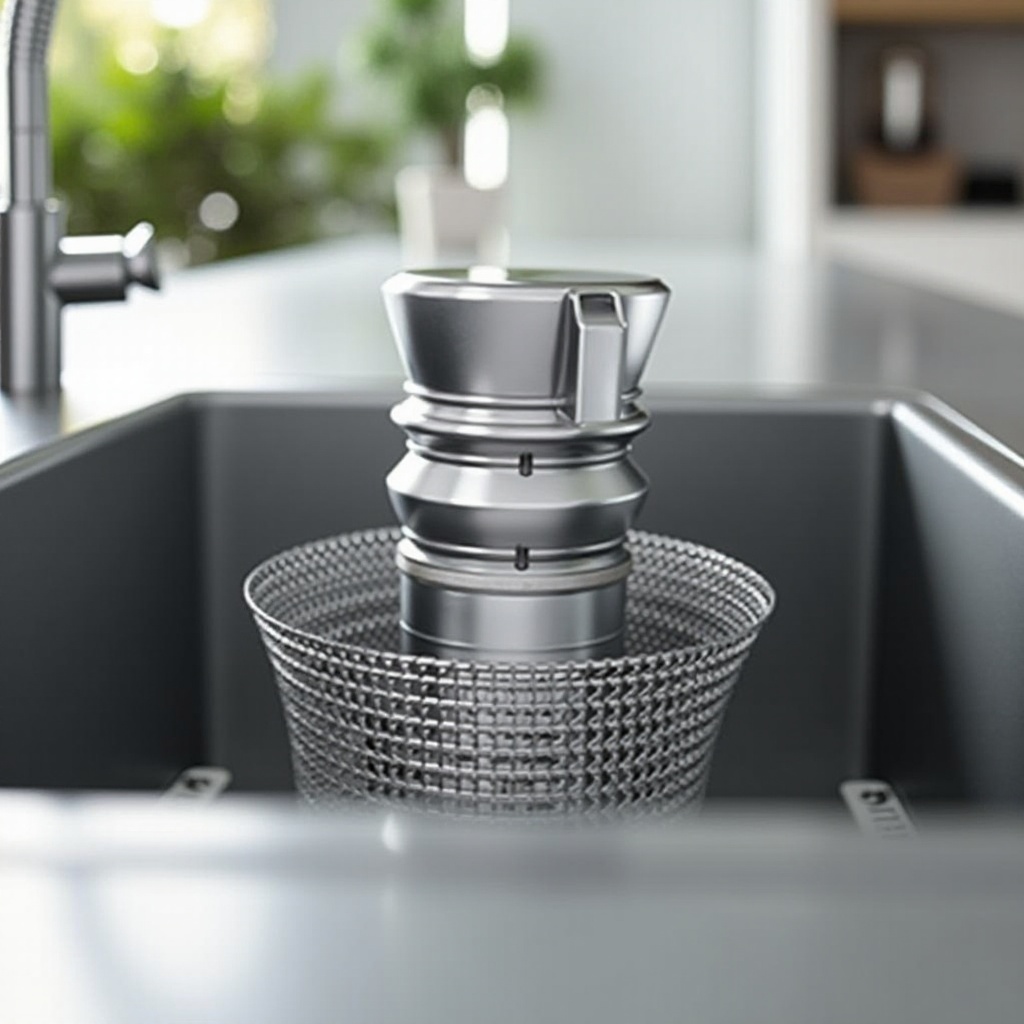
Understanding the structure of your InSinkErator is essential for effective troubleshooting. Typically, important components include the motor, flywheel, impellers, and the grinding ring. These parts must work together to process food waste and channel it away. In many households, InSinkErators integrate with dishwasher systems, sharing a drainage path—critical information when diagnosing issues that affect both.
InSinkErators streamline waste disposal and support dishwashers by managing residual food scraps. Knowing how these systems work together aids in spotting problems that might affect dishwashing efficiency.
Common Causes for InSinkErator Malfunctions
When an InSinkErator fails, several issues might be responsible:
Electrical Issues: If the unit isn't operating, check its electrical connections. Verify that the plug and power switch function correctly, and test the outlet for power.
Mechanical Problems: Excessive noise or grinding failures could indicate mechanical wear. Rusted parts or worn-out components may disrupt performance.
Clogs and Blockages: Materials like grease or fibrous food can obstruct the mechanism, causing frequent operational failures.
These common issues are often where troubleshooting should begin, providing a foundation for effective problem-solving.
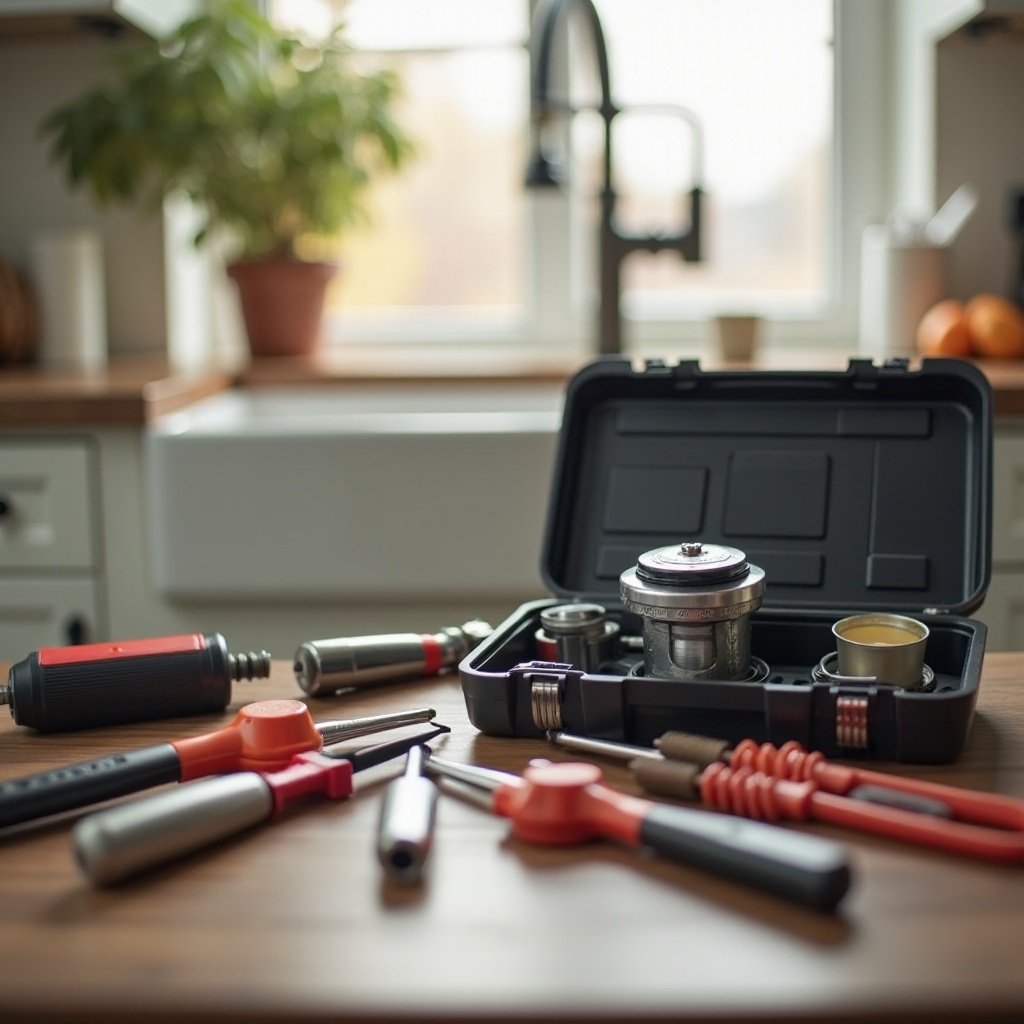
Comprehensive Troubleshooting Guide
For an InSinkErator that won't function, follow these steps:
- Checking and Resetting Electrical Connections:
- Confirm the unit is securely plugged in.
- Check the circuit breaker for any disruptions in power.
Use the reset button on the unit's bottom to initiate a reset.
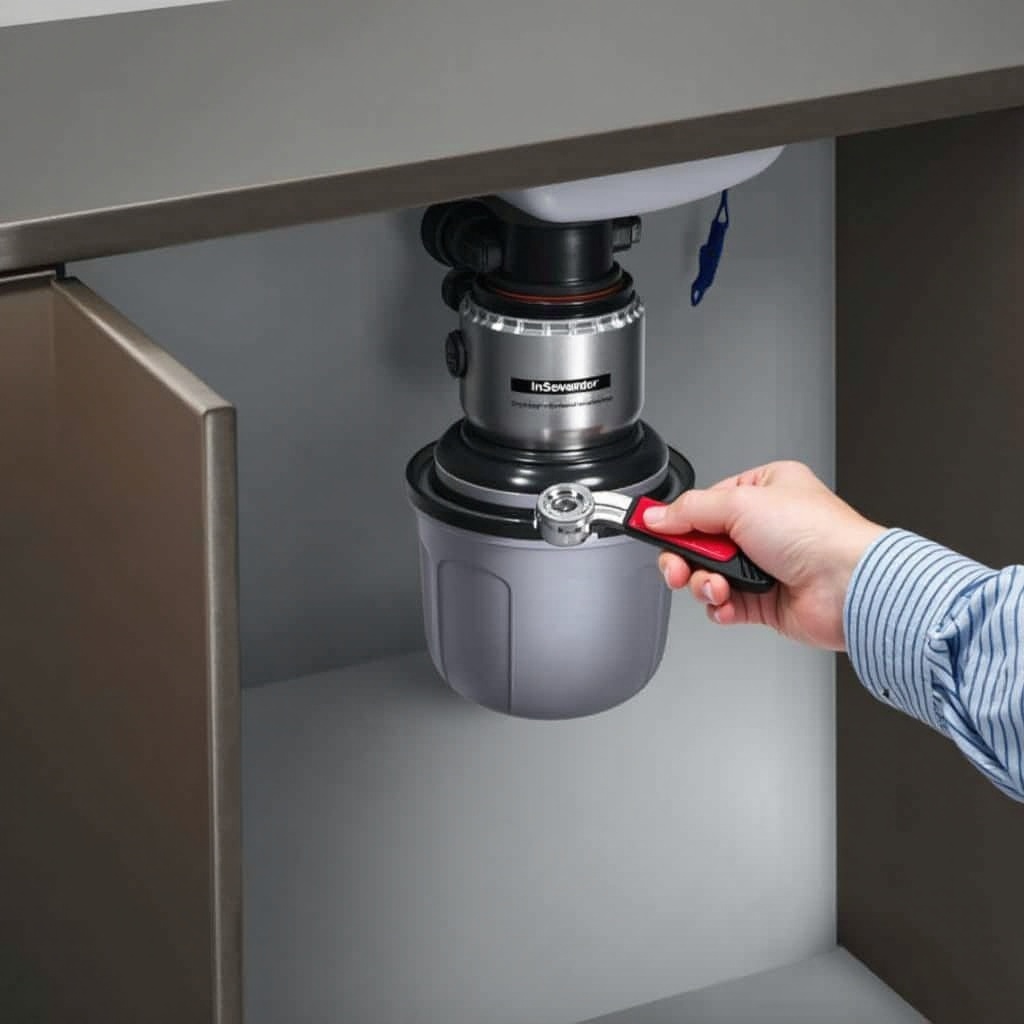
Unjamming Your InSinkErator:
- Disconnect power first.
- Use an offset wrench to move the grinding chamber manually and dislodge any stuck materials.
Carefully remove any large items from inside the disposal.
Safely Clearing Blockages:
- Flush cold water mixed with baking soda and vinegar through the disposal.
- Gently dislodge blockages using a broom handle.
These troubleshooting steps can resolve most common problems, helping you avoid unnecessary professional intervention.
When to Seek Professional Help
If troubleshooting doesn't resolve the issue, it's time to call in a professional. Persistent problems with electrical components or unexplained leaks warrant expert evaluation. Regular professional servicing can extend the life of your disposal by addressing issues beyond typical homeowner repairs. If repairs become frequent or costly, consider replacing the unit with a more reliable model for long-term savings.
Professional intervention offers a dependable path back to optimal functionality when your DIY efforts fall short. Meanwhile, preventive measures can preclude issues from arising in the first place.
Enhance Your System’s Performance with Preventive Maintenance
Consistent maintenance is crucial for minimizing breakdowns in your InSinkErator:
- Routine Cleaning and Safety Measures:
- Allow cold water to run during use for about 15 seconds before and afterwards.
Grind small ice cubes periodically to clean blades.
Understanding Safe Disposal Practices:
- Avoid putting fibrous or starchy foods down the disposal.
- Grease should be disposed of separately as it can congeal and cause issues.
Adopting these simple habits will ensure your InSinkErator runs smoothly, reducing potential problems and promoting extended reliability.
Exploring Upgrades and Replacements
When maintenance isn't enough, consider whether upgrades or replacements could enhance your setup:
Evaluating Current Models: Explore models that offer improved efficiency, better grinding technology, and quieter operation.
Advantages of Newer Technologies: Modern InSinkErators are equipped with anti-jam sensors, stainless steel components, and multispeed motors, providing advanced capabilities.
Understanding these innovations helps make an informed decision about replacements, ensuring your kitchen remains optimal.
Conclusion
Keeping your InSinkErator functional is key to maintaining a tidy, efficient kitchen. By learning troubleshooting, maintenance strategies, and exploring when upgrades make sense, you can enjoy long-term functionality and convenience. Regular care, coupled with smart upgrades, ensures your appliance performs at its best.
Frequently Asked Questions
What Should I Do if My InSinkErator Won’t Reset?
First, check that it is properly plugged in. Press the reset button located on its underside. If this fails, assess for circuit breaker problems or seek professional advice.
How Often Should I Clean My InSinkErator?
Clean your InSinkErator weekly to prevent buildup and odors. Use ice or a vinegar and baking soda mixture for cleaning effectiveness.
Can a Faulty InSinkErator Affect My Dishwasher?
Yes, a blocked InSinkErator can impede dishwasher drainage, causing operational issues. Ensuring both systems are functional is essential for efficiency.