Introduction
Installing a dryer outlet can seem complex, but with clear steps, it's a task you can manage successfully. Proper installation ensures your dryer operates safely and efficiently. Whether upgrading your laundry setup or replacing an outdated outlet, tackling this task can save time and money. This guide covers everything from choosing the right outlet to finishing the installation, all while prioritizing safety.
Understanding Dryer Outlet Types
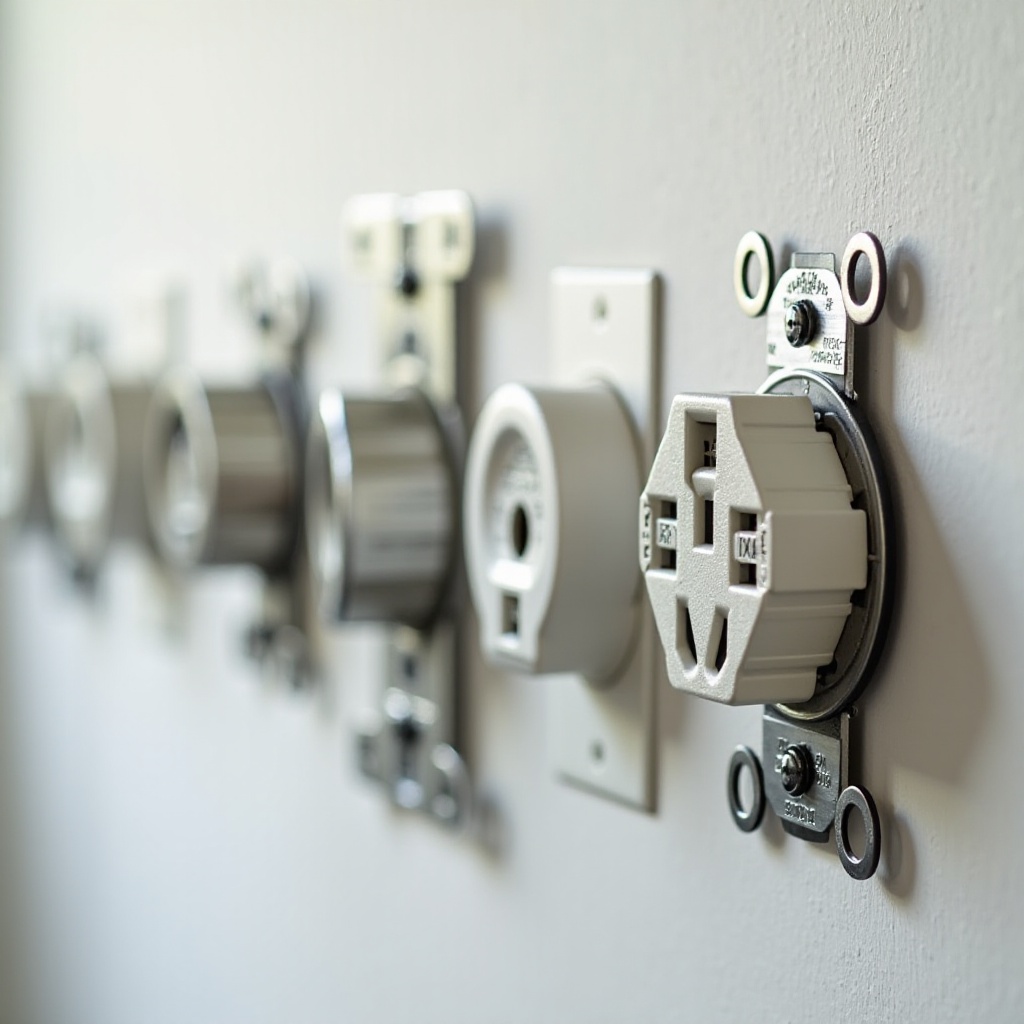
Before beginning any installation, it's crucial to understand the differences between outlet types. The two most common configurations are 3-prong and 4-prong outlets.
- 3-Prong Outlets: Common in older homes, these outlets have two hot wires and one neutral wire. They lack a separate ground wire.
- 4-Prong Outlets: Current safety standards require these, adding a ground wire to the traditional design for added protection against electrical shocks.
Identifying the correct outlet type for your dryer is essential. Consult your appliance’s manual to ensure compatibility and adherence to local safety regulations. Understanding these differences sets the stage for a successful installation. Let's gather the necessary tools and supplies before proceeding.
Tools and Materials Needed
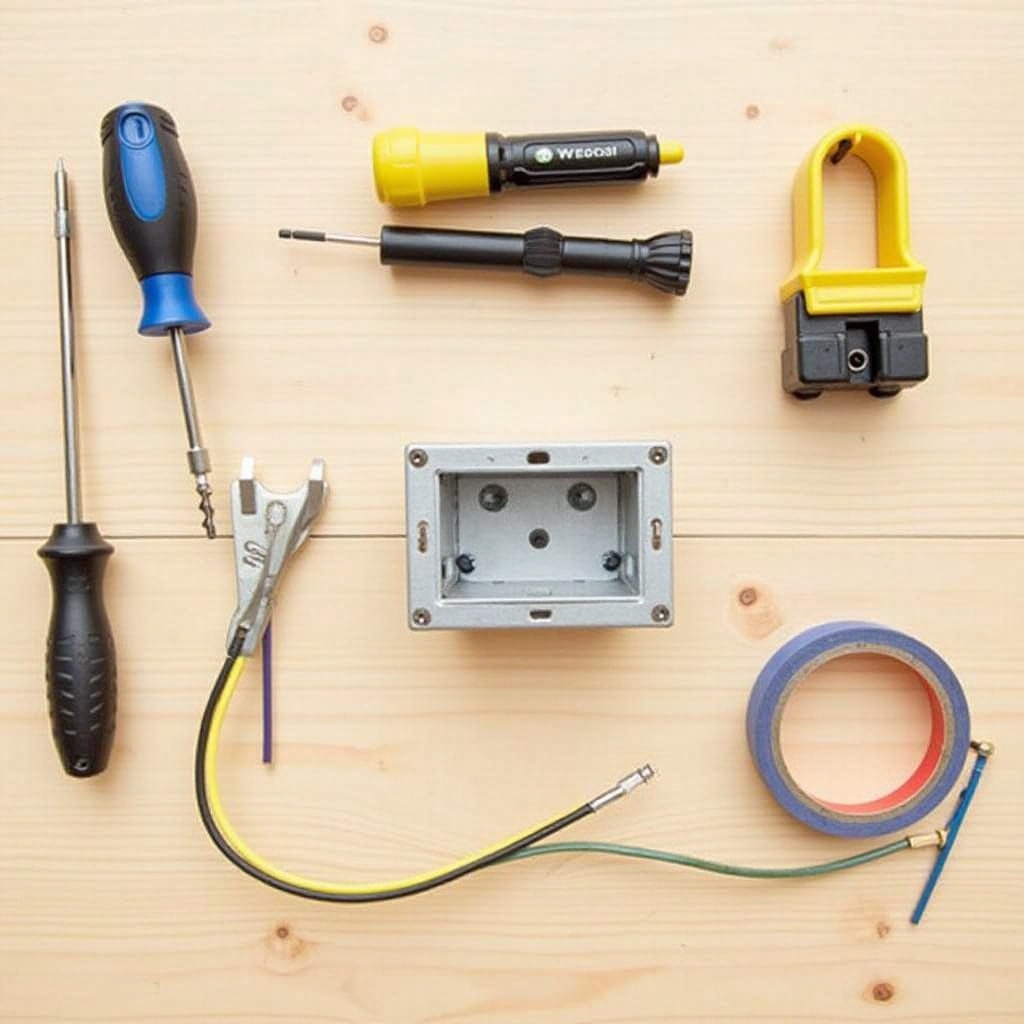
Preparation is key to a smooth installation process. Gather these tools and materials ahead of time:
Tools:
1. Voltage tester
2. Screwdrivers
3. Wire cutters
4. Wire stripper
5. Drill and drill bits
6. Level
7. Pliers
8. Multimeter
Materials:
- Appropriate outlet (3-prong or 4-prong)
- Electrical box
- Electrical tape
- Wire connectors
- Correct gauge wire for your dryer's power needs
- Outlet cover plate
Having everything ready will prevent interruptions during the process. With tools in hand, let's move on to the installation steps.
Step-by-Step Guide to Installation
Follow these steps carefully to ensure a proper and safe installation:
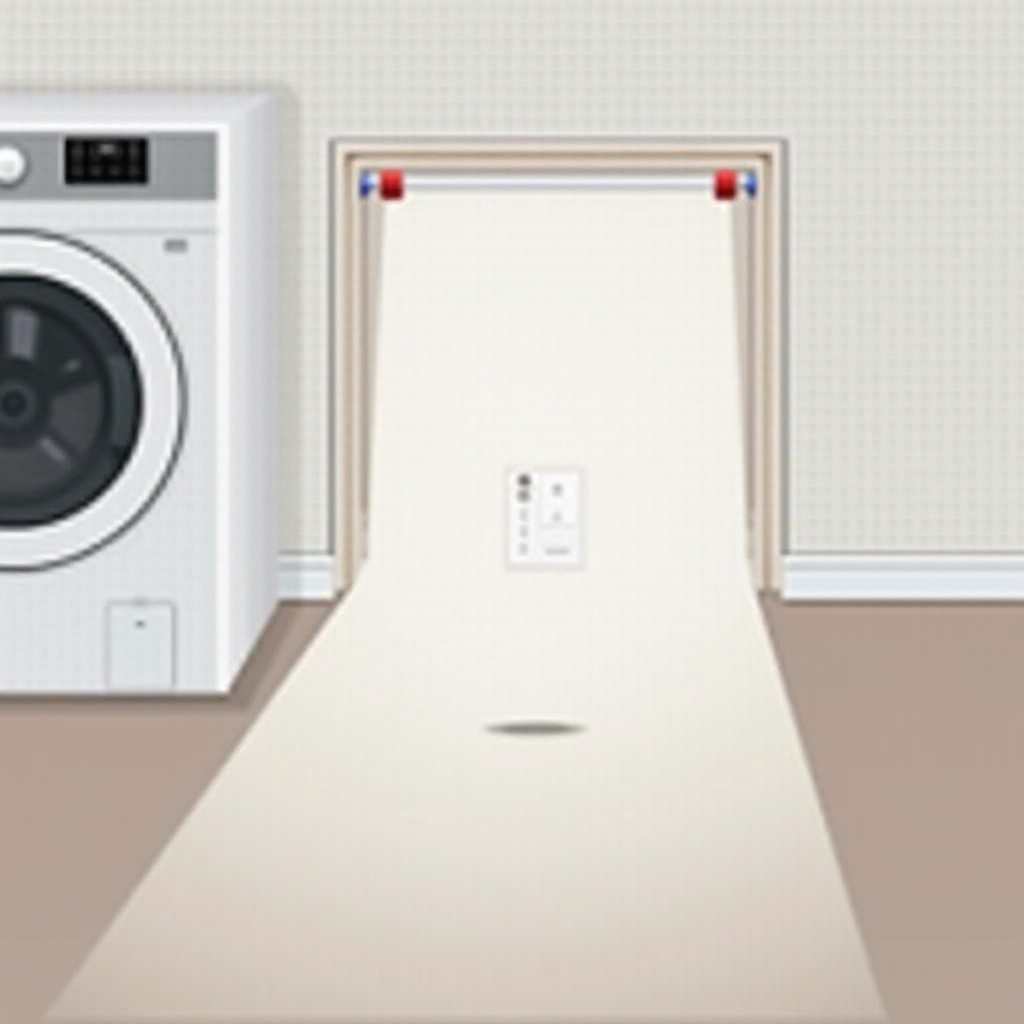
- Prepare the Installation Site:
- Turn off the power to your laundry room at the circuit breaker. Confirm with a voltage tester.
- Select a suitable location for the outlet, ideally within reach of the dryer's power cord.
Mark and level the area where the electrical box will be installed.
Install the Electrical Box:
- Drill pilot holes and secure the electrical box firmly to the wall.
Ensure it is level and flush with the wall surface.
Wiring the Outlet:
- Strip insulation from the wires using a wire stripper, exposing enough for connections.
Follow your outlet type's wiring diagram. Connect wires to the correct terminals: hot wires to brass, neutral to silver, and ground to green (for 4-prong).
Mounting the Outlet and Cover Plate:
- Fit the outlet into the electrical box, securing it with screws.
- Attach the cover plate to complete the setup.
With the physical installation complete, it's time to ensure the work was done correctly.
Safety Tips for Installing Dryer Outlets
Safety is critical during electrical installations. Follow these guidelines:
- Power Off: Always ensure power is off at the breaker prior to beginning work. Verify using a voltage tester.
- Proper Grounding: Correct grounding prevents electrical shock. Ensure the grounding wire is securely connected.
- Avoid Overloading: Verify the circuit can handle the dryer's load to prevent electrical fires.
Observing these safety protocols helps protect both you and your home. Once satisfied with connections, let’s test the setup.
Testing and Troubleshooting Your Installation
Proper testing ensures your outlet is installed safely and functions correctly:
- Use a Multimeter: Check for correct voltage at the outlet, confirming that power flows properly.
- Re-evaluate Connections: If readings are incorrect, inspect for loose or misplaced wires.
Troubleshooting Tips:
- No Power: Ensure the circuit breaker is on and no circuits have tripped.
- Unusual Smells or Sparks: Disconnect power immediately and inspect wiring.
Proper testing resolves minor issues and verifies the installation's success. Now, enhance your appliance's performance with some useful tips.
Additional Tips for Efficient Dryer Usage
Improving dryer efficiency not only saves energy but also prolongs the appliance's life:
- Regular Maintenance: Clean the lint trap after each use. Periodically check and clean the dryer vent to prevent clogs.
- Optimal Load Size: Avoid overloading the dryer. Running it with moderate loads improves drying efficiency.
These practices ensure your dryer operates at peak performance and conserves energy. Wrapping up, let's summarize the installation process.
Conclusion
Dryer outlet installation, while seemingly challenging, is achievable with careful planning and adherence to guidelines. From understanding outlet types to ensuring safety through wiring and testing, this guide provides a comprehensive overview to complete the task confidently. Remember, safety is always paramount. Execute these steps meticulously, and you'll be empowered to handle future electrical projects with greater assurance.
Frequently Asked Questions
What type of outlet do I need for my dryer?
Most modern dryers require a 4-prong outlet due to its grounding wire. Check your dryer's manual for specific recommendations.
How can I ensure my installation is safe?
Always turn off power at the circuit breaker before starting and use a multimeter to check connections once complete.
What should I do if my dryer stops working after installation?
Double-check all connections, ensure the circuit breaker is on, and consult your dryer's manual. If unresolved, contact a professional electrician.