Replacing your dishwasher can seem daunting, but with the right guidance, you can manage this task efficiently. This guide will walk you through each step, helping ensure the new installation works flawlessly. Let’s dive into the process of changing out your dishwasher seamlessly.
Introduction
A dishwasher is a vital kitchen appliance, streamlining daily chores significantly. Yet, like any appliance, it has a lifespan, and eventually, you’ll find yourself needing a replacement. Whether your old unit has stopped working efficiently or you're upgrading to a new model, installing a new dishwasher is a feasible project you can undertake. This guide will provide the steps and tips needed to change out your dishwasher like a pro, ensuring a successful installation.
Tools and Materials Needed
Before you commence, gathering all necessary tools and materials will help you avoid interruptions. Here’s what you need to have ready:
- Adjustable wrench
- Phillips and flathead screwdrivers
- Measuring tape
- Level tool
- Bucket and towels
- New dishwasher installation kit
- Teflon tape
- Voltage tester
- Safety gloves and goggles
Having these items on hand will make the change-out process smoother and more efficient, setting you well on your way to a successful installation.
Preparing Your Kitchen for the New Dishwasher
With your tools in order, it's time to prepare your kitchen appropriately. The key focus should initially be on the power and water supplies.
Disconnecting Power and Water Supply: Safety is paramount. Locate and turn off the circuit breaker controlling the dishwasher. Confirm this by using a voltage tester on the dishwasher's wires. Then, shut off the water supply, typically located beneath your sink, and disconnect the hose leading to the dishwasher.
Clearing the Area for Easy Access: Ensure ample working space by removing any items around the existing dishwasher. This necessitates moving small appliances and kitchen utensils away from the vicinity.
With everything cleared and switched off, you're ready to embark on removing the old dishwasher.

Safely Removing the Old Dishwasher
Removing the old unit involves several careful steps to ensure the transition is seamless. Here’s how to detach it:
Detaching the Water Line: Put a towel and bucket under the water connection to catch spills. Loosen and disconnect the water line using an adjustable wrench.
Unplugging Electrical Connections: Remove the lower access panel to access electrical wiring. Use a voltage tester to ensure there's no electricity flow and disconnect the wires safely.
Loosening and Removing Mounting Brackets: Open the dishwasher door to access the mounting brackets secured to the countertop. Use a screwdriver to remove screws and carefully slide the dishwasher out of its place, guiding lines and cables as needed.
After removing the old dishwasher, you’re ready to position the new unit.
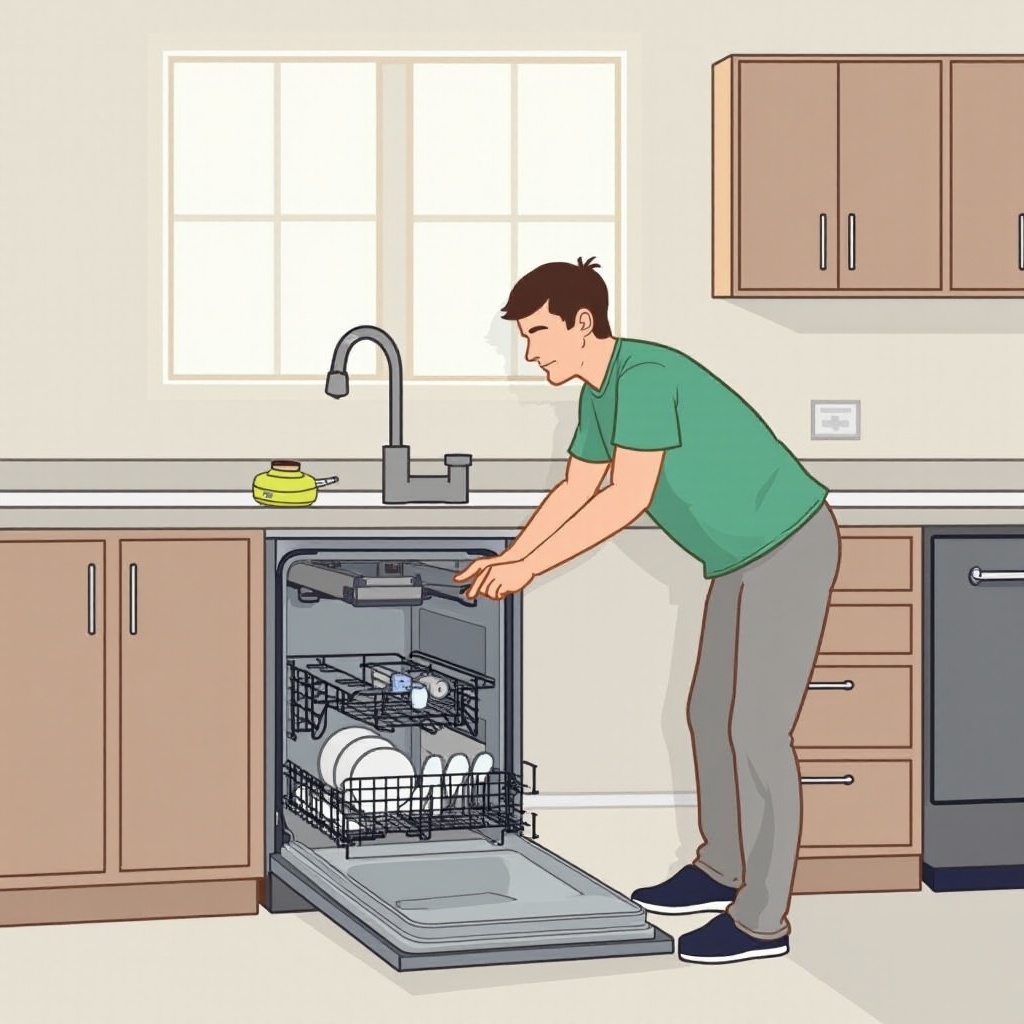
Installing the New Dishwasher
This segment details positioning, connecting, and ensuring your new dishwasher fits and functions perfectly.
Positioning and Leveling the New Unit: Move the new dishwasher into place, ensuring proper alignment. Use a level tool to check balance, adjusting leveling feet as necessary.
Connecting the Water Line: Wrap Teflon tape around the new dishwasher’s water inlet. Attach the water supply line securely using a wrench, ensuring a snug fit to eliminate leaks.
Attaching Electrical Wiring: Using the installation kit, connect the dishwasher to existing electrical wiring. Confirm the power remains off, attaching each wire accordingly, then replace the access panel.
Once connections are secured, proceed to testing to ensure everything integrates correctly.
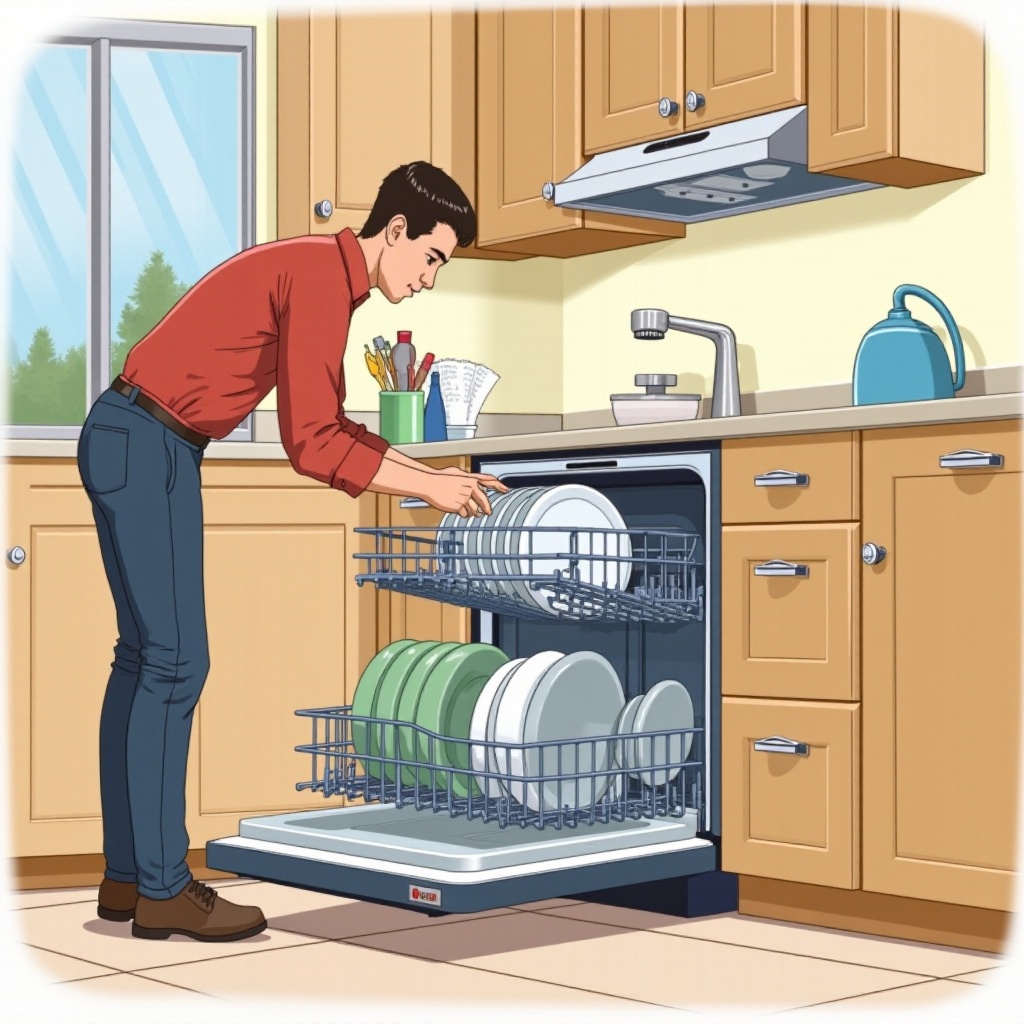
Testing the Installation
Testing is crucial to verify the installation process’s success and safety.
Running a Test Wash Cycle: Restore water supply and flip the circuit breaker back on. Close the dishwasher door and start a short cycle to test functionality.
Checking for Leaks and Adjustments: During the cycle, inspect areas beneath the dishwasher and around connections for leaks. Listen for any unusual noises or vibrations, adjusting the unit’s position or leveling feet if necessary.
With a successful test, you're set to enjoy your new dishwasher.
Maintenance Tips for Longevity
To extend your dishwasher’s lifespan, integrate routine maintenance practices:
- Clean the filter monthly to prevent clogs.
- Regularly wipe door seals to maintain a tight seal.
- Use a dishwasher cleaner every few months to reduce mineral buildup.
Consistent care ensures longevity and optimal functionality.
Conclusion
Changing out a dishwasher is entirely manageable with the right resources and a step-by-step guide. By following these instructions, you’ve installed a new dishwasher independently. Enjoy the efficiency and convenience this adds to your kitchen routine.
Frequently Asked Questions
What are the most common mistakes when changing out a dishwasher?
Common mistakes include not turning off power or water supply before beginning, failing to level the new dishwasher properly, and incorrectly connecting electrical or water lines, leading to leaks or issues.
How often should I replace my dishwasher?
Dishwashers generally last about 10-15 years. If your appliance frequently malfunctions or requires costly repairs, it might be time to consider a replacement.
Is it necessary to hire a professional for dishwasher installation?
While this guide assists with DIY installations, hiring a professional is advisable if you're uncomfortable with electrical or plumbing work. It ensures safety and precision.