Introduction
Installing a dishwasher correctly is crucial for an efficient kitchen setup. When connected properly to the sink, your dishwasher will function optimally, providing convenience and saving you valuable time. This guide walks you through the entire process, from gathering the necessary tools to troubleshooting common issues.
Connecting a dishwasher to the sink involves several steps, each requiring attention to detail to prevent leaks and ensure proper drainage. With a clear understanding of the process, you can confidently handle the installation yourself.

Tools and Materials Required
Before starting, gather all the necessary tools and materials. Having everything on hand will make the process smoother and faster.
Essential Tools:
- Adjustable wrench
- Screwdriver set
- Pliers
- Utility knife
- Tape measure
Essential Materials:
- Dishwasher installation kit
- Teflon tape
- Bucket or towel (for potential water spills)
- Pipe clamps
With these tools and materials ready, you can move on to preparing your kitchen for the installation process.
Preparing Your Kitchen
Preparing your kitchen sets the stage for an efficient installation. Start by ensuring you have adequate space and that your existing plumbing and electrical connections are in good condition.
- Ensure Adequate Space: Measure the space where the dishwasher will go, ensuring it fits comfortably. Check that the area is free of any obstructions.
- Inspect Plumbing and Electrical Connections: Make sure the hot water supply line, drain system, and electrical connections are easily accessible and in good condition.
- Turn Off Water and Power: For safety, turn off the water supply and disconnect the power before starting the installation.
With your kitchen prepped, you're ready to connect the dishwasher to the sink.
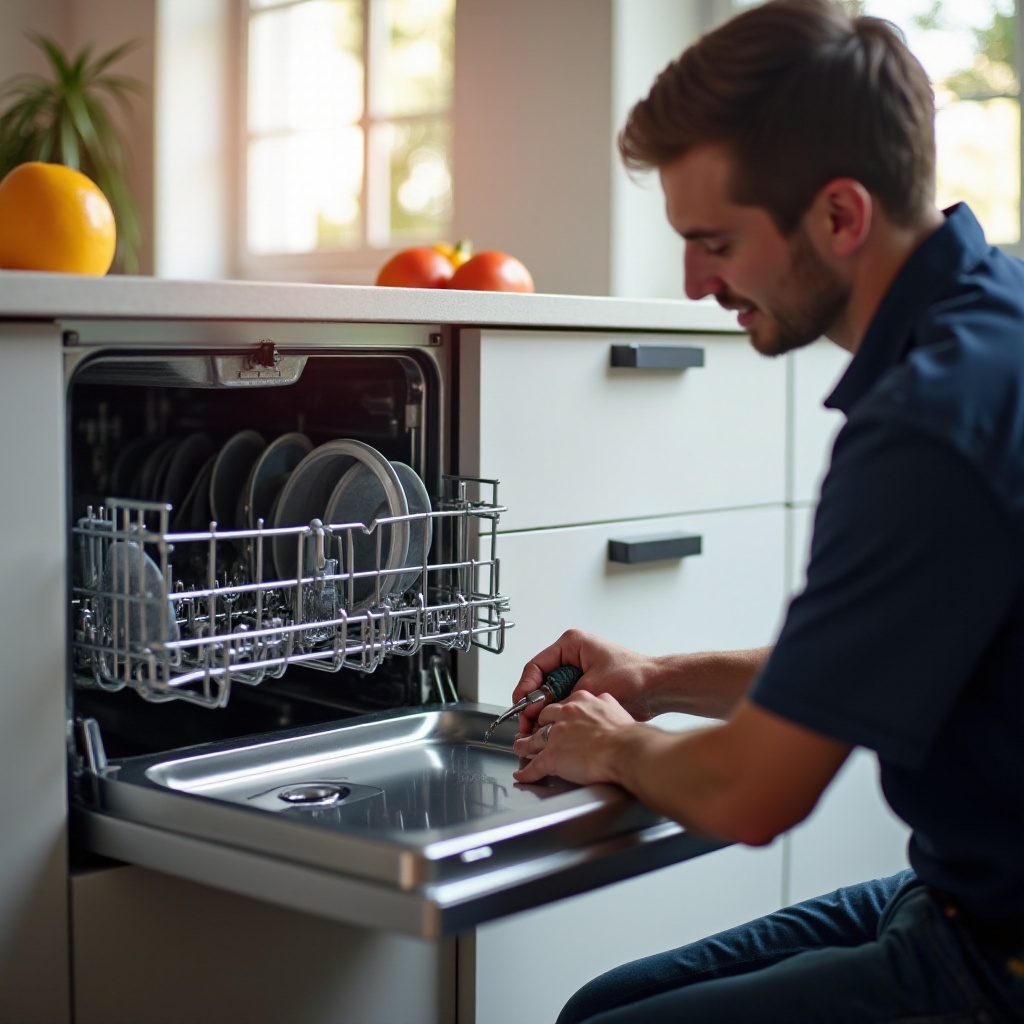
Connecting the Dishwasher to the Sink
Properly connecting your dishwasher to the sink is the most critical part of the installation process. Follow these steps meticulously to ensure a secure and efficient setup.
Shutting Off the Water Supply
Begin by shutting off the main water supply or the supply valve under the sink. This prevents any water from flowing while you make the connections.
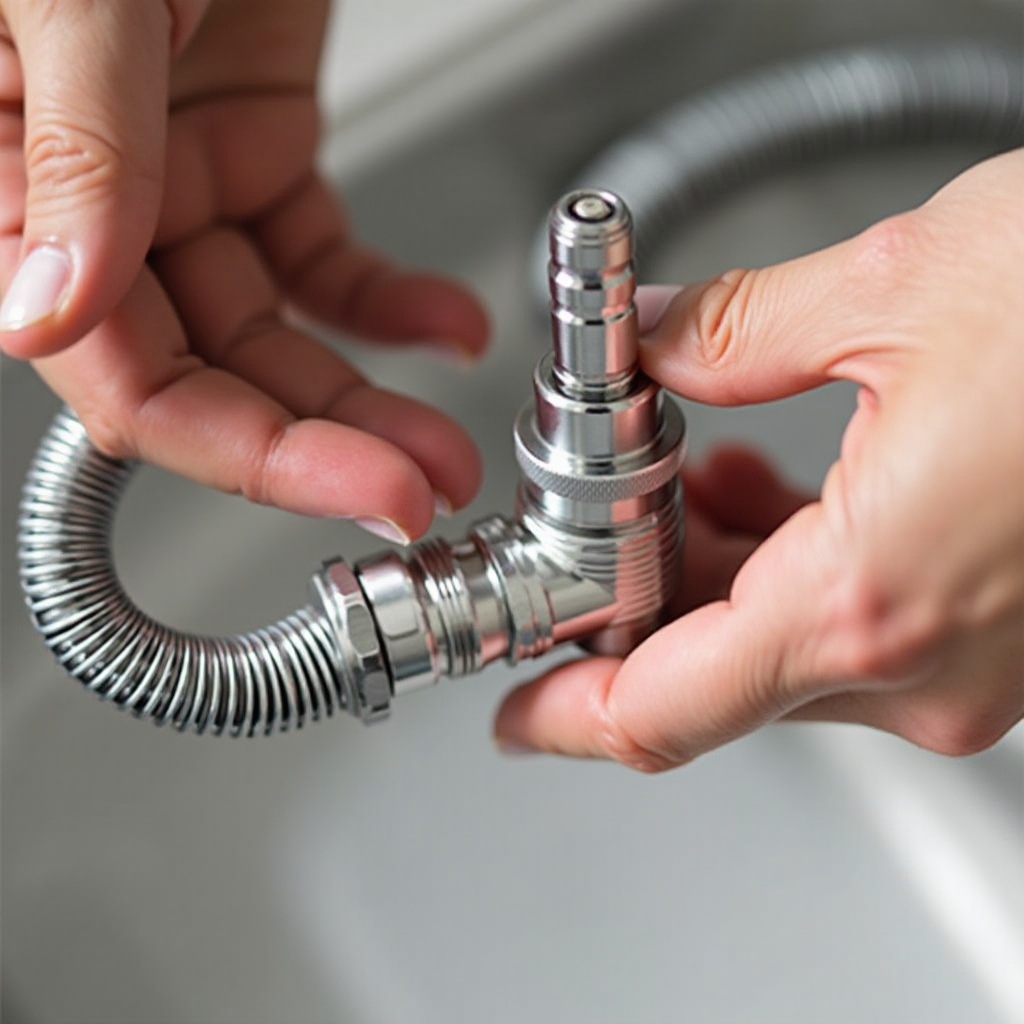
Connecting the Water Supply Line
- Locate the Hot Water Line: Find the hot water supply valve under the sink.
- Attach the Supply Line: Connect the braided stainless steel supply line from the dishwasher to the hot water valve using adjustable pliers. Apply Teflon tape to the threads to ensure a tight, leak-free connection.
Attaching the Drain Hose
- Locate the Dishwasher Drain: Locate the fitting for the dishwasher drain under the sink.
- Connect the Drain Hose: Attach one end of the drain hose to the drain fitting on the dishwasher.
- Connect to Sink Drain: Attach the other end to either an air gap or a high loop connected to the sink drain or garbage disposal. Use pipe clamps to secure the connections.
Diagrams and Visual Aids for Installation
Diagrams can significantly aid the installation process. Refer to the installation manual for visual guidance on connecting the hoses and cables. Proper visuals will ensure that connections are accurate and secure.
Testing and Troubleshooting
Once the connections are made, it's time to test the setup to ensure everything functions correctly.
Initial Run and Checks
- Restore Water and Power: Turn the water supply and power back on.
- Run a Test Cycle: Start a dishwasher cycle and observe for any leaks or unusual noises.
- Check for Leaks: Examine the water supply and drain hose connections for any signs of water leakage.
Common Problems and Solutions
If you encounter issues, refer to the following common problems and solutions:- Leaks: Check and tighten all hose connections and ensure the Teflon tape is applied properly.- Noisy Operation: Ensure the dishwasher is level and securely fastened to prevent vibrations.- Poor Drainage: Verify that the drain hose is correctly installed and not kinked or obstructed.
By addressing these common issues, you can ensure your dishwasher runs smoothly and efficiently.
Conclusion
Connecting a dishwasher to the sink involves a series of detailed steps, from gathering tools and preparing the kitchen to making water and electrical connections and testing the installation. Taking the time to do each step correctly ensures a smooth and efficient setup, saving you time and preventing future issues.
Regular maintenance and proper use of your dishwasher will extend its lifespan and enhance its performance. If you encounter any issues beyond basic troubleshooting, don't hesitate to seek professional assistance.
Frequently Asked Questions
How do I know if my sink setup is compatible with my dishwasher?
Ensure your sink has the necessary fittings for both the water supply and drain connections. Most modern sinks are compatible, but older setups may require additional parts or modifications.
What should I do if I notice a leak after connecting my dishwasher?
Turn off the water supply and review all connections. Tighten any loose fittings and ensure Teflon tape is properly applied. If leaks persist, consult a professional plumber.
Can I connect my dishwasher without professional help?
Yes, with the proper tools and a detailed guide, most homeowners can connect their dishwasher themselves. Follow each step carefully to ensure a safe and secure installation.