Introduction
Connecting a dishwasher to a garbage disposal can streamline your kitchen clean-up process, making it more efficient and hassle-free. However, ensuring that everything is connected properly is essential to prevent leaks, clogs, and other issues that can arise from a poor installation. This guide will walk you through every step of connecting your dishwasher to a garbage disposal, including troubleshooting tips and maintenance advice to keep your system running smoothly.
Tools and Materials Needed
Before diving into the installation process, gathering all the necessary tools and materials will save you time and make the job easier. Here's what you'll need:
- Tools:
- Screwdriver set
- Pliers
- Pipe wrench
- Bucket
Utility knife
Materials:
- Dishwasher drain hose
- Hose clamps
- Teflon tape
- Dish soap
- Towels
Having these items ready will ensure you can complete the installation without unnecessary delays.
Step-By-Step Guide for Connecting a Dishwasher to a Garbage Disposal
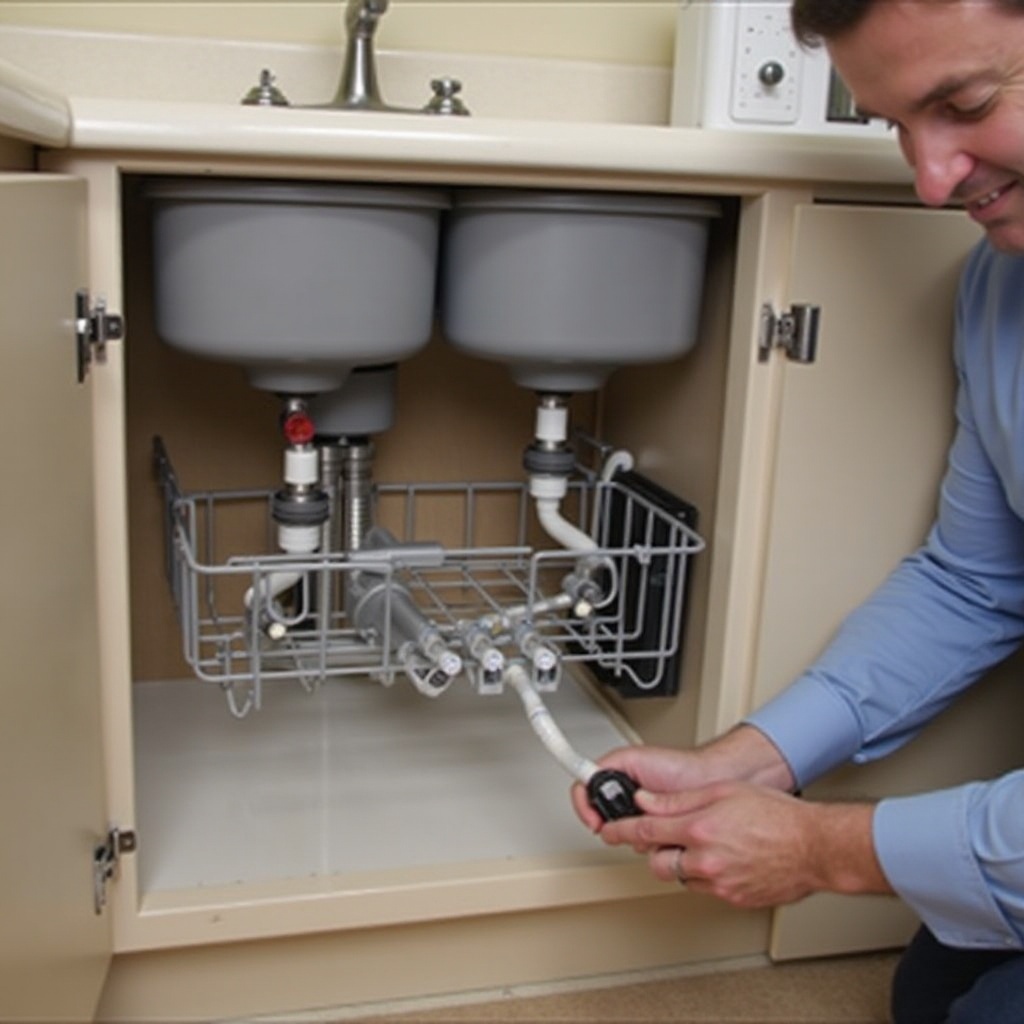
Step 1: Preparing Your Work Area
- Start by clearing out the space under your sink. Remove any cleaning supplies or items that might get in the way. This will give you the space needed to work comfortably.
- Lay down some towels to catch any water that might spill during the installation process.
Step 2: Turning Off Power and Water Supply
- Before you begin, it's crucial to ensure your safety by turning off the power to your dishwasher. Locate the circuit breaker and switch off the corresponding breaker.
- Next, turn off the water supply to the dishwasher to prevent any leaks. This can typically be done by closing the valve located under the sink.
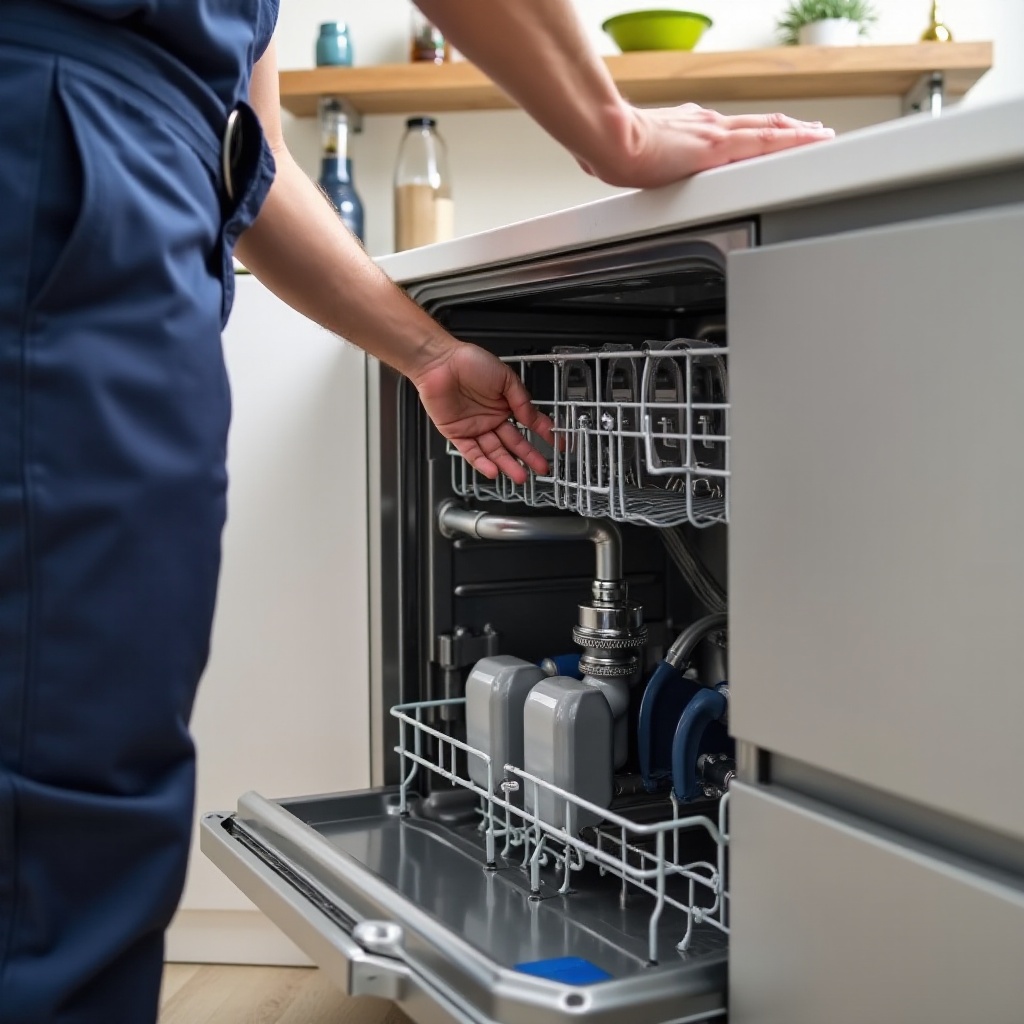
Step 3: Readying the Dishwasher Drain Hose
- Examine the drain hose that comes with your dishwasher. If it's damaged or too short, replace it with a new hose that fits your setup.
- Use a utility knife to cut the hose to the appropriate length if needed.
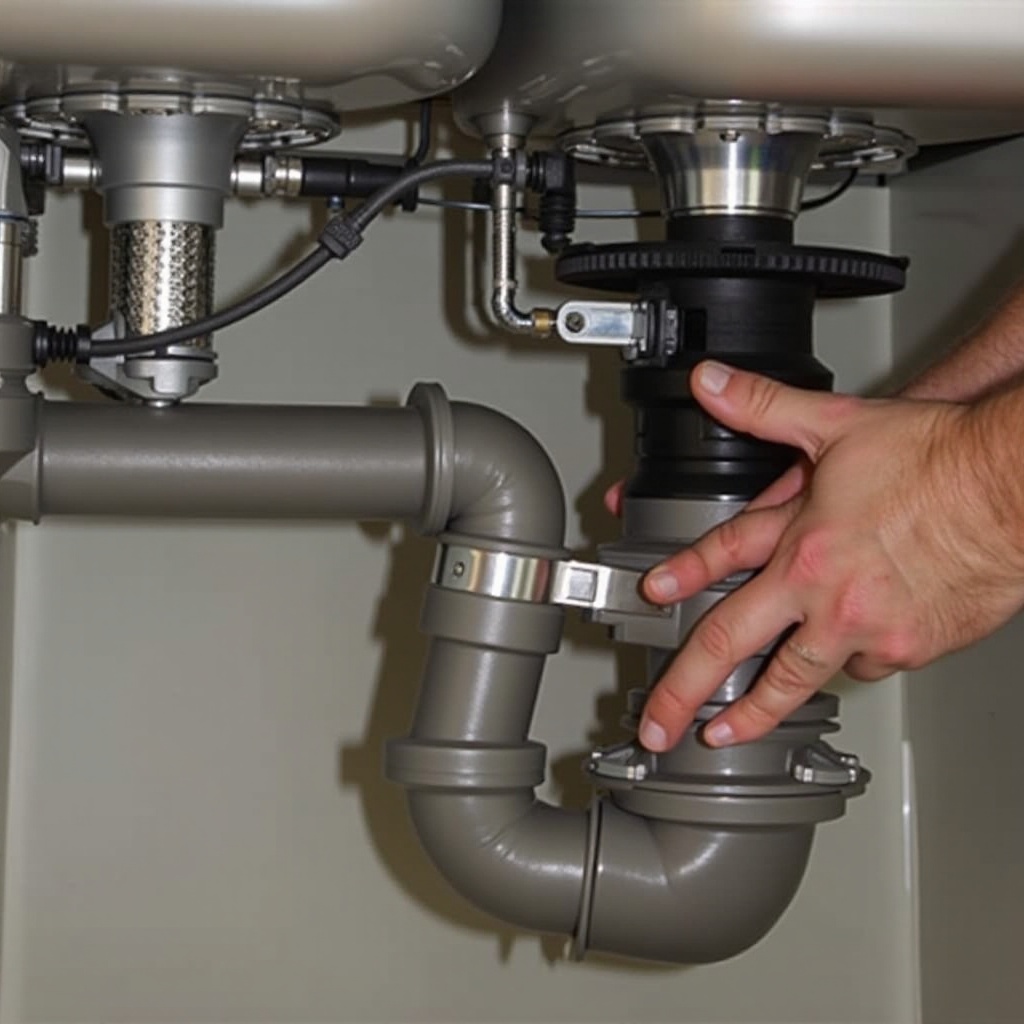
Step 4: Connecting the Dishwasher Drain Hose to the Garbage Disposal
- Locate the dishwasher inlet on your garbage disposal. It is usually a small, capped port on the side of the unit.
- Remove the cap by using a screwdriver and pliers if necessary. Ensure the inlet is clean and free of debris.
- Attach one end of the dishwasher drain hose to the garbage disposal inlet. Secure it tightly using a hose clamp to prevent leaks.
Step 5: Securing the Connection
- Once the drain hose is connected, inspect the connection to ensure it is secure. Tug gently on the hose to check for any looseness.
- Use Teflon tape to wrap around any threaded connections to ensure a tight seal.
- Double-check that all hose clamps are tight to avoid any potential leaks.
Step 6: Turning the Power and Water Back On
After ensuring everything is properly connected and secure, turn the water supply back on by opening the valve under the sink. Restore power to the dishwasher by switching the circuit breaker back on. Run a quick test cycle on your dishwasher to ensure water drains properly into the garbage disposal without any leaks.
Troubleshooting Common Issues
Even with careful installation, issues can occur. Here are some common problems and their solutions:
Leakage Fixes
- Check all hose connections to ensure they are tight and secure. Re-tighten hose clamps if necessary.
- Inspect the dishwasher inlet and drain hose for any cracks or damage that could be causing leaks.
Dealing with Clogs
If water doesn't drain properly, check for clogs in the drain hose or garbage disposal. Use a plumber's snake or a similar tool to clear any blockages. Running hot water and dish soap through the system can help dissolve minor clogs.
Addressing Odor Problems
Foul odors can occur if food particles are trapped in the drain hose. Running a dishwasher cleaner through a cycle can help eliminate odors. Regularly clean your garbage disposal by running cold water and a mix of ice cubes and lemon peels through it.
Maintenance Tips for Longevity
Maintaining your dishwasher and garbage disposal can help extend their lifespan and ensure efficient performance.
Regular Inspection
- Check the connections periodically for any signs of wear or leaks. Tighten any loose clamps or fittings.
- Inspect the drain hose for any cracks or damage and replace it if necessary.
Cleaning Recommendations
- Clean the dishwasher filter monthly to prevent build-up and ensure proper drainage.
- Run a cycle with a dishwasher cleaner every few months to keep the interior clean and free of residue.
Conclusion
Successfully connecting your dishwasher to a garbage disposal involves careful preparation, following precise steps, and regular maintenance. By using the right tools and materials, and by addressing common issues promptly, you can ensure a smooth and hassle-free installation. This, in turn, will keep your kitchen running efficiently and help you avoid costly repairs.
Frequently Asked Questions
Can I use any type of hose to connect my dishwasher to a garbage disposal?
No, it's essential to use a drain hose designed specifically for dishwashers to ensure a proper fit and seal. This helps prevent leaks and clogs.
Why is there water leaking from the connection point?
Leaks can occur if hose clamps are not tight enough or if the hose or inlet is damaged. Ensure all connections are secure and inspect for any damage.
How often should I check the connection to ensure it's secure?
It's a good practice to check the connections every few months during regular maintenance. Additionally, inspect them if you notice any leaks or performance issues.