Introduction
Connecting a dishwasher might seem like a daunting task, but with the right guidance, it can be a manageable DIY project. Dishwashers are essential appliances in today's kitchens, making it crucial to install them correctly to ensure they function smoothly and save you time. This guide provides the steps and tips needed to connect your dishwasher successfully, whether you're installing a new appliance or replacing an old one.
Preparations Before You Start
Proper preparation is key to a successful dishwasher installation. Having the right tools and materials on hand will streamline the process.
- Tools and Materials You’ll Need: To get started, gather all the necessary tools, such as an adjustable wrench, screwdriver, level, and Teflon tape. You'll also need a new dishwasher, supply lines, and power cords. Being fully equipped from the start will make the procedure more efficient.
- Ensuring Safety and Compliance: Safety should always be your top priority. Begin by turning off the water supply at the shut-off valve and cutting power at the circuit breaker to avoid any accidents. Additionally, ensure compliance with local plumbing and electrical codes to prevent future complications.
Once you have everything prepared, you can move on to disconnecting any old dishwasher to make room for the new installation.
Disconnecting the Old Dishwasher
If you have an existing dishwasher, removing it carefully is essential before proceeding with the new installation.
- Shutting Off Power and Water Supply: Double-check to ensure the power is off at the circuit breaker and that the water supply is shut off to prevent any accidents.
- Removing the Existing Unit: Unscrew the mounting brackets and carefully slide the old dishwasher away from its space. Disconnect all plumbing and electrical connections, taking care to keep any reusable parts for your new setup.
Now that the old unit is out, let's prepare to install the new dishwasher.
Installing the New Dishwasher
Installing the new dishwasher involves several key steps to ensure it operates properly.
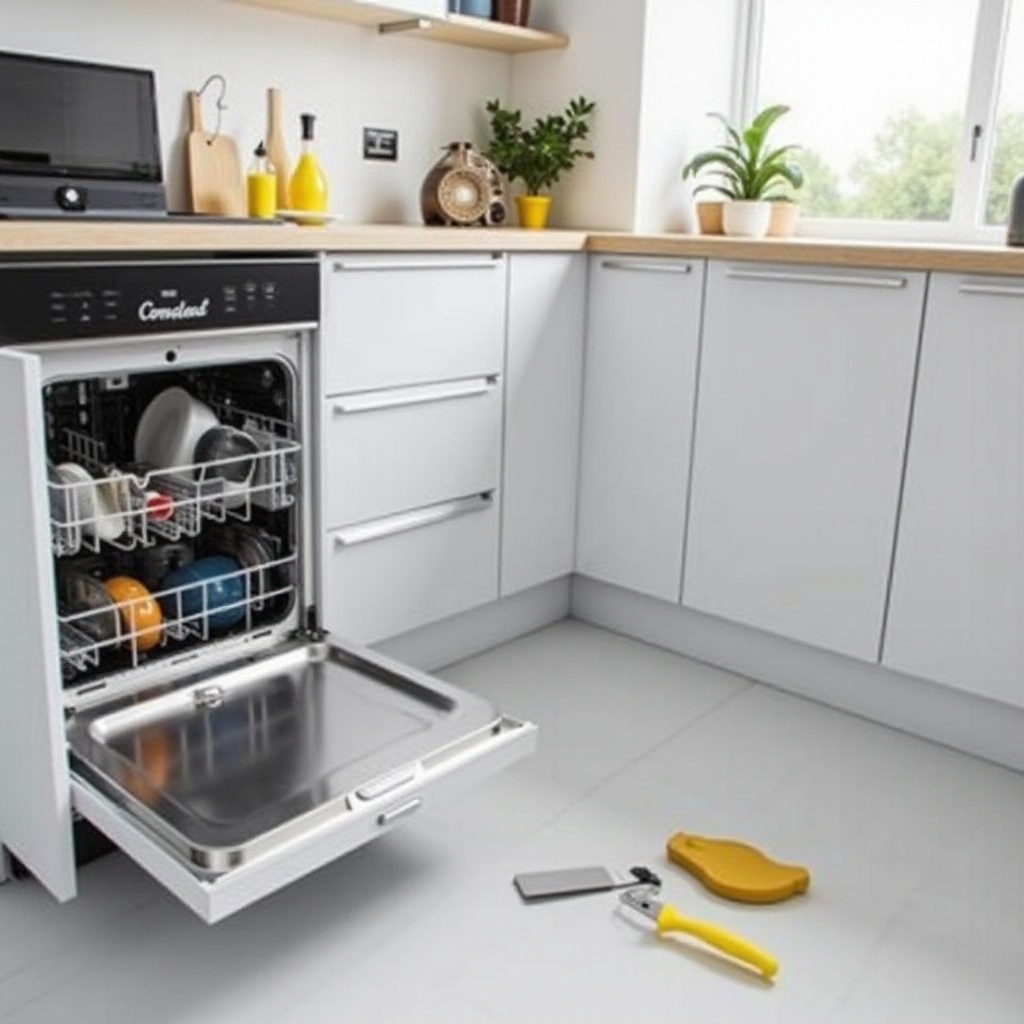
- Positioning the Dishwasher Correctly: Carefully move the dishwasher into place, ensuring it sits level. Adjust the feet of the dishwasher as necessary to achieve this, as a level dishwasher prevents leaks and ensures optimal performance.
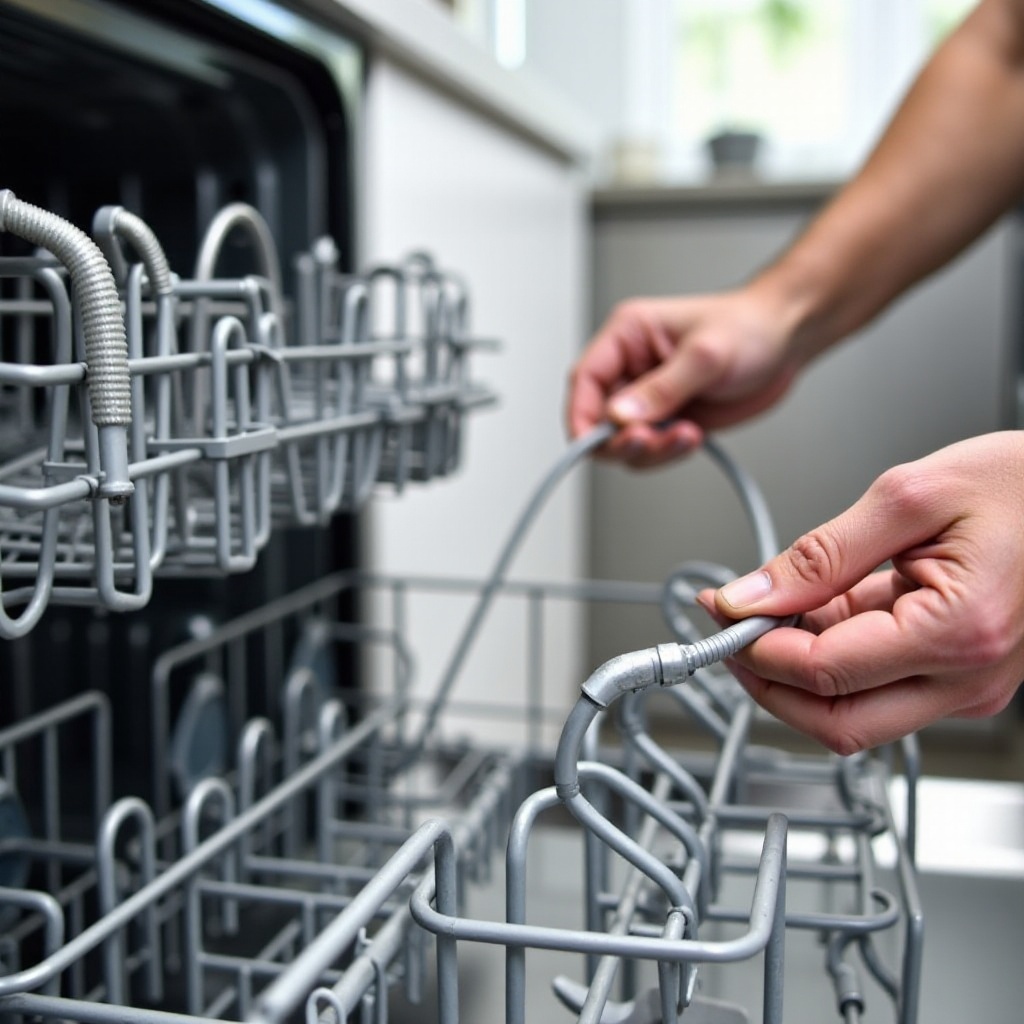
- Connecting the Water Supply Line: Attach one end of the supply line to the hot water valve under the sink and the other to the dishwasher's inlet. Use Teflon tape to seal the connection and prevent leaks.
- Attaching the Drain Hose: Securely fasten the drain hose, leading it to the sink trap or garbage disposal. Use clamps to ensure it's secure and to prevent leaks or backflow.
- Securing Electrical Connections: Connect the dishwasher's wiring to your home's junction box, matching wires by color to ensure a secure and safe connection.
With these steps completed, it's time to test the dishwasher to confirm the installation was successful.
Testing Your Installation
Before fully utilizing your newly installed dishwasher, it's crucial to test it.
- Running a Test Cycle: Restore power and water supplies, then initiate a test cycle. This step checks the unit's functionality and ensures there are no leaks.
- Checking for Leaks or Issues: While the dishwasher runs, inspect all connections for signs of leaks or issues. If problems are detected, switch off the water and power supply to make necessary adjustments.
Having confirmed that everything is functioning correctly, let's address potential problems you might face.

Troubleshooting Common Problems
Even with careful installation, issues can sometimes arise. Here's how to handle them:
- Dealing with Water Supply Issues: If the dishwasher struggles to fill with water, examine the supply line for any kinks or blockages, and ensure the valve is open and functional.
- Electrical Malfunctions and How to Fix Them: If the dishwasher fails to power on, confirm the circuit breaker hasn't tripped, and re-check all connections to ensure they're secure.
- Tips for Resolving Drainage Challenges: If draining is inefficient, check the drain hose for blockages or improper installation. It may need repositioning or cleaning.
By following these steps and tips, you should have a properly installed and functioning dishwasher.
Conclusion
Successfully connecting a dishwasher can enhance your kitchen's efficiency and convenience. Following this comprehensive guide ensures safe and effective installation. Even though a DIY approach is feasible, don't hesitate to call a professional should you encounter difficulties.
Frequently Asked Questions
How long does it typically take to connect a dishwasher?
Installation usually takes between 1 to 2 hours, depending on your experience and kitchen configuration.
Can I connect a dishwasher without professional help?
Yes, with the right tools and guidance, you can install a dishwasher yourself confidently.
What should I do if my dishwasher is still leaking after installation?
Double-check all connections for alignment and tightness. If problems persist, consult a professional.